Guzumi at Top Right (2007 - 2009)
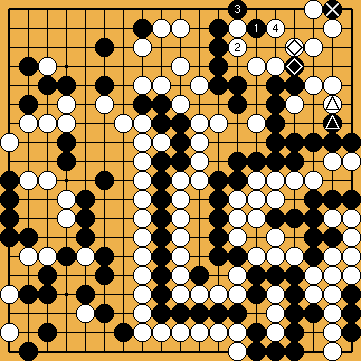
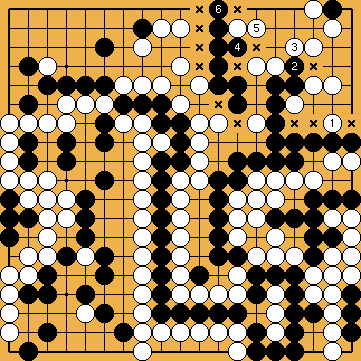
The Hasami-Tsuke in the Upper Right
|
(Referenced by The hasami-tsuke of |
|
After the sequence shown, it will become evident that the false eye at |
|
For comparison, here is the sequence of the Fujisawa Solution ( |
|
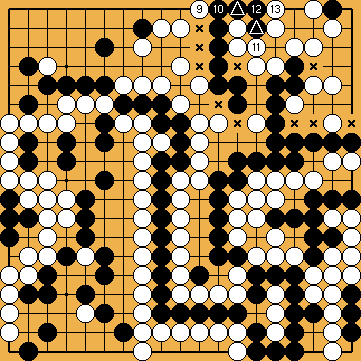
Should White later capture Black's top right group ( |
|
However, the hasami-tsuke is not possible without the guzumi, as well. The diagram shows the upper right corner after the reduction by Black in the professional solution. The Black group has thirteen liberties ( |
|
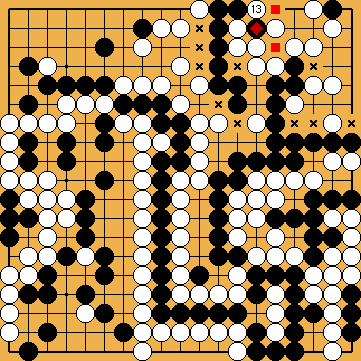
Here, Black reduces with the hasami-tsuke |
Tenuki: |
But, if Black later connects his stones, he will end up with only ten liberties ( Therefore, Black can not connect both of his pivotal stones |
Tenuki: |
Black should play tenuki with |
|
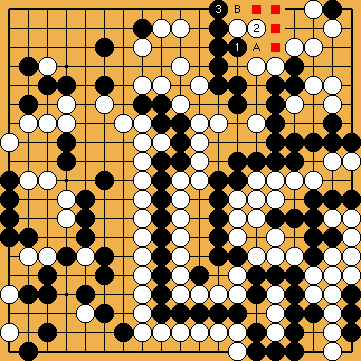
 38
38 - a suggestion of Harry Fearnley - is possible now, after the "guzumi exchange" of the
  -/
-/ -stones, and the first exchange of
  /
/  in the top right corner. Black's single stone at
  weakens White's corner.
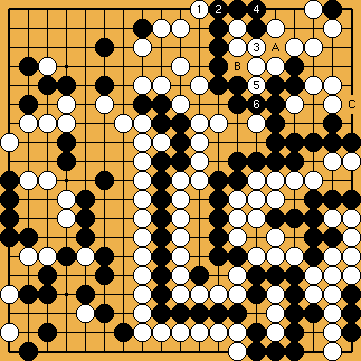
 is an additional approach-move liberty. White cannot approach directly at
  , but must play
  first, because there is another (potential) approach-move liberty at
  .
. 
 ). White has four points of territory more (
 ) than with the hasami-tsuke.
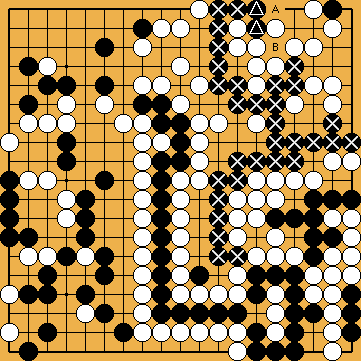
 ). It is shown earlier (
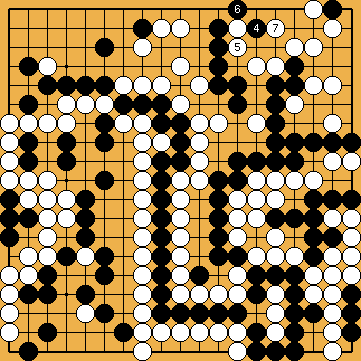
 .
.
 ;
; 
 (
(
 ;
;  ). Black gained nothing by the hasami-tsuke here.
