KataGo's Beautiful Crosscut After the Tsuke
of Yamada Shinji (2019)
|
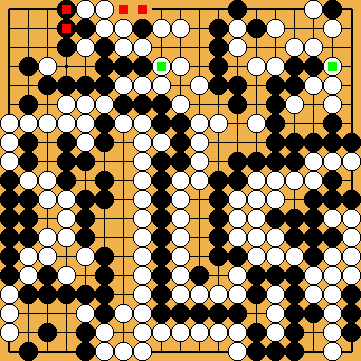
During the move sequence that follows the tsuke of Yamada Shinji Shinki in the upper left corner, KataGo suggested White playing the crosscut immediately. | |
| White Crosscuts Instead of Drawing Back |  1093e 1093e |
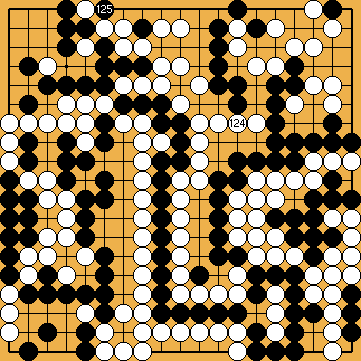
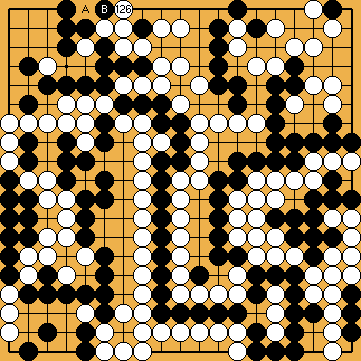
| Variation for White 124 | 1093e |
| Black Tries to Resist with 103 | |
| "Peaceful" Continuation | 1093e |
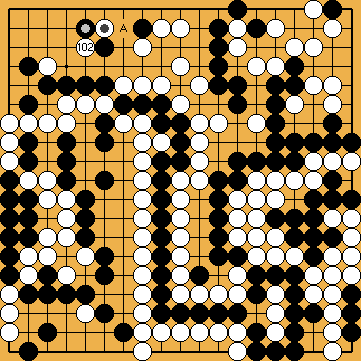
| Black Starts Various Ko Fights that He Cannot Win | |
| Subvariation for B 105 | 1093e |
| Sub²variation for Black 109: White Cannot Live Independently in the Corner, but ... | 1093e |
| Sub²variation for Black 107: Another Futile Ko Fight | 1093e |
| We ask for your kind understanding that we have not been able to adjust the structure of our website according to the new correct order of moves, but only added a corresponding note in the affected variations. |
 (after Yamada Shinji's tsuke =
  ,
,  ) to drawing-back with a move at
  .
.
 starts KataGo's preferred continuation.
 instead.
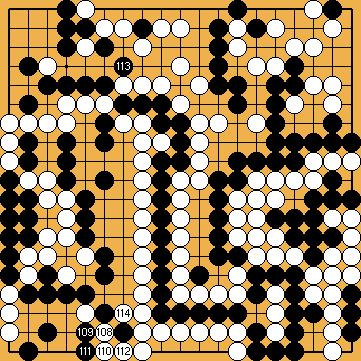
 .
.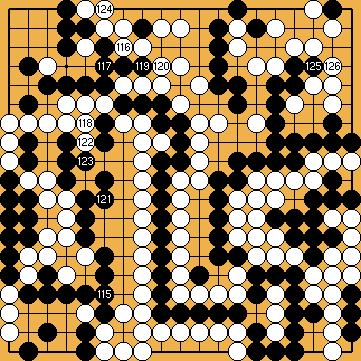
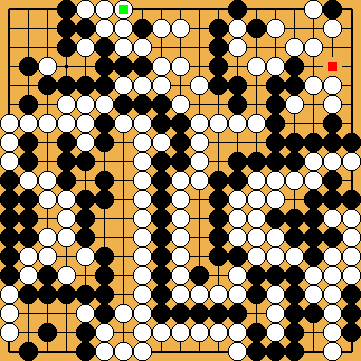
 is her bad-shape move in the left centre that costs Black one point.
 is not related to the Main Semeai, so White loses a move therein. Therefore, Black is able to play an additional forcing move at the right, e.g. at
  .
.
 ).
). ).
). ).
).

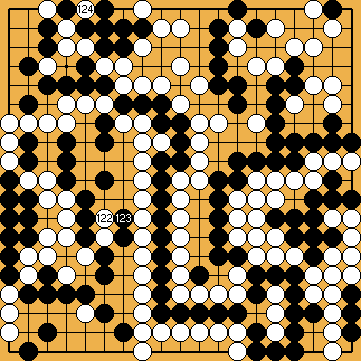
 . Both sides played one move outside the Main Semeai, so nothing serious happened.
 . Black will be unable to win the final ko, so White will connect with
  .
.


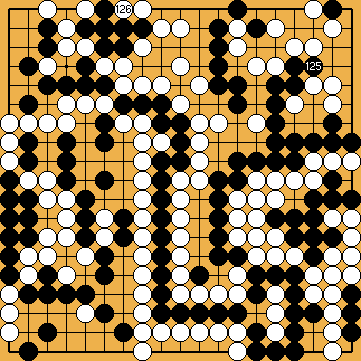
 , Black captures White's single stone with
  , entering what might be called a "peaceful" sequence.
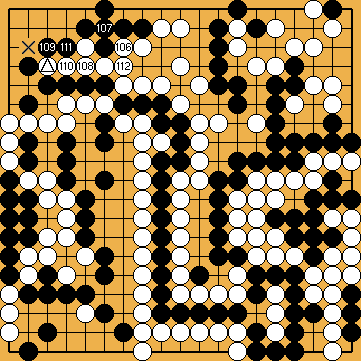
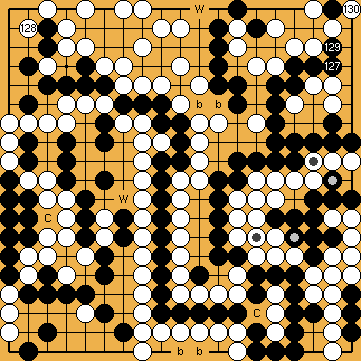
 for Black
  , White connects her
  -stone out, while Black secures life for his group in the corner.
 .
.
 , so eliminating his weakness.
 .
. , and Black cannot connect, due to a White move at
  starts the further endgame on the left side of the board.
 .
.
 ,
,  ), by reducing Black's territory as well as saving her single stone in the corner.
 ).
). ).
).
 , in order to block White's access to the corner.
 (or
(or  ) will not lead to a better result.
 prepares for the ko at
  .
.
 utilises Black's "new" weakness in the centre.
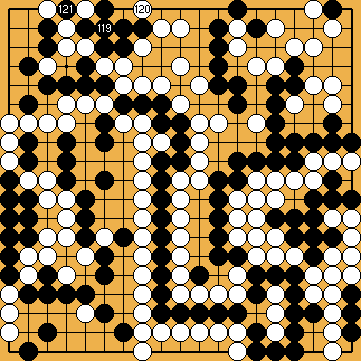
 secures life at the top right, but White
  kills Black's top left corner in return.
 .
. are no valid ko threats, as White intends to capture the tail anyway. And she will do so in sente.
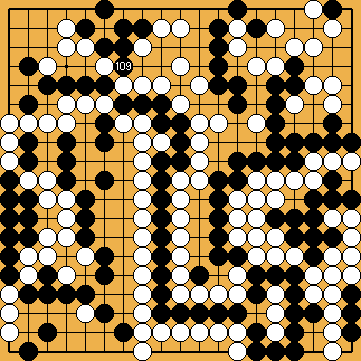
 , and Black connects his troops by capturing with
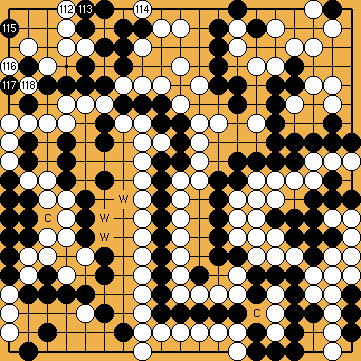
 starts a ko fight.

 , because he cannot allow White to capture his single stone above.
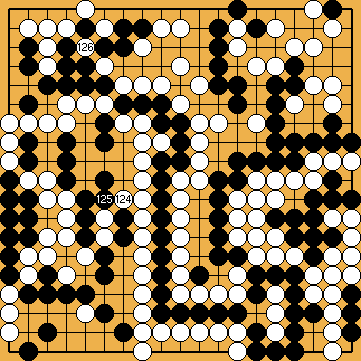
 .
.
 spoils Black's shape.
 , Black's group cannot get more than false eyes.
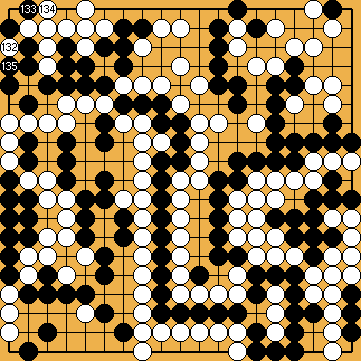
 prevents a Black eye in the corner.
 prepares the scene for a ko fight.
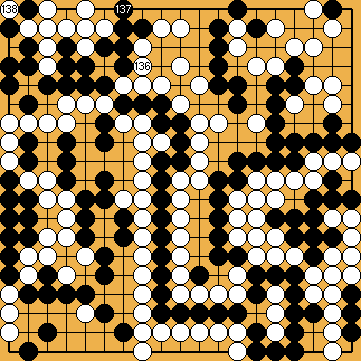
 .
.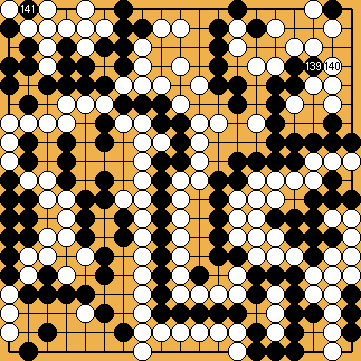
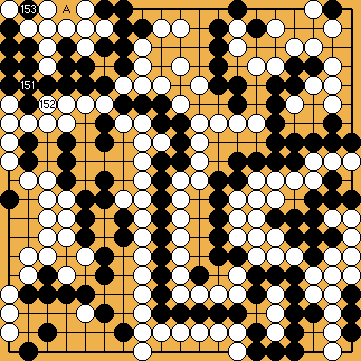
 should not be played as a ko threat, because it loses one decisive liberty in the Main Semeai, resulting in White winning the Punishment Semeai.
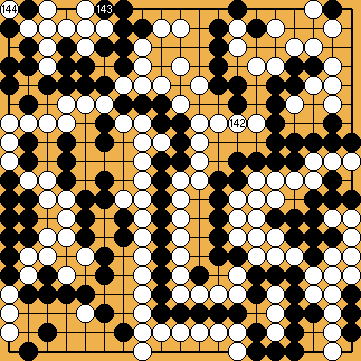
 (as far as the Main Semeai is concerned) by giving atari at
  in the top left corner results in being two moves behind in the Main Semeai.
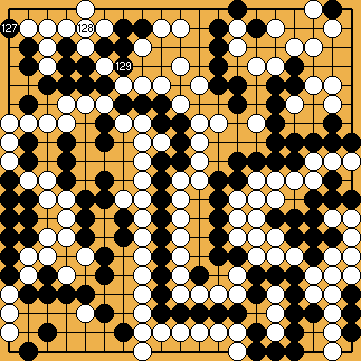
 gives Black one move back in the Main Semeai.
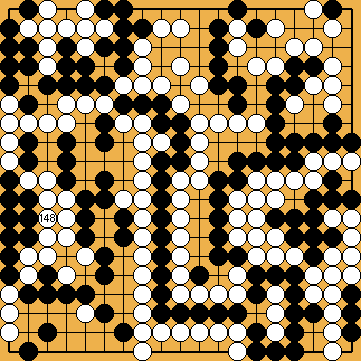
 .
.
 .
.
 loses one liberty in the Main Semeai, so the liberty relationship is at par now.
 and at
  before he was able to take White's liberty at the point of
  , therefore losing another two moves in the Main Semeai. Black would be hopelessly three moves behind.
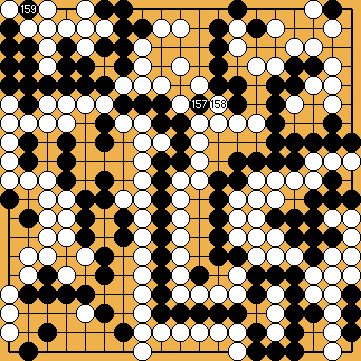
 loses one liberty in the Main Semeai. Black is now behind by one move again, so he will suffer from the Punishment Semeai.
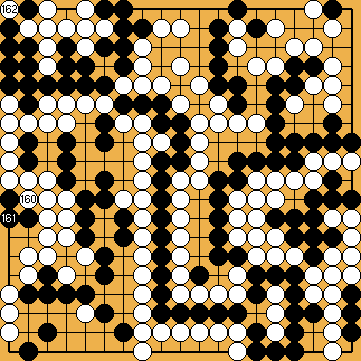
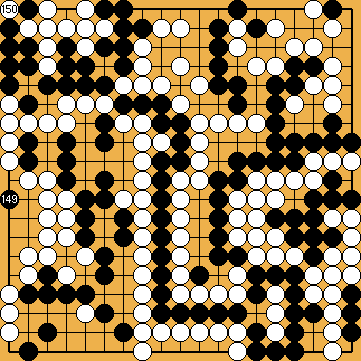
 is no valid ko threat, in principle, as White intends to capture the tail anyway.
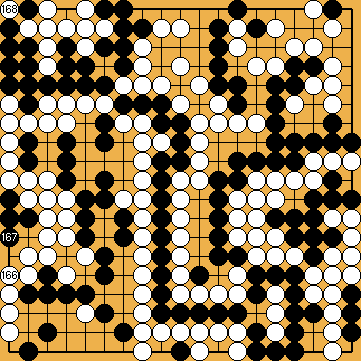
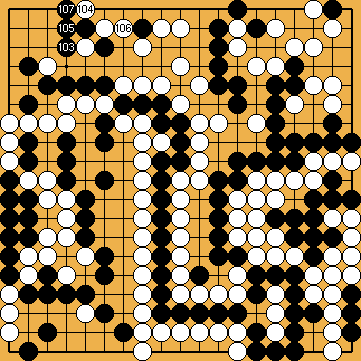
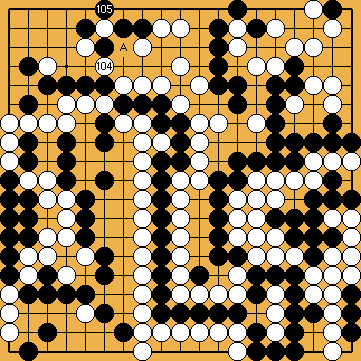
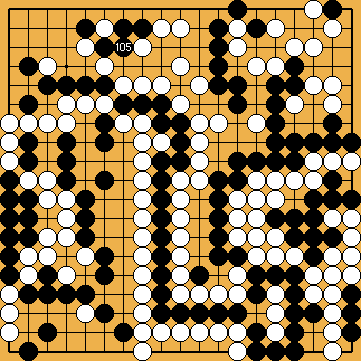
 is her last ko threat in the nakade.
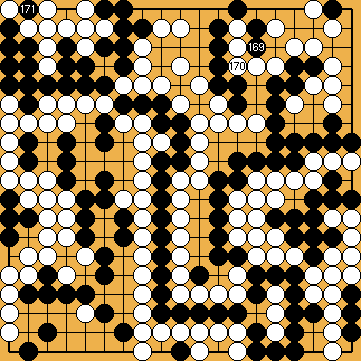
 loses one liberty in the Main Semeai. Now, Black is fatally behind by two moves again.
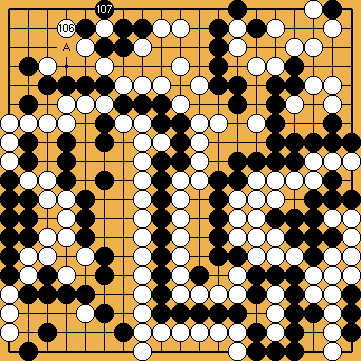
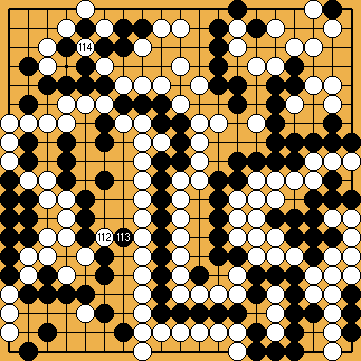
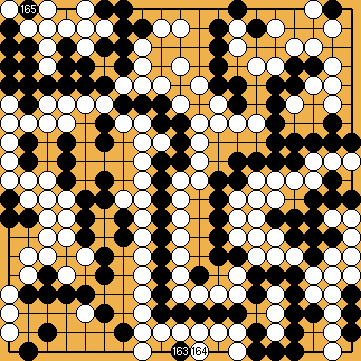
 – loses one liberty in the Main Semeai, so Black is back at being behind by "only" one move.
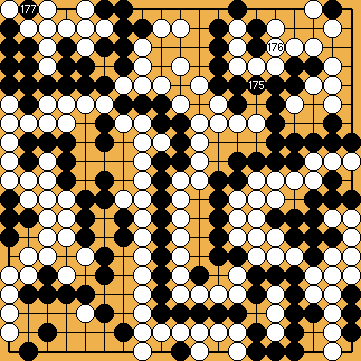
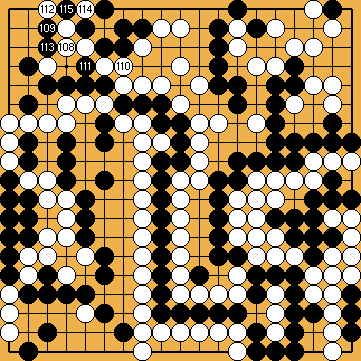
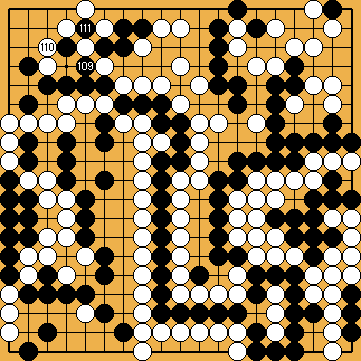
 in the bamboo joint does not change the liberty relationship in the Main Semeai here, as White is able to connect at
  without leaving an approach-move liberty behind.
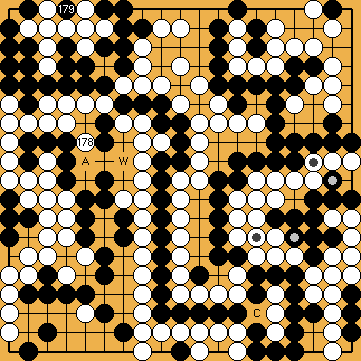
 .
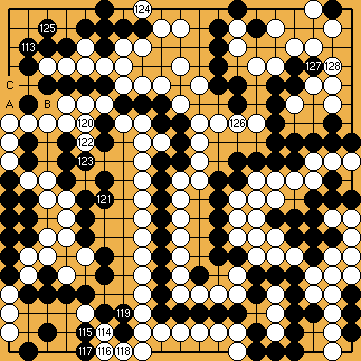
. locally with a move at
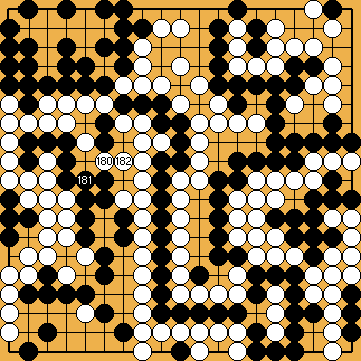
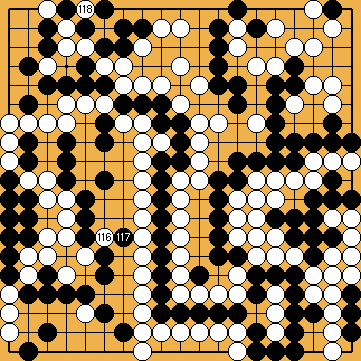
 , so capturing the tail will become obsolete.