Yin and Yang (2019)
|
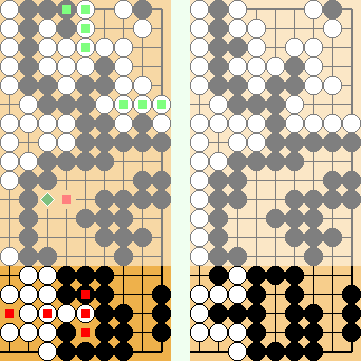
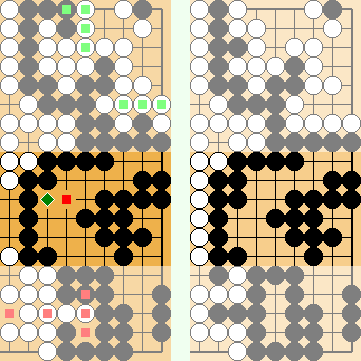
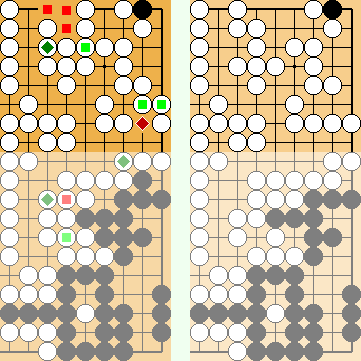
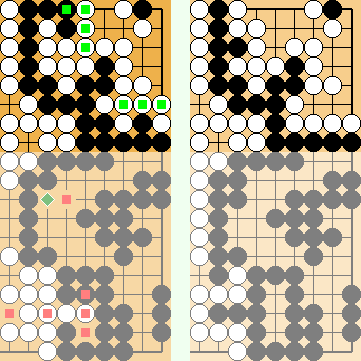
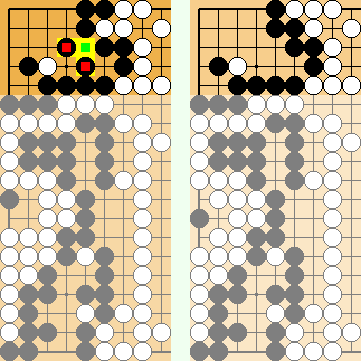
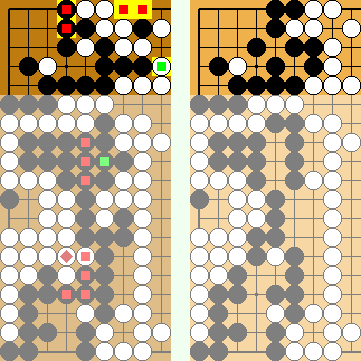
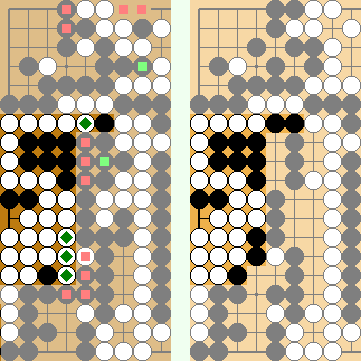
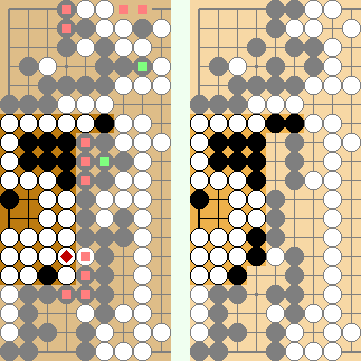
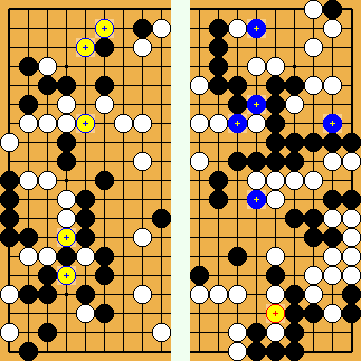
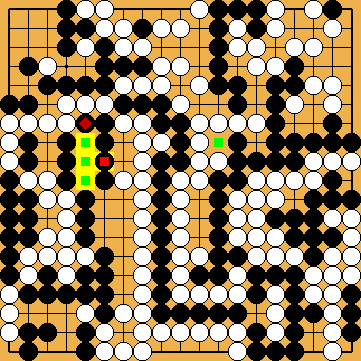
When we started to work with KataGo's new moves, we were so convinced these would commit White to the Capture Variation, that we had completely lost sight of the Semeai Variation for a while. However, the Semeai Variation is intrinsically tied to the Capture Variation, as is the White group on the left edge to the Black group in the top right. Legend: A green square (  / / / / ) marks an one-point gain for Black, a dark-green diamond ( ) marks an one-point gain for Black, a dark-green diamond ( / / / / ) a two-point one. ) a two-point one.Similarly, a red square (  / / / / ) stands for an one-point gain for White, a dark-red diamond ( ) stands for an one-point gain for White, a dark-red diamond ( / / / / ) for a two-point one. ) for a two-point one.
| |
| Our Solution 2015 vs. Cheng 1988 |  1093g 1093g |
| KataGo 2019 vs. Our Solution 2015 | 1093g |
| Joachim's Oki – An Unexpected Blind Spot | 1093g |
| A Forced Waiver | 1093g |
| A 50 Percent Approach-Move Liberty | 1093g |


 would be preferable to the wedge at
  that had been recommended by Michael Redmond.
 is a well known sacrifice tesuji that ensures Black a solid connection of his stones in the centre.
 , Black is solidly connected in the centre. Black lost one stone at
  became one point of Black territory, so Black got his connection for free.
 , and the point of
  and
and  .
. .
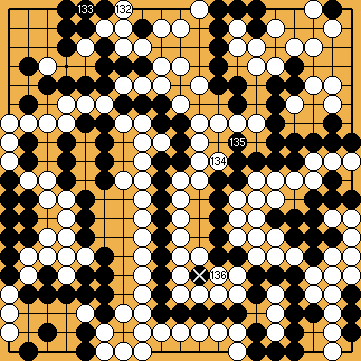
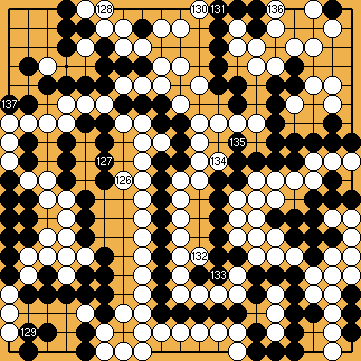
. continues with occupying liberties in the Main Semeai. At the end of the game, White will connect the ko at
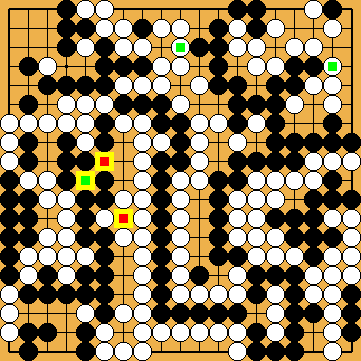


 in the upper right.
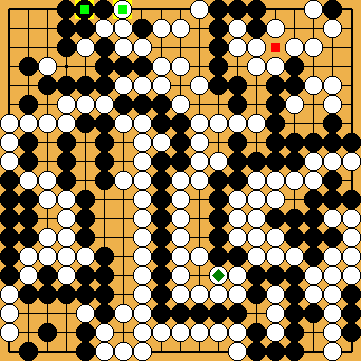
 and
and  , Black takes the miai point at the left with
  .
.
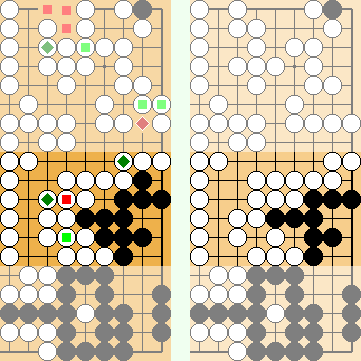
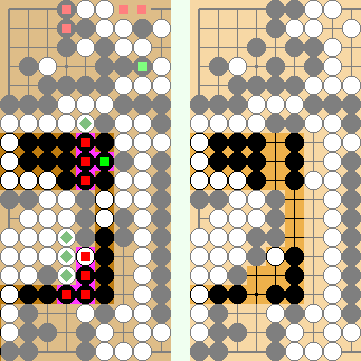
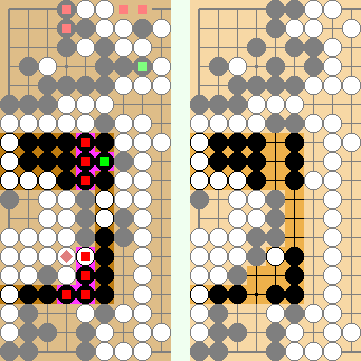
 in the upper left corner as early as possible. Otherwise, Black will capture at the same point to gain a small, but decisive advantage – please see the variation shown below.
 .
.  and
and  might be played even later than shown here.
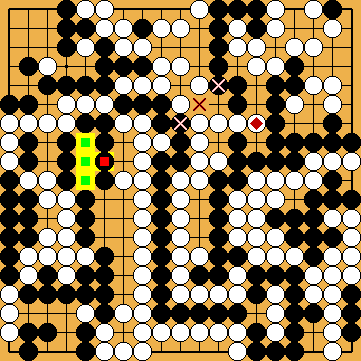

 , instead of connecting her single stone in atari at the upper edge.
 , but which loses a move in the Main Semeai.