Timing of the Guzumi Without
Harry's Hasami-Tsuke Sequence(2022)
Overview
|
Referenced by (
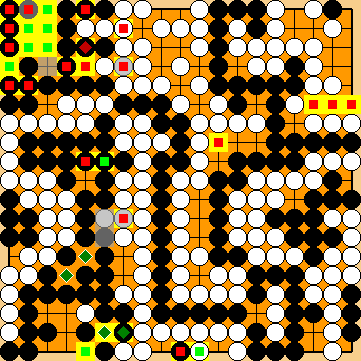
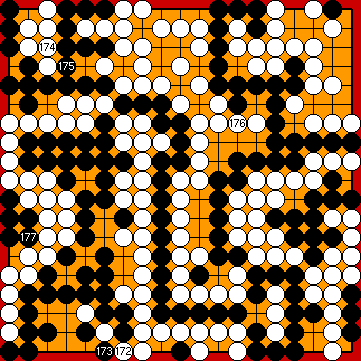
The hanezeki's tail In this chapter, we will refrain from playing Harry's Hasami-Tsuke Sequence in the upper right corner before my Guzumi We wanted to find out whether not having fixed the shape in the upper right corner would increase Black's flexibility when playing my Guzumi. However, as we had to realise after the extensive analysis by KataGo, this is not really the case. |
|
Black's push at If a Black move at In these self-play games, KataGo mistaskenly blocked the path of the hanezeki's tail with a move at |
|
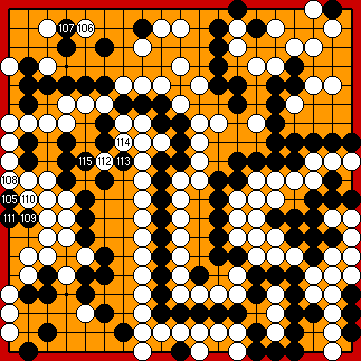
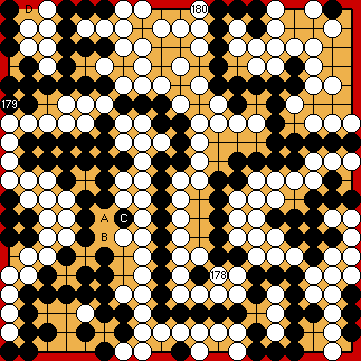
KataGo assigned my Guzumi a win rate of about 30% (in Analysis Mode; with komi = -1), apparently having realised that this move was a mistake. |
|
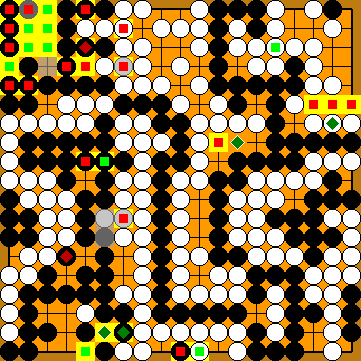
KataGo assigned my Guzumi a win rate of about 40% (in Analysis Mode; with komi = -1). Contrary to the comparable position with Harry's Hasami-Tsuke Sequence already played, a Black move at the Guzumi Point |
|
|
|
|
|
|
|
As you will see below, continuing the Nakade Sequence with |
|
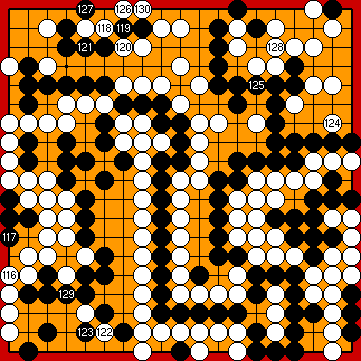
There were also self-play games in which KataGo immediately played Harry's Hasami-Tsuke at However, KataGo tended to lose points unnecessarily, apparently miscalculation the effect of capturing Black's nakade too early.
However, playing the solid connection at
|
|
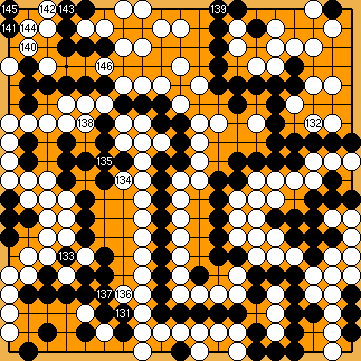
However, it would have been better for him to follow the usual course of the game with connecting at
|
|
|
|
|
|
|
|
|
|
... |
|
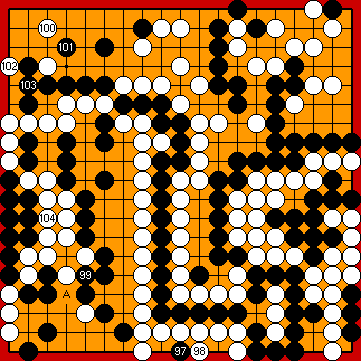
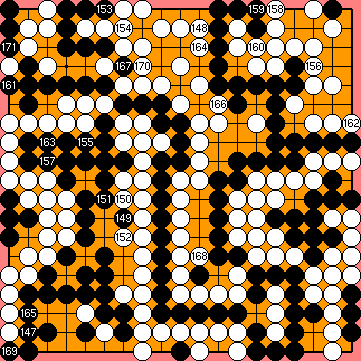
Black must not play any reduction. After White's decision point, she will capture at |
|
Capture Variation: Compared to Our Solution (2021), ...
In total, Black lost three points. White + 2 => White + 5 |
|
Semeai Variation: Compared to Our Solution (2021), ...
In total, Black lost four points. Black + 4 => Jigo |
|
 1813
1813 :
: has reached its minimum length of two stones, caused by the two shared liberties
  of the large hanezeki groups
  and
and  in the corner.
 .
.
 : (
: ( G
G  1864
1864 is always a valid alternative option and consequently will not be considered by us in the following.
 immediately.
 was hidden behind KataGo's event horizon.
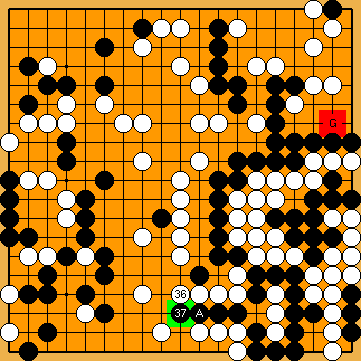
 : (
: (
 : (G
: (G 
 :
: :
: :
:
 :
: :
:
 :
: :
:
 :(
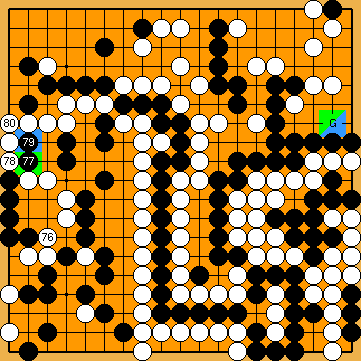
:( G
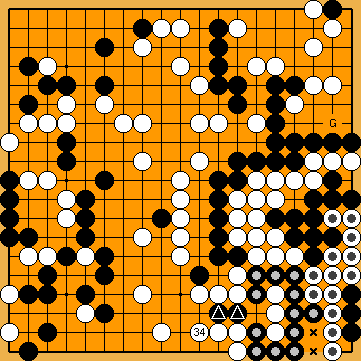
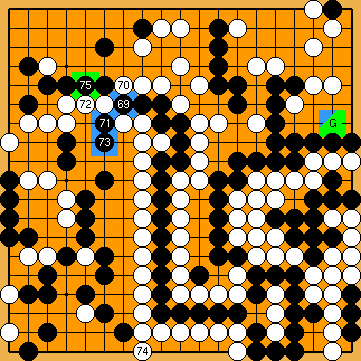
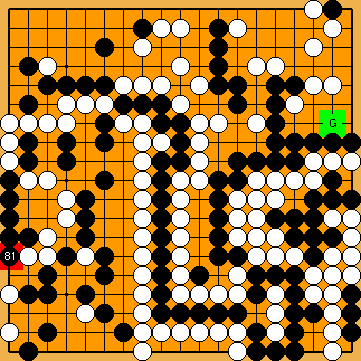
G  is a grave mistake, so this is the very last moment for playing my Guzumi.
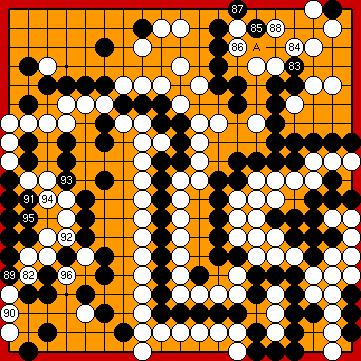
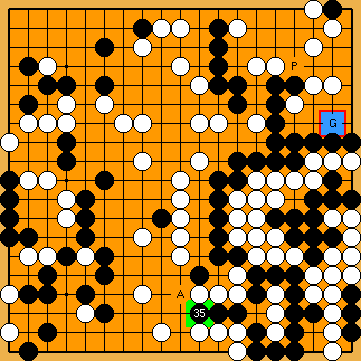
 : (85
: (85  .
. : (
: ( :
:
 :
: : (
: ( , instead.
 :
: :
: :
: :
:
 :
: :
: :
:
 :
: :
: :
: :
: :
: :
: :
: :
: :
: :
:
 :
: :
: :
:
 :
: :
: in sente.
 :
: :
: :
:
 and
and  .
. .
.