The Further Evolution of Amateurs' Knowledge
(2011 - 2014)
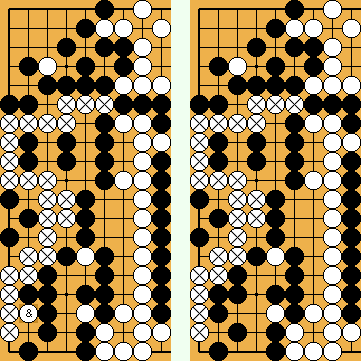
2012 - Occupying White's Liberties
|
(Referenced by While occupying White's liberties on the left side of the board, Black should play moves like |
|
If White, at any time, had more territory-reducing moves on the left side of the board ( |
|
... as Black on the right side of the board ( Please remember that the fates of White's group on the left edge, and Black's group in the upper right, are strongly connected. To realize her territorial gain ( |
|
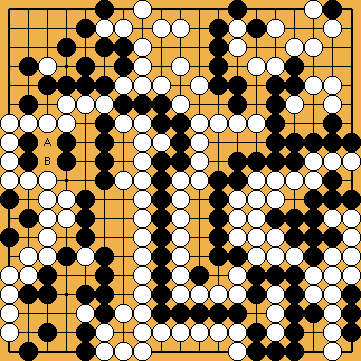
At the top (after In total, each side destroyed seven points of opponent's territory in exchange for losing seven liberties of their large groups that are engaged in the Main Semeai. The Semeai Variation is unaffected as well. |
|
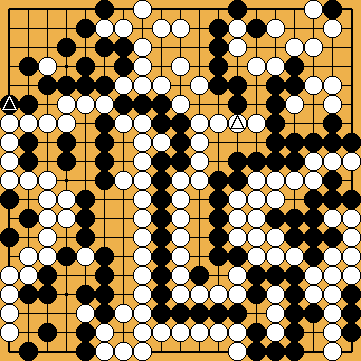
 497
497 , and
, and  , last, for technical reasons. These moves occupy neutral points only, and do not protect Black's territory. This leads us to another interesting feature of the problem's overall structure.
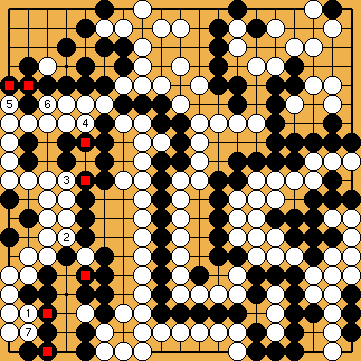
 to
to  each destroy one point of Black's territory (
 ) in sente, but also lose one liberty of White's group, while
  is gote (but creating an approach-move liberty), losing one liberty in exchange for destroying another point of Black's territory (
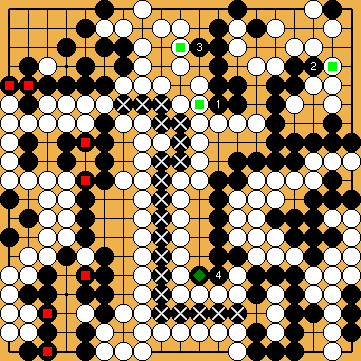
 to
to  each destroys one point of White's territory in exchange for losing one liberty of his group;
  gains two points by saving the single Black stone in gote, so loses two liberties of his group), White could reduce the margin of her loss in the Capture Variation. However, this is not true with the problem.
 ). In this case, however, Black's group in the upper left also lives, and Black's territorial gain (
 ,
,  ) also matters.
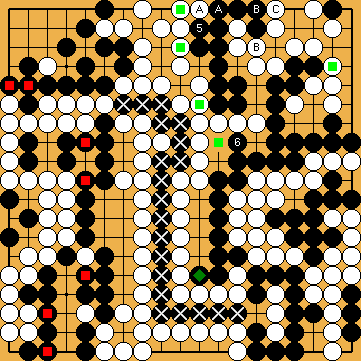
 to
to  ),
),  destroys one point of White's territory in sente (
 is gote, destroying one point of White's territory (
 ) for losing one liberty of his group.


 at the right by blocking with
  at the left, preventing two potential White forcing moves.
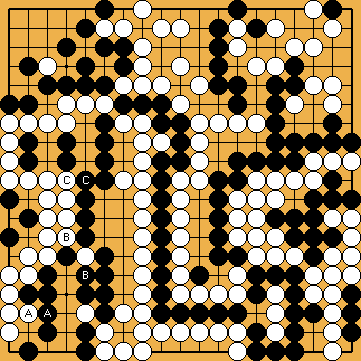
 ,
,  and
and  ) – at the cost of three liberties – ...
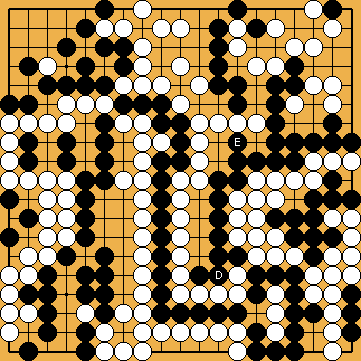
 (at the cost of two liberties) and the move at
  (at the cost of one liberty).
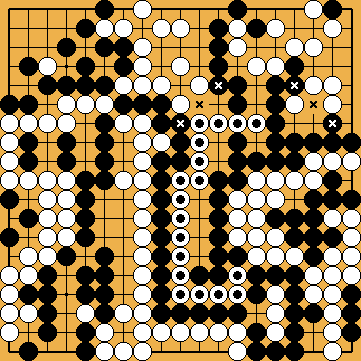
 -stones cannot get an eye in the lower part of the board any longer, so – in conjunction with the false eye (
 ,
,  ) at the right – the false eye at the top (
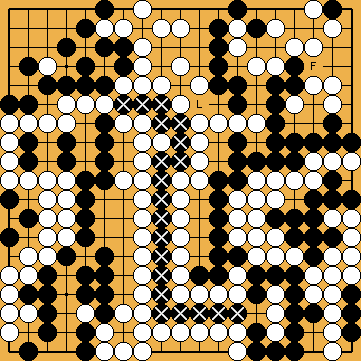
 ) for granted and utilize it for playing another territory reducing move in the upper right (e.g. at
  ) mistakenly.
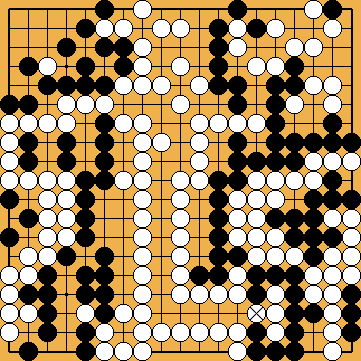
 ), White does not have any problems at all to approach Black's large group from the left.
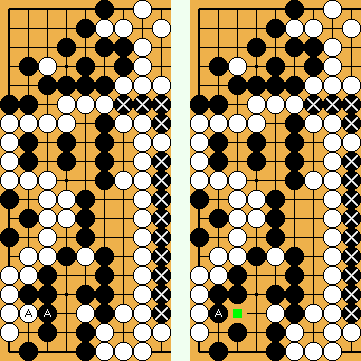
 -exchange in the lower left destroys one point of Black's territory that he gets in the course or Our Solution (