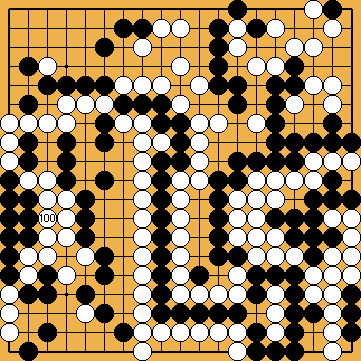
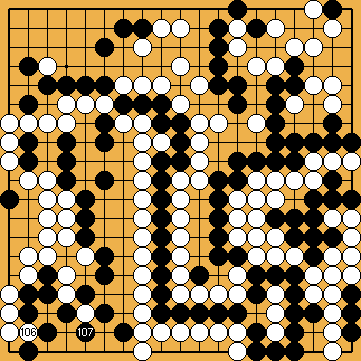
White Will Capture Immediately
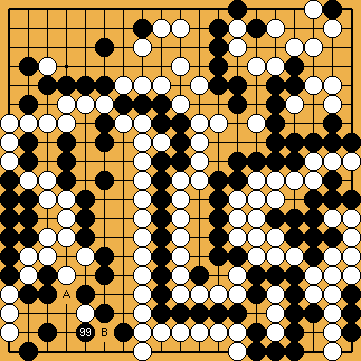
– Black Has to Block
|
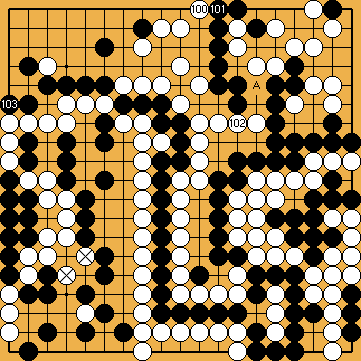
In order to simplify the position and to avoid giving Black any chances, KataGo decided to capture Black's single stone immediately with |
|
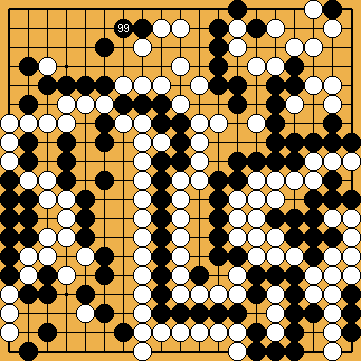
Black's block at |
|
Let's calculate the territorial impact of KataGo's new moves. Shown is the board position after White's tsuke of Yamada Shinji with Note: The Semeai Variation is not affected; it still ends by 3 points for Black. |
|
 .
.
 is mandatory.
 in response to Black's atari at
  . In order to realize her territorial gain in the lower left, White will later capture Black's tail with a move at
  (Capture Variation).
 in response to White's atari at
  to the same effect.
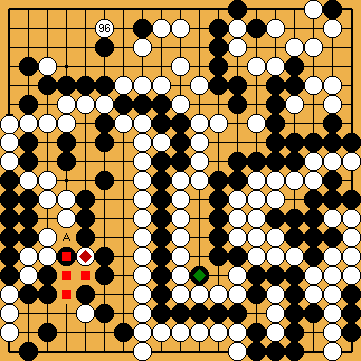
 , where Black later played the atari at
  ,
,  ).
). ), so gaining one point.
 , so gaining two points.


 ), so -- for the moment -- we can neglect the problem that this tenuki loses a decisive move in the Main Semeai.
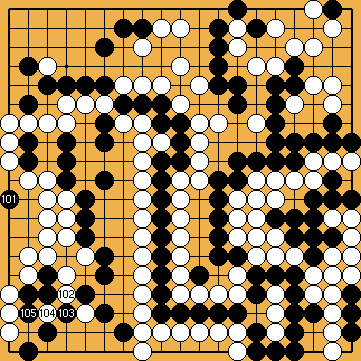
 reduces White's group at the left to only one eye.
 and the throw-in at
  at her disposal. Even if Black captures with
  , ...
, ...
 . Black
  and ...
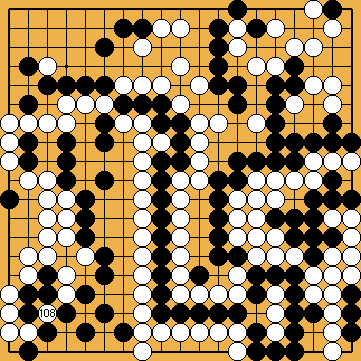
 are miai, so White lives at the left edge.