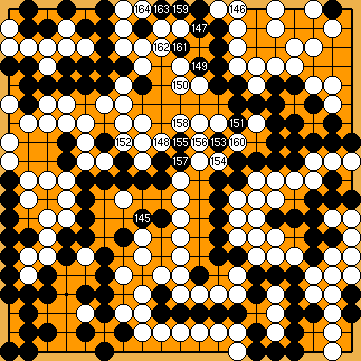
Timing of the Guzumi Without
Harry's Hasami-Tsuke Sequence (2022)
VAR 

|
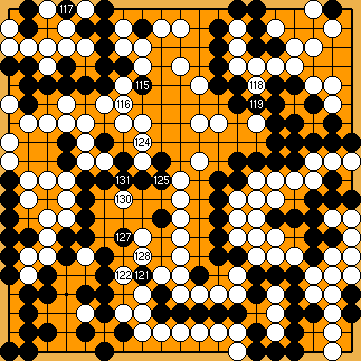
We inserted this move manually. |
|
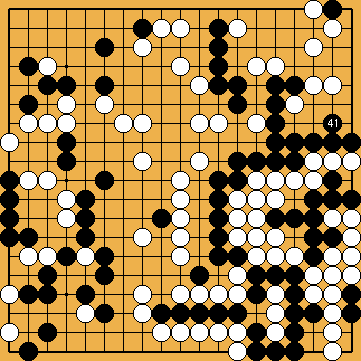
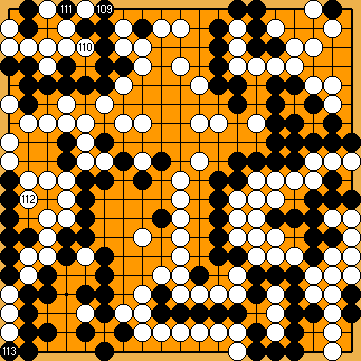
This move also ensures that White's potential eye space at the bottom is now large enough for independent living.
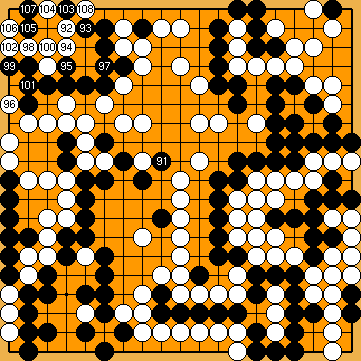
He does neither precede it with the "classical" push at
|
|
|
|
|
|
|
|
|
|
|
|
|
|
|
|
|
|
|
|
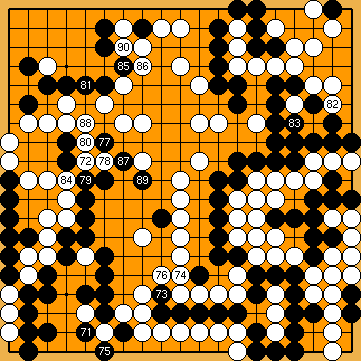
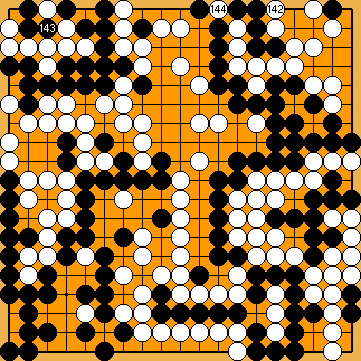
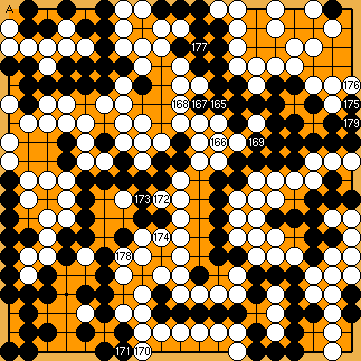
Territory: Black:
= 51 points in total. White:
= 52 points in total on the board. White wins the game by two points. |
|
 1863
1863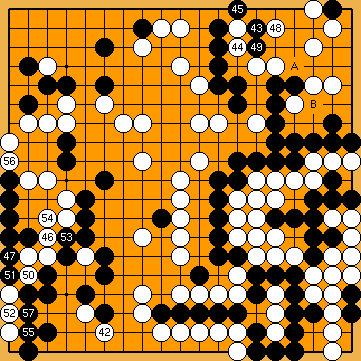
 :
: :
: nor does he secure immediate life for his large group by capturing White's single stone at the right with
  , instead.
 :
: :
: :
: :
:
 :
: :
: :
: :
: :
: :
: :
:
 :
: :
: :
: :
: :
:
 :
: :
: :
: :
: :
: :
: :
: :
:

 :
: :
: :
:
 ;
;  ;
;  ;
;  ;
; 
 :
:
 ;
; 
 :
: :
: :
:
 :
: :
:
 :
: :
:
 :
:
