Variations of Our Solution (Ib)
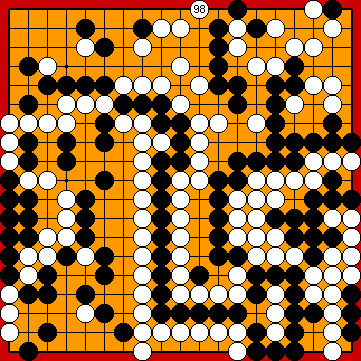
KataGo's 2021 Solution
VAR 
 (.3)
(.3)  (.2)
(.2)
|
|
|
|
|
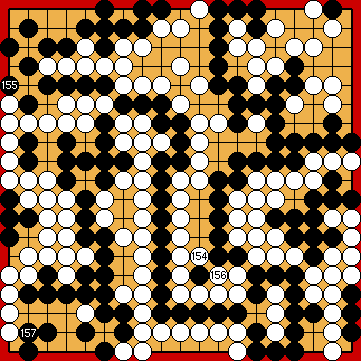
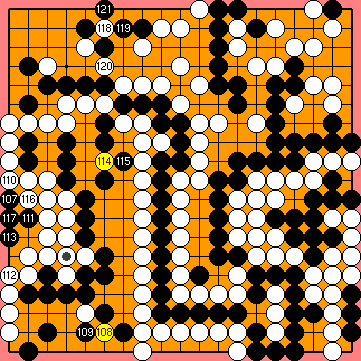
White must continue with the crosscut at Only a two move difference makes a game-deciding difference here.
|
|
However, this move is likely to increase the susceptibility to errors in the following course of the game unnecessarily (and can be a genuine mistake; White should keep this move in reserve, and play the endgame sequence after her hasami-tsuke in the lower left corner in succession - if ever.
However, this is another move that is likely to complicate the course of the game unnecessarily (and is a genuine mistake, if played too early;
|
|
Playing the atari at
Alternatively, he might consider giving atari at
|
|
This move was the candidate for a potential mistake in this subvariation, as I felt that Black's shape in the upper left corner would be strengthened by this move unnecessarily. As it turned out, the exchange for
|
|
He would lose one point overall, if he played the solid connection at |
|
|
|
Black must not play any reduction |
|
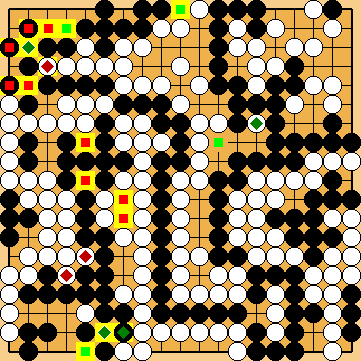
Capture Variation: Compared to the superordinate variation, ...
In total, White gained three points. Black + 2 => White + 1 |
|
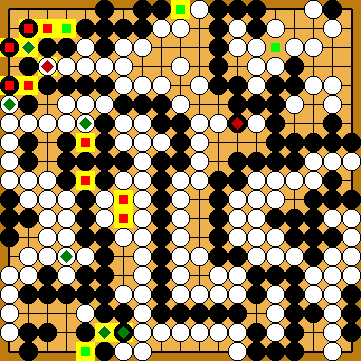
Semeai Variation: Compared to the superordinate variation, ...
In total, White lost three points. Black + 2 => Black + 5 |
|
 58ap
58ap
 :
: :
:
 :
: :
: :
: : (
: ( A
A  58as
58as , instead, either before or after she captured the nakade with
  .
. , whereafter her connection at
  would become a viable option again.
 :
:
 :
: 58by
58by :
: :
: :
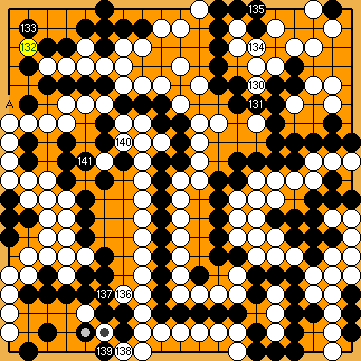
: , so Black chooses the outside atari here, punishing White for her earlier mistake.
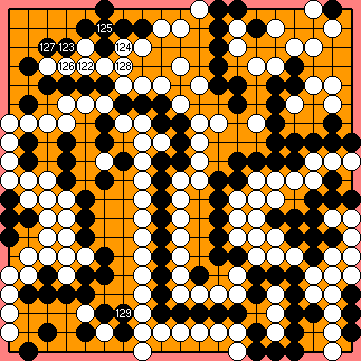
 :
: first would also be possible.
 :
: in the corner.
 :
: :
:
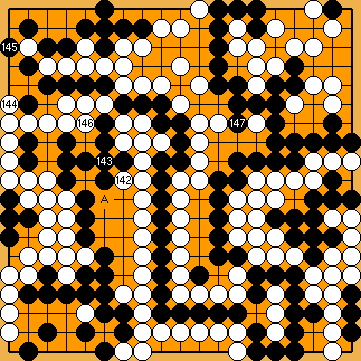
 : (134
  does not have any effect on the further course of the game. Therefore, White could also do without this move.
 ;
;  :
:
 :
: :
: :
: : (
: ( : (A
: (A  , instead.
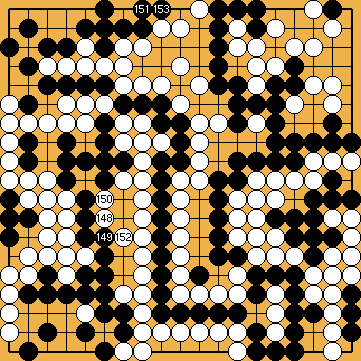
 :
: :
: :
: