Variations of Our Solution (Ib)
KataGo's 2021 Solution
VAR 
|
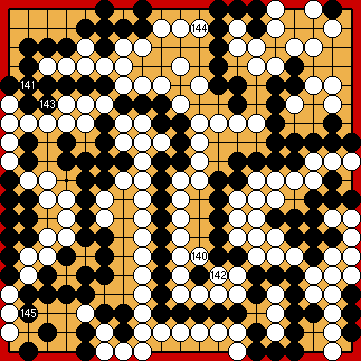
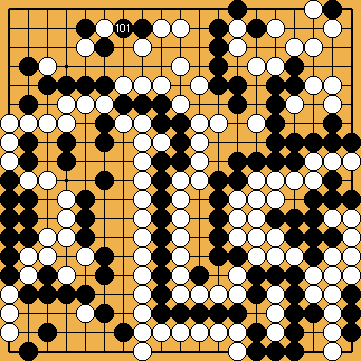
We inserted this alternative move manually. The sequence below shows KataGo's favoured continuation (in "Analysis Mode"). |
|
He is unable to connect at |
|
Alternatively, she could have connected at
This move destroys two points of Black's territory, but does not lose a tempo in the Main Semeai, as it created an approach-move liberty at |
|
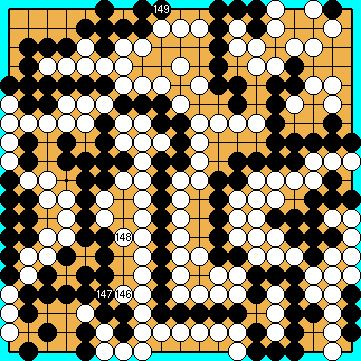
KataGo also considered
Immediately connecting at
He is still par with the Punishment Semeai Liberty Level, and so is unable to capture at
He might consider playing the throw-in at
|
|
Alternatively, he might consider connecting at
|
|
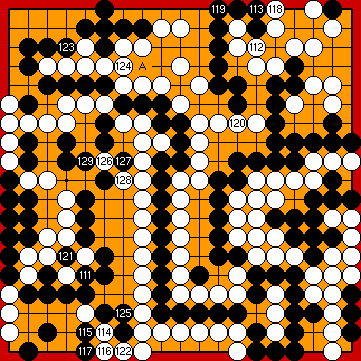
Black must not play any reduction. |
|
White will play this sequence after her decision point. |
|
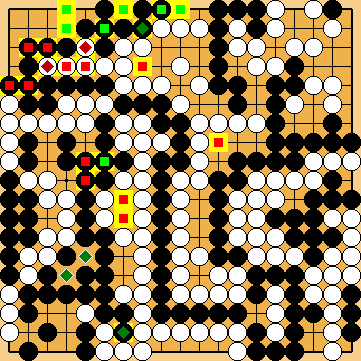
Capture Variation: Compared to the superordinate variation, ...
In total, Black lost one point. White + 2 => White + 3 |
|
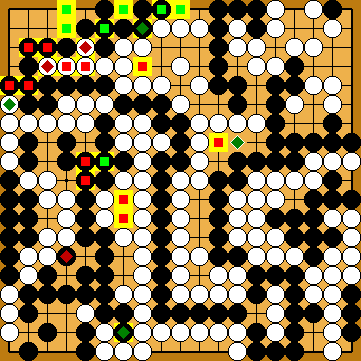
Semeai Variation: Compared to the superordinate variation, ...
In total, Black lost three points. Black + 4 => Black + 1 |
|
 58aa
58aa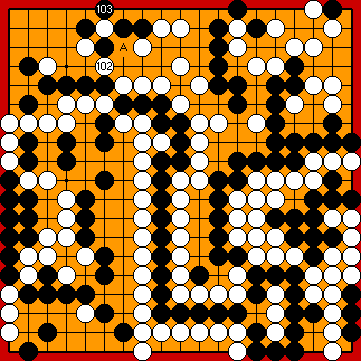
 :
: :
: , instead.
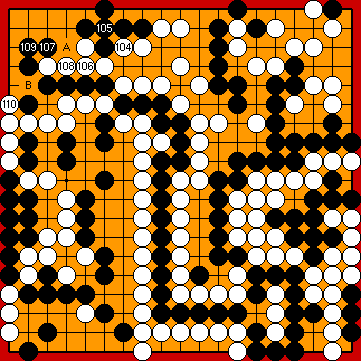
 :
: first.
 :
: , which would also be possible here.
 :
: :
: .
.
 :
: (CHITOOM).
 :
: :
: :
: : (122
  58eh
58eh in the lower left corner, instead, was possible for White, but would complicate the game unnecessarily.
  :
: , instead.
 :
: first (White will capture at
  :
: :
:
 :
: :
: , not affecting the final scores of the game. These two moves are miai.
 :
: :
: