: ( 90)
After Black played the hiki of , both sides follow the path of the variation that is shown with the double throw-in ( 225). The variation without any throw-in is also shown in the theory chapter as (FLAG 1b2 ( 999).
: (85 93)
Black might consider playing from the right, at , instead, aiming at a more solid shape for his stones in the upper left corner.
: (A 95)
It seems that White could also win using the combination of and the hane of , by killing Black's rock solid looking large group on the left side.
:
This is the decisive idea inside the hanezeki. The move itself is gote, but it will have the effect of gaining one move for White.
, :
These two moves enforce Black to occupy own liberties of his group in the top right, with , and , that are directed towards the hanezeki, to prevent White from capturing Black's upper group in the temporary seki. White has invested one move () to occupy two Black liberties, so she gained one move here.
The other way round (with , during the building of the hanezeki), with White's connection below (at , instead of ), White needed two moves to occupy Black's hanezeki-oriented liberties, , and . So, playing at would provide White with a lost move here.
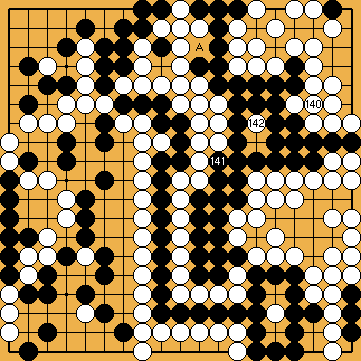
Ko: ; ;
:
Black's atari is a suicidal ko-threat now, due to White's earlier moves at the marked points.
:
Black has no ko-threats left.
:
White connects the ko, and Black will be unable to give atari at


 (.1)
(.1)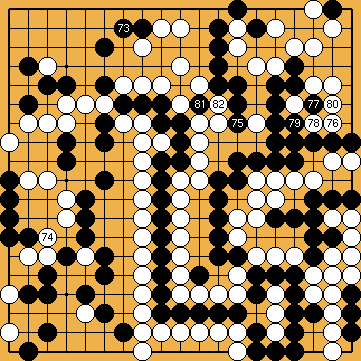
 90
90 225
225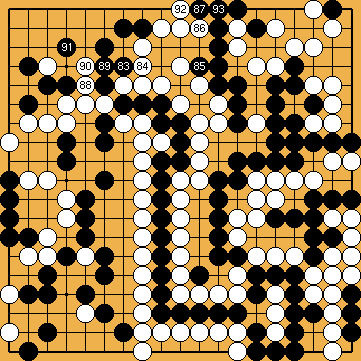
 : (85
: (85  93
93 , instead, aiming at a more solid shape for his stones in the upper left corner.
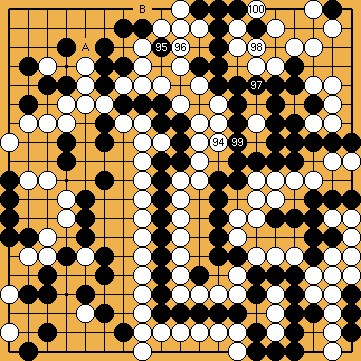
 : (A
: (A  and the hane of
  , by killing Black's rock solid looking large group on the left side.
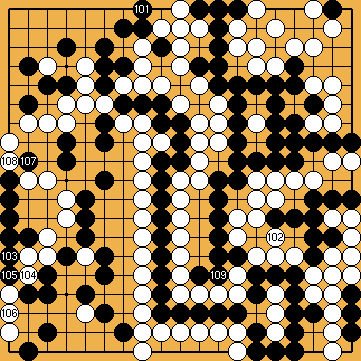
 :
:
 ,
,  :
: , and
, and  , that are directed towards the hanezeki, to prevent White from capturing Black's upper group in the temporary seki. White has invested one move (
 , during the building of the hanezeki), with White's connection below (at
  ), White needed two moves to occupy Black's hanezeki-oriented liberties,
  , and
, and  . So, playing
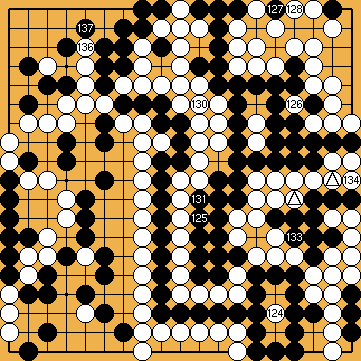
 ;
;  ;
; 
 :
:
 :
:
 :
:

