Variations of Our Solution (I)
VAR  (A)
(A)
|
(Referenced by
The effect of this move is valid for the Capture Variation only; the Semeai Variation is not affected. |
|
|
|
|
|
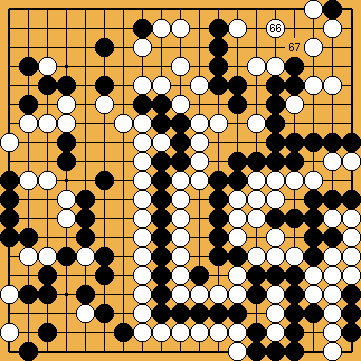
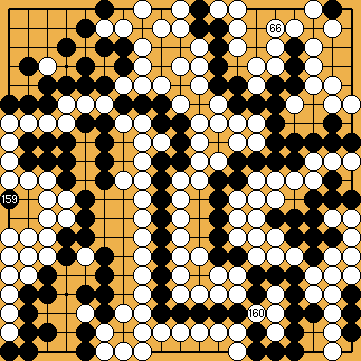
In the upper right, Black has one liberty more than usual (
The Hanezeki Exchange (
Here, White will gain one point by playing an unbelievable tenuki in the hanezeki in order to attack Black's upper left corner with a hane at
Please refer to |
|
|
|
|
|
|
|
|
|
|
|
|
|
|
|
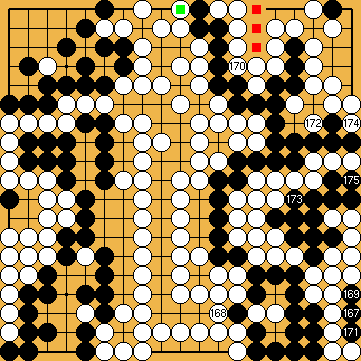
Black wins by three points. This is the same score as with the Semeai Variation of our solution. |
|
 38
38 46
46 .
.
 :
: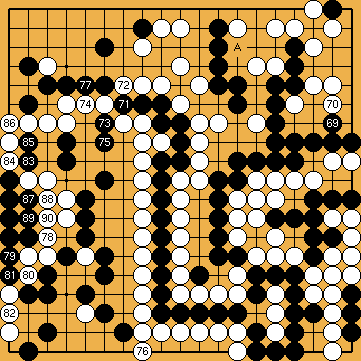
 : (A
: (A  172
172 , instead of immediately playing guzumi.
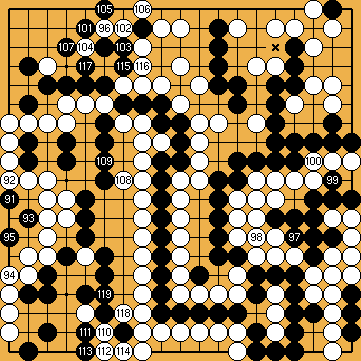
 :
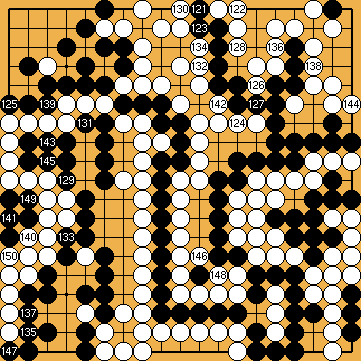
: ). If White occupies a liberty of Black's group in the upper right, Black will defend the upper left corner with
  .
.
 -
-  ) must be played earlier.
 .
.
 :
:
 :
: thereafter.
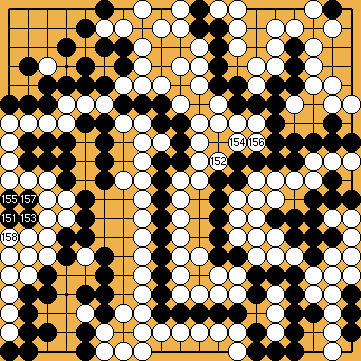
 :
:
 :
: ), but lost one on the upper edge (
 ). Her total gain is two points.