Technical Notes (I)
The chapters "Technical Notes" are designed especially for those who are more interested in the problem, or even want to investigate it on their own. All others can skip these chapters without disadvantage.
Herein, we collected all the aspects, which we assessed to be too special for "A Summary of Our Solution" ( 19).
19).
| Early Life Without Real Benefit | 35 |
| Some Counter-Intuitive Effects - The Throw-in | 37 |
| After the Birth of the Hanezeki | 37 |
| The Art of Mistakes - Circular Hanezeki | 38 |
| The Art of Reduction - Hasami-Tsuke | 38 |
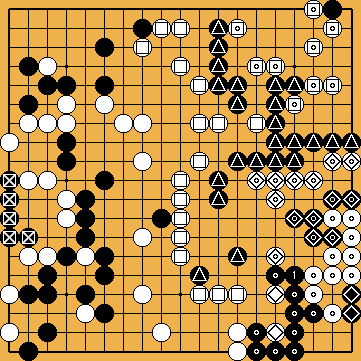
 on the right side is possible, but not attractive, so
  pre-empts two
  eyes in the lower right corner. If
  connected
  ,
,  , and
, and  , would come to life, capturing
  , and parts of
  . If
. If  on the left side, achieving life for all of her groups in sente, and winning the game with more territory than
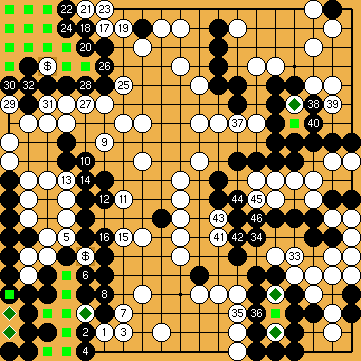


 (
( (
( in the top right corner is not played. The second throw-in has been assessed over decades to be the coffin nail to an unspecified semeai, or at least to lose points, but these assumptions will turn out to be not correct approximately 150 moves later.
 at
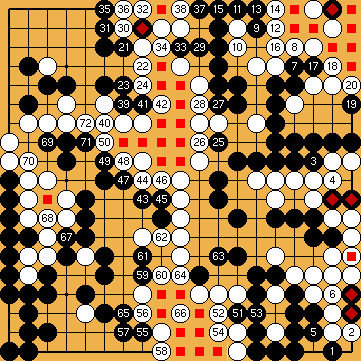
at  ,
,  ,
,  , and
, and  ).
).  , capturing
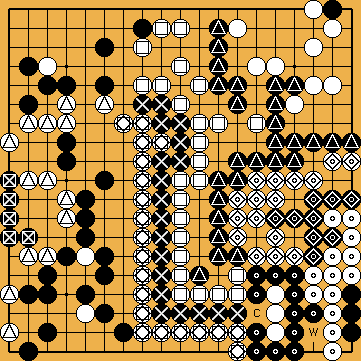
 ,
,  with a move at
  . However, at any time from now on,
  ,
,  , and
, and  - will try to force
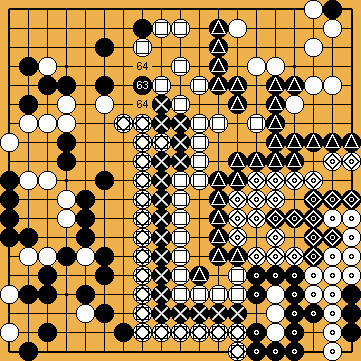
 here. However, after long thought,
  from above.
 ,
, 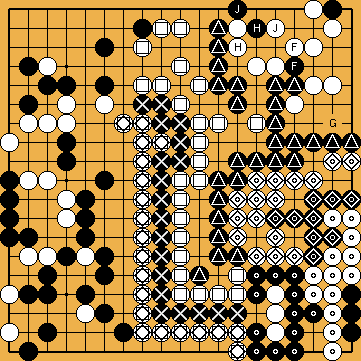
 . This move is also played in the classical solution, although at a different moment of the sequence. We think that
  (
( , followed by
  ,
,  , and
, and  .
.