Variations of Our Solution (I)
VAR 
|
(Referenced by
|
|
|
|
|
|
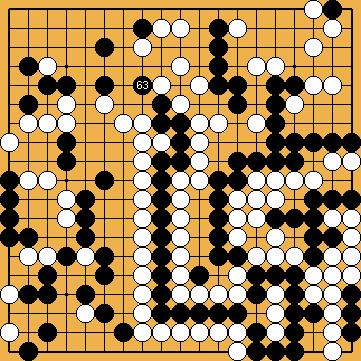
Black might consider to try Joachim's ideas of playing the hiki at But - after the hiki of |
|
So we now are in the path of the classical solution, in which White will gain an additional seven points of territory ( |
|
In the Capture Variation, White's lead would increase by a further two points, because White captures an additional Black stone ( In total, White will win this sub-variation by five points. |
|
 38
38 45
45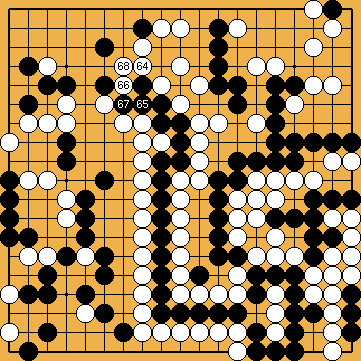
 : (65
: (65  135
135 . However, that move deserves attention for a very different reason; it leads to a seki across half the board with a new type of seki, called Circular Hanezeki (
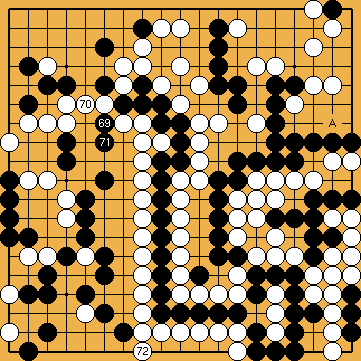
 : (A
: (A  , instead, does not work for Black as well.
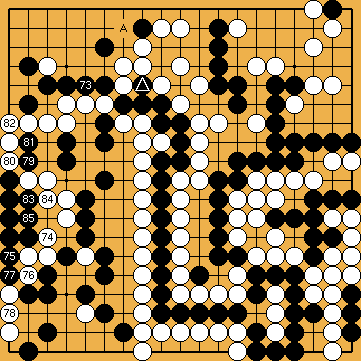
 : (A
: (A  , which both are explained in detail later for the first move (
 , because his stone at
  here) may have hurt White's shape on the upper edge. However, these attempts will have been in vain.
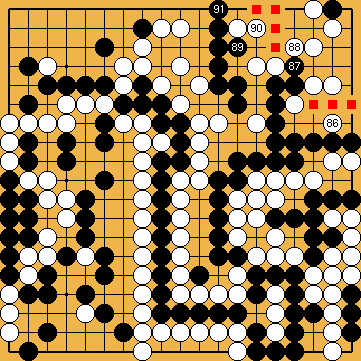
 :
: ) in the upper right corner, compared to our solution. White will choose the Capture Variation, to realize her gain that is shown here, and to overcome Black's lead of five points in the Capture Variation of our solution successfully.
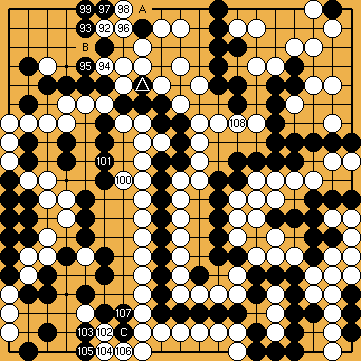
 :
: . At the top, White has one point (
 ) more than usual, and Black has not captured one of White's stones at
  , but must connect there, instead. At the bottom, Black saves one of his stones (
 ). White gets a total gain of one point on the left side.
