Variations of Our Solution (II)
VAR  (C)
(C)  (C)
(C)
|
(Referenced by
|
|
|
|
|
|
|
|
In 2020, we learned that there was a miscalculation in one of our following sequences, resulting in the statement above. However, it will be OK to follow the sequence shown here. |
|
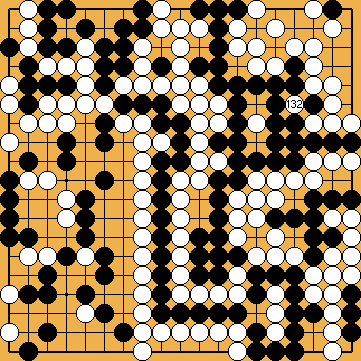
KataGo prefers doing without the exchange at the upper edge. |
|
|
|
|
|
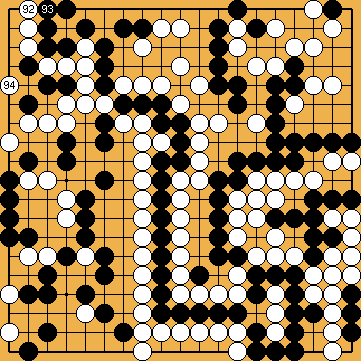
We have to admit that there was a miscalculation in the subvariation. In fact, changing the order of moves – as suggested above – will not make a difference. |
|
|
|
|
|
|
|
It does not help Black to immediately play at |
|
|
|
Please note that White still has the double ko-threat at |
|
 98
98 219
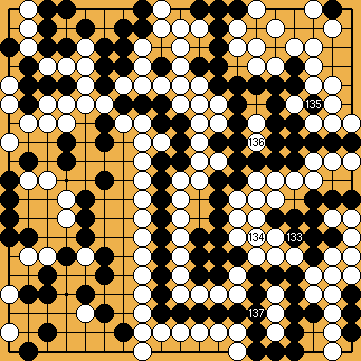
219 here, as in the previous variation, but captures White's stones in the lower left, just before the Crosscut Sequence in the centre is completed. This turned out to become surprisingly complicated. Over a long period of time we saw no possibility to follow the well known proverb "In a semeai, capture the ko last.", which worked so well with Black's move at
 :
:
 :
: of our solution (
 .
.
 : (A
: (A  366
366 (=
(=  ), which would follow a suggestion of Cheng (
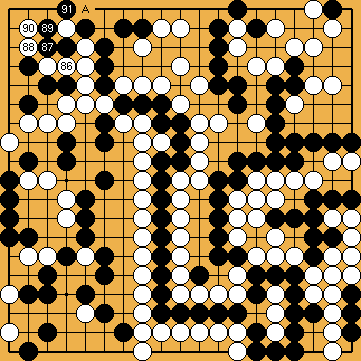
 : (A
: (A  :
: .
.
 : (94
: (94  , instead, leads to a similar result as with this kikashi inserted.
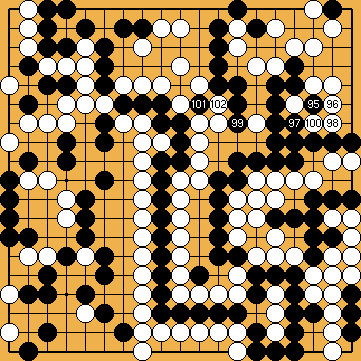
 : (99
: (99  , too, resulting in a change in the order of moves.
 : (A
: (A 
 : (109
  immediately.
 : (B
: (B  here, is more attractive for White than with the semeai in the previous section. Here, Black has captured White's lower left side already, so there are only a few ko-threats remaining against White's group in the upper left corner.
 :
:
 :
:
 : (137
  , instead.
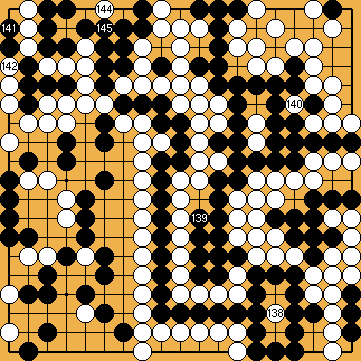

 :
: , instead.
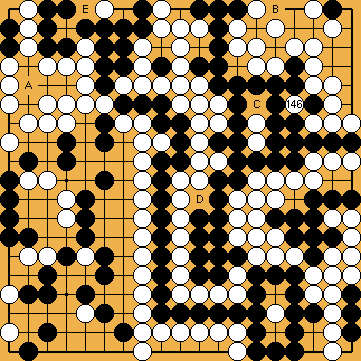
 :
: on the upper edge is no valid ko-threat either. In the centre, neither
  nor
nor  will pre-empt White connecting the ko, so winning the game.
 in the upper left corner.
