41
41
|
|
|
|
|
(Referenced by
If the second throw-in ( Here, with the second throw-in, White |
|
|
|
|
|
As shown in the variation for |
|
Please note that the link directs to a subvariaton of Our Solution, showing a position that is similar to this one here.
|
|
(Referenced by
Quite the contrary, choosing the tsuke |
|
Please note that the link directs to a subvariaton at an earlier moment of this Professional Solution, as the now more advanced Nakade Sequence does not affect the rest of the board. |
|
(Referenced by
Please note that the link directs to a subvariaton at an earlier moment of this Professional Solution, as the now terminated Nakade Sequence does not affect the rest of the board. |
|
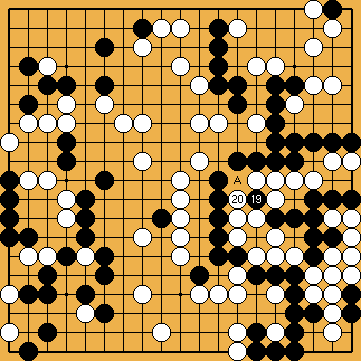
White would like to retreat with a move at |
|
In principle, Black could also play hasami-tsuke at (Referenced by
|
|
|
|
(Referenced by
|
|
(Referenced by
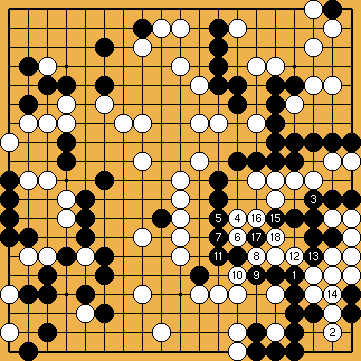
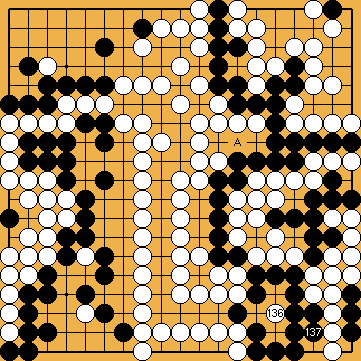
White captures Black's centre group now. For a long time, this move has been assessed to be disadvantageous for White. Instead, White continued at (B |
|
|
|
|
|
|
|
|
|
|
|
|
|
|
|
|
|
(Referenced by The published professional solution ends in a draw (jigo) only. |
|
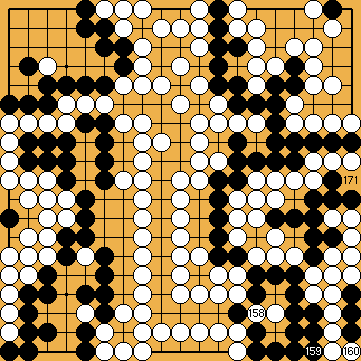
 :
:
 :
: , White answered at
  . A discussion on this topic starts later (
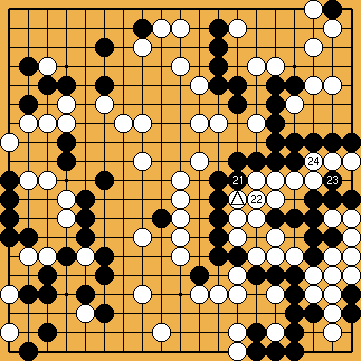
 ,
,  :
: /
/  already there, the exchange of
  was at
  ) is not played, then the stone
  is gote, and there will be no gain of two points for White. On the other hand, Black loses a ko-threat by playing at
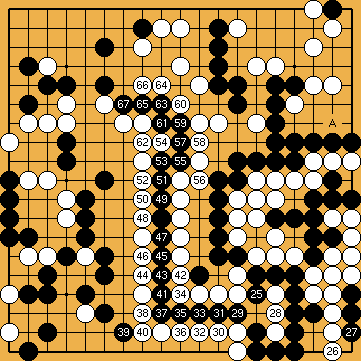
 : (A
: (A  432
432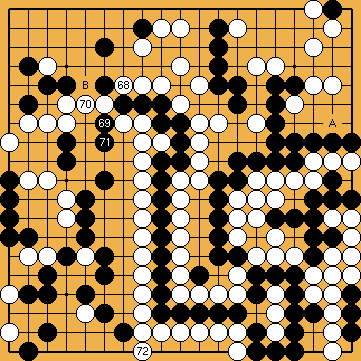
 : (A
: (A  , nor that begins with a move at
  . We present these variations in detail, to make clear that there is no difference between our solution and the classical line, regarding the outcome of the various semeai.
 : (A
: (A  in our solution (
 , later. So what about giving this move a try, just before the Crosscut Sequence is completed? However, despite all efforts, Black will not win.
 . And again, Black will not be successful.
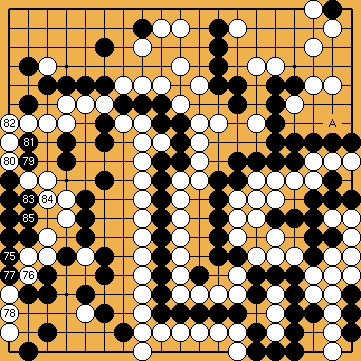
 : (A
: (A  :
:
 : (A
: (A 
 B
B  of Yamada Shinji 6p, instead, will not lead to success.
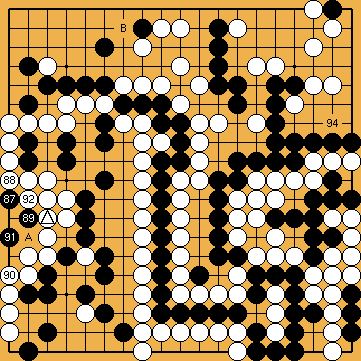
 :
: , at least no later than this. White could have done this as early as move
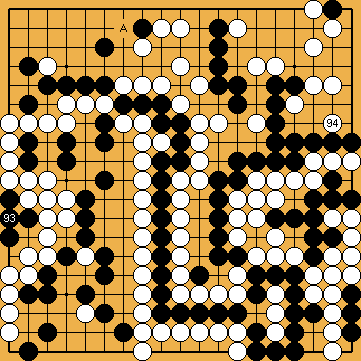
 : (94
: (94  , instead.
 :
: (A
(A 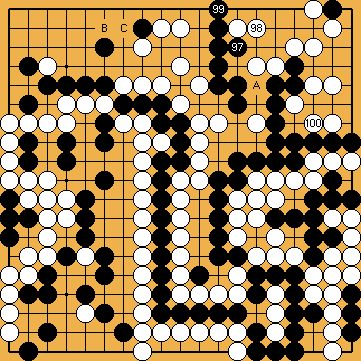
 (98
(98  :
: with
with 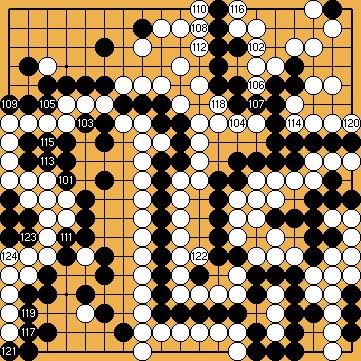
 : (102
 :
: 
 : (A
: (A 
 :
: in the Capture Variation of our solution (
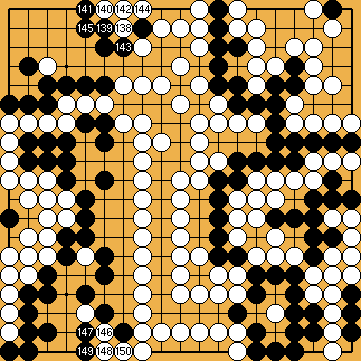
 : (139
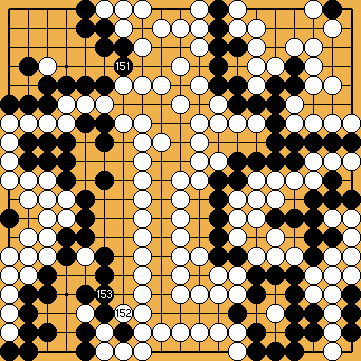
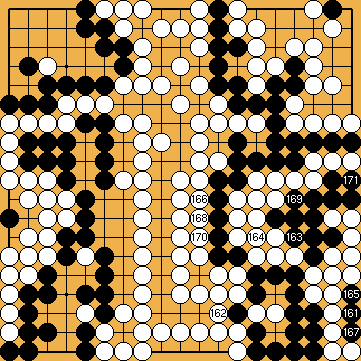
 : (152
  now. He will lose sente, and eventually one point.
 :
: , for example.
 :
:
 .
.