Variations of the Professional Solution
VARP 
|
(Referenced by
|
|
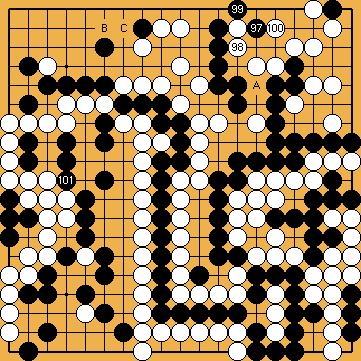
Please note that White's move successfully keeps Black from playing the kikashi of Michael Redmond ( |
|
|
|
|
|
|
|
///:
The circumstances are now equal to those in the professional solution at the end of the sequence in the upper right. In the marked area in the upper right, Black has seven liberties ( |
|
 46
46 718
718
 : (A
: (A  738a
738a might be feasible with this move, instead of continuing the Main Semeai by occupying one liberty of White's group at the left.
 of Yamada Shinji (resulting in a final score of White + 2 (
 still remains as a better option in response to the kikashi.
 (A
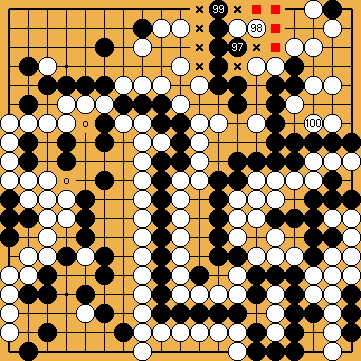
(A  . Black will gain a key liberty.
 ) now, as White will answer with the atari of
  , and her stones are safe.
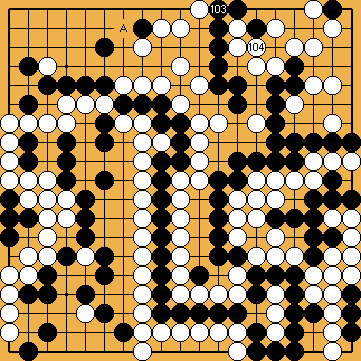
 (A
(A 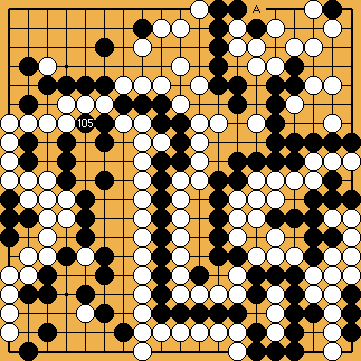
 (A
(A 
 :
: ), on the left, he has occupied two liberties of White's group with
  ,
,  )
)
 ) of White's group on the left are still unoccupied. Here, too, White gets four points of territory (
")
