Variations of the Professional Solution
VARP 

 (D)
(D) 
|
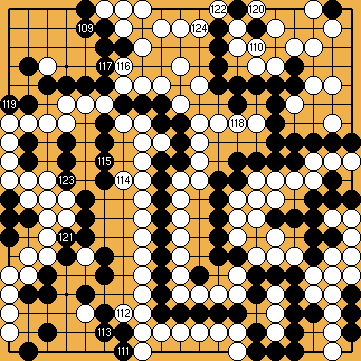
Alternatively, Black could also continue with occupying White's liberties, and connect his second hasami-tsuke stone with a move at |
|
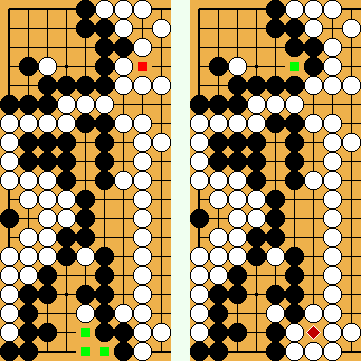
///: The comparison of the final positions in the left half of the board (Professional Solution at the left) shows:
|
|
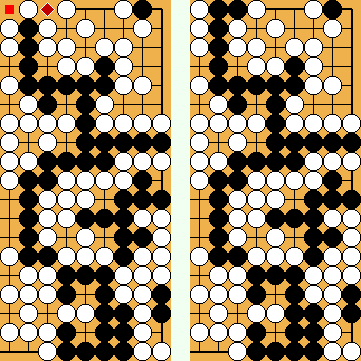
The comparison of the final positions in the right half of the board (Professional Solution at the left) shows:
In total, White is one point better than in the main line of the Professional Solution. White wins by one point. |
|
 738d
738d :
: : (122
  738f
738f later.
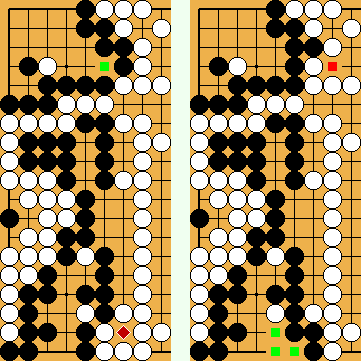
 ).
). ).
). ) at the top.
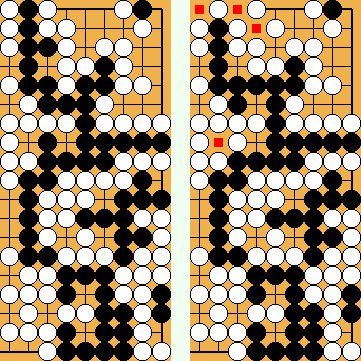


 :
: :
: :
: .
.
 738
738 and
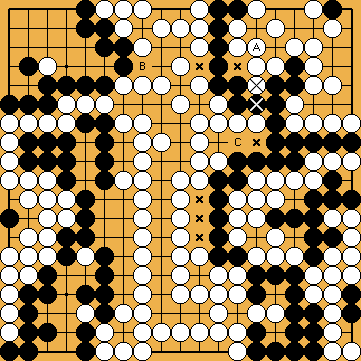
and  are miai.
Black's large group in the upper right has seven liberties (
are miai.
Black's large group in the upper right has seven liberties ( ,
,  /
/  exchange earlier in the game.
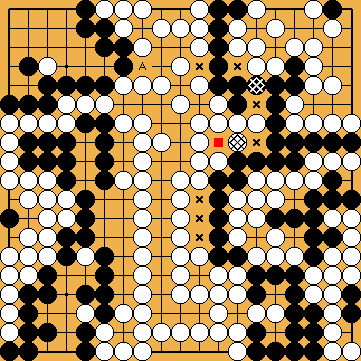
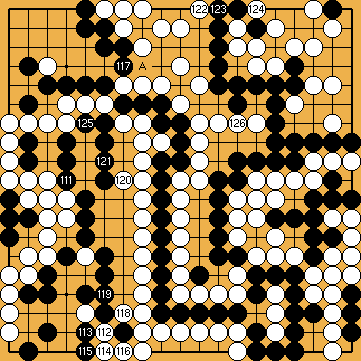
 , the point of Michael Redmond's kikashi.
 , instead of in the (earlier) bamboo joint, securing one additional point of territory in the centre (