Variations of the Professional Solution
VARP 

 (D)
(D)
|
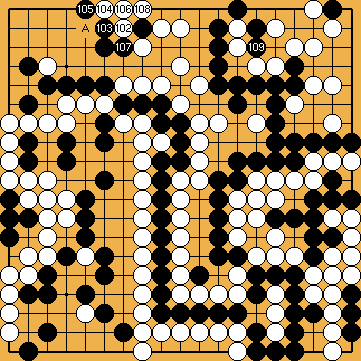
Quite surprisingly, Black must not follow the "usual" course of the endgame by connecting at |
|
She will lose the game by playing at |
|
|
|
|
|
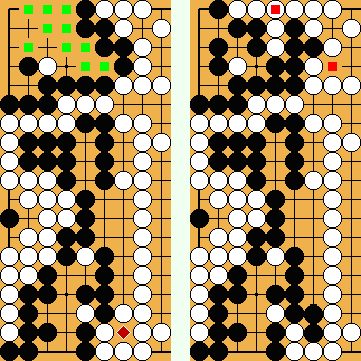
///: The comparison of the final positions in the left half of the board (Professional Solution at the left) shows:
|
|
The comparison of the final positions in the right half of the board (Professional Solution at the left) shows:
In total, White is three points better than in the main line of the Professional Solution. White wins by three points. |
 1092l
1092l 738a
738a : (
: ( 109
109  738h
738h , to avoid losing the game.
 : (
: ( , instead.
 in the top left corner any longer.
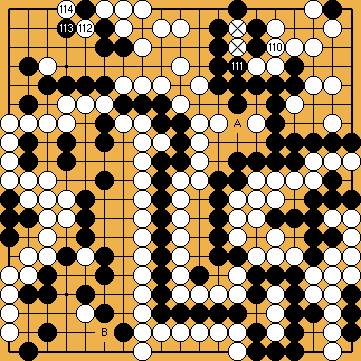
 :
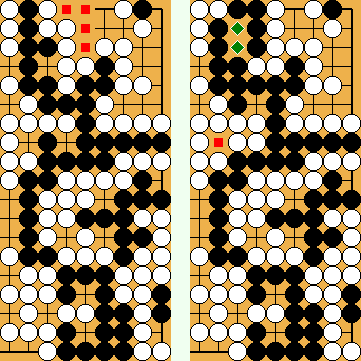
: , instead, immediately destroying Black's second eye for his large group at the upper right.
 and
and  would revert to the subvariation, wherein White answered Black's kikashi in the bamboo joint by immediately connecting at
  (
( -stones additionally captured (= Black + 7; so White would choose the Semeai Variation, instead, with a final score of Black + 5).
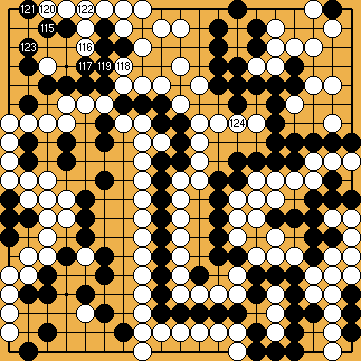
 : (124
  does not threaten the life of Black's top left corner, so Black might want to play at
  , instead, securing the second eye for his large group in the top right.
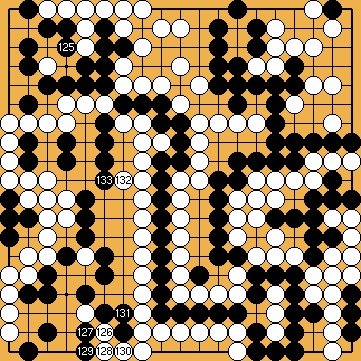
 ) through White's reduction of his top left corner.
 ).
). ).
). ).
).
 ) by capturing two White stones.
|
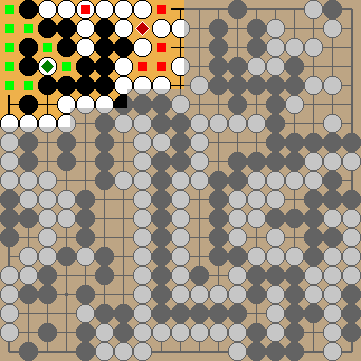
The outcome of the game (in the case that Black has captured two White stones in the upper right, but did not get a second eye) depends only on the development in the upper left corner that can be considered to be independent from the mutual occupation of liberties in the Main Semeai thereafter.
Black needs a surplus of seven points in that area for reaching a jigo. |
|
 ).
).
