Variations of the Professional Solution
VARP 

 (D)
(D) 
|
(Referenced by
|
|
For the sake of simplicity, we assume that all of White's territory-reducing moves |
|
For the sake of simplicity, we assume that all of Black's territory-reducing moves |
|
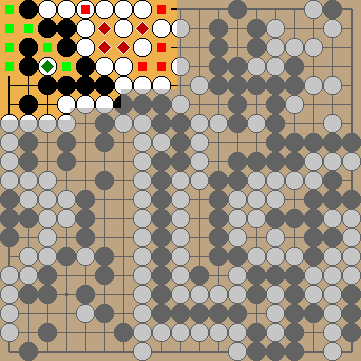
Black will continue with occupying the liberties of White's one-eyed group at the left, forcing her to capture the hanezeki's tail, similar to the Capture Variation. Please remember that White cannot do anything in the hanezeki, hence Black is not in a hurry here. |
|
However, if Black lives in the upper right, White |
|
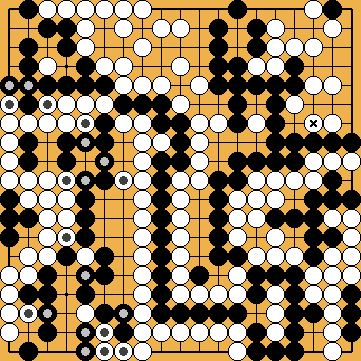
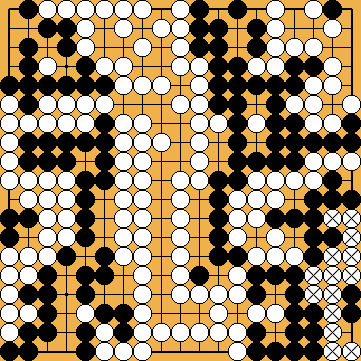
This diagram shows the final position that is used for comparison. Please note that Black – in the former hanezeki in the lower right corner – only has to take White's |
|
The comparison of the final positions in the left half of the board (superordinate variation at the left) shows:
|
|
The comparison of the final positions in the right half of the board (superordinate variation at the left) shows:
In total, White lost four points, compared to the superordinate variation. That variation resulted in a White win by two points, so ... Black wins by two points. |

 730b
730b 738d
738d :
: :
:
 at the left that contain a threat will be answered by Black (
 ).
). is White's final gote.
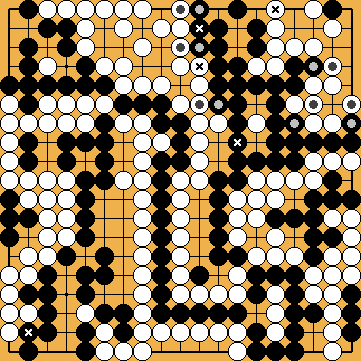
 and
and 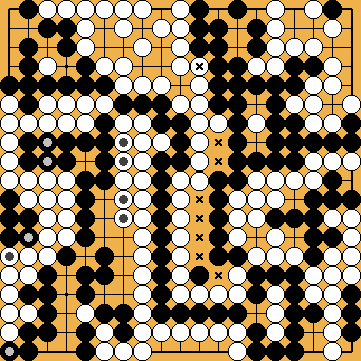
 of White's tail-surrounding group in the centre first, so
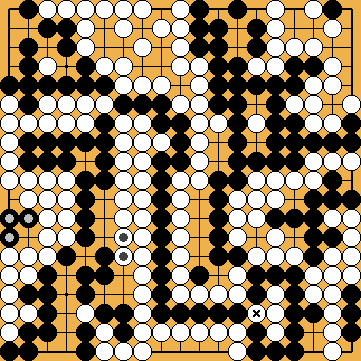
 -stones off the board, as his large group in the upper right lives independently.
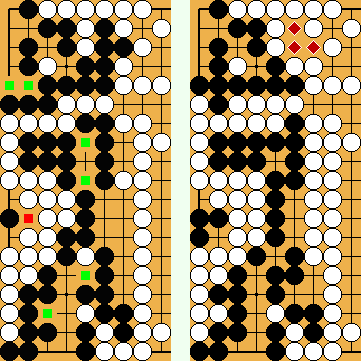
 ) at the left, due to White's territory-reducing moves.
 ).
). ).
).
 ), due to Black's territory-reducing moves.
 ), due to his second eye.
|
The outcome of the game (in the case that Black lives with his large group in the upper right) depends only on the development in the upper left corner that can be considered to be independent from the territory-reducing exchanges thereafter.
White needs a surplus of six points in that area for reaching a jigo. |
|