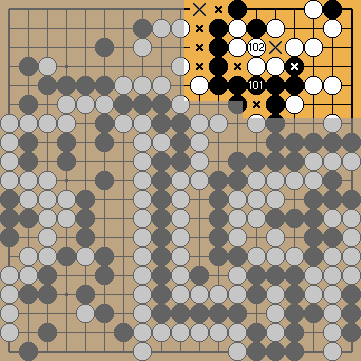
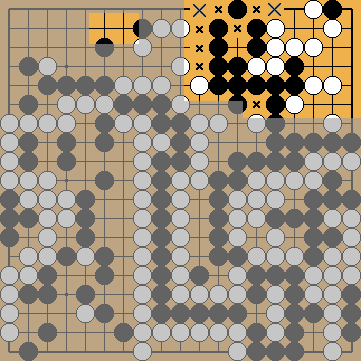
Michael Redmond's Kikashi
in the Professional Solution (2017)
Michael Redmond's Kikashi
in the Bamboo Joint
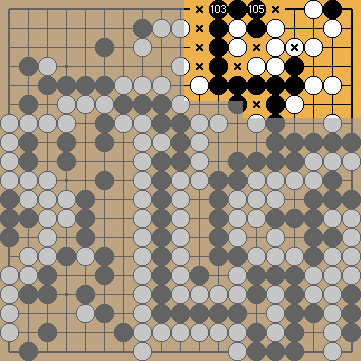
White Answers with the Atari
|
White's reply at There are two approach-move liberties ( Black has one surplus liberty (related to the Main Semeai, wherefore he needs seven), so he has a free endgame move outside the Main Semeai. Please note that – after Black played this extra move outside the Main Semeai – he must not connect any one of his hasami-tsuke stones, as he would fall prey to the Punishment Semeai. |
|
Otherwise, he would be able to connect his stone at the first line later. This move is gote, so Black loses his Please note that Black must not also connect his pivotal hasami-tsuke stone, because he would fall prey to the Punishment Semeai. |
|
 is the kikashi in the bamboo joint of Michael Redmond that must not be played later than now.
 , giving atari at Black's single stone above, will benefit White territorially, but at the cost of the loss of one liberty in the Main Semeai (
 738a
738a ), equivalent to one real liberty.
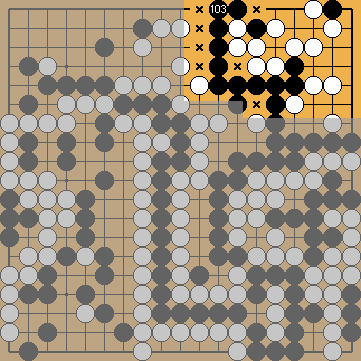
 liberty in the Main Semeai.


 -liberty for White.
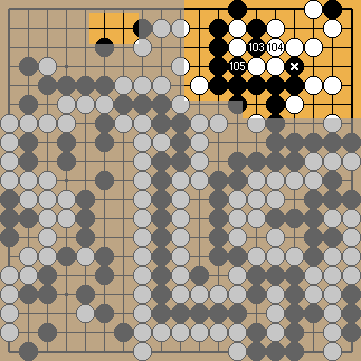
 .
. forces Black to capture at
  , and has been inserted here to simplify the presentation.
 ) and two approach-move liberties (
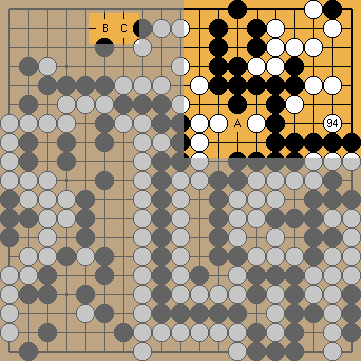
 (
( (
( . Living independently with this group is surprisingly large, and might be enough to compensate for Black's additional loss in the top left corner, due to White's third free move there. According to our analysis, White will be unable to kill Black's entire corner (
 (or any of the similar ones before, when she got sente during the creation process of the nakade at the left). For details, please refer to the next chapter.