: ( 72)
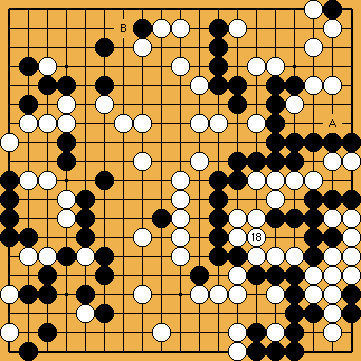
If Black restricted himself to the classical line of play ( 715), White would get a clear win by connecting the lower cutting point, as shown here.
With Black's guzumi at , this move will have a minor effect on the final score ( 931) only.
However, with Joachim's idea of the hiki of , followed by the ko-fight on the right side, it will become the source of White's defeat ( 995).
:
Both sides will follow the principle path of the professionals' solution ( 715). However, Black must do without the Hanezeki Exchange of / here. This exchange would unnecessarily take the additional liberty of Black's group that it gained by White's connection at .
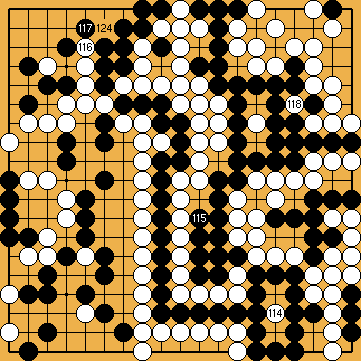
: (90 79)
Black does not complete the Crosscut Sequence (in accordance with the classical path), with a move at , because it is better for him to follow Joachim's Ko-Semeai ( 225), starting with the hiki of here.
: (A 82)
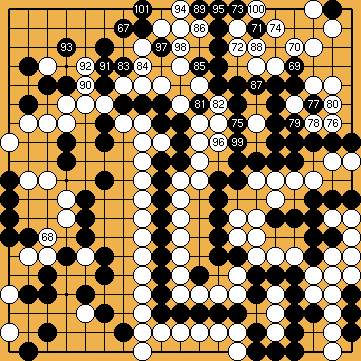
It will not benefit White to try enforcing Black to occupy the hanezeki-directed liberties of his large group by himself, starting with the gote move of .
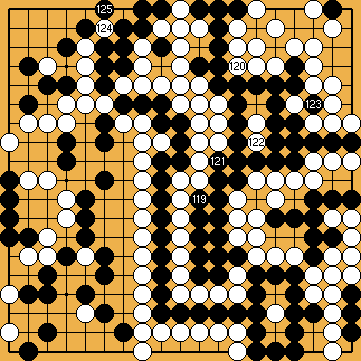
:
White prepares the ground for the following atari-ko-threat of .
:
But Black simply continues with occupying shared liberties.
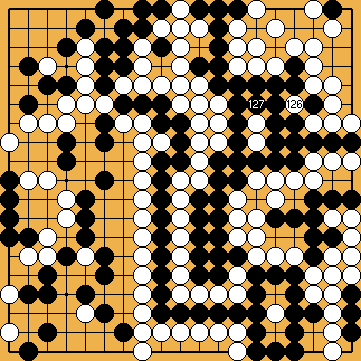
:
Capturing the two stones inside his eye is an inerasable ko-threat for Black.
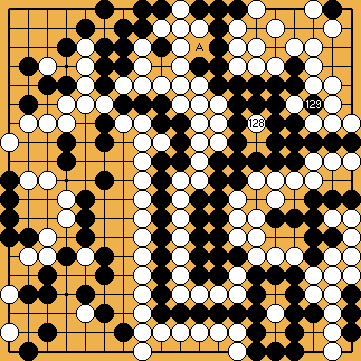
:
Black re-captures the ko for the last time. White has no valid ko-threats left, so Black will give atari at with his next move, and win the game.


 919
919 72
72 , this move will have a minor effect on the final score (
 , followed by the ko-fight on the right side, it will become the source of White's defeat (
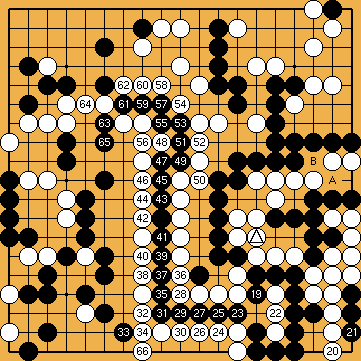
 :
: here. This exchange would unnecessarily take the additional liberty of Black's group that it gained by White's connection at
  .
.
 : (90
: (90  79
79 , because it is better for him to follow Joachim's Ko-Semeai (
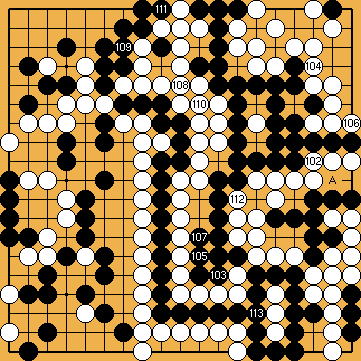
 : (A
: (A  .
.
 :
: .
.
 :
:
 :
:
 :
:
