Variations of Our Solution (I)
VAR 

|
|
|
Connecting at |
|
|
|
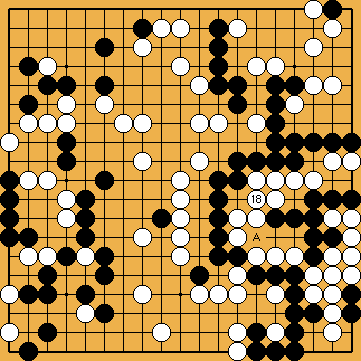
He might try to weaken White's shape with a move at |
|
|
|
And, instead of completing it with |
| |
| |
|
|
|
Had White connected at |
| |
| |
| |
|
Semeai Variation: Without both throw-ins, White did not get Black's two sacrificed stones, but did get a prisoner, and two points of territory ( Had White - in the hanezeki - connected at the lower cutting point ( |
Conclusion:
But, because these two additional points are not really needed there, it is difficult to decide which are the "technically correct" moves.
We decided to keep both throw-ins in our solution - with the change in the order of | |
|

 71
71 . !!!
. !!! 
 : (A
: (A  77
77 , instead, may result in a loss of one point of territory in the Semeai Variation, which does not affect the result decisively. But Black also has the opportunity of choosing Joachim's Ko-Semeai, turning this alternate move into a decisive mistake (
 995
995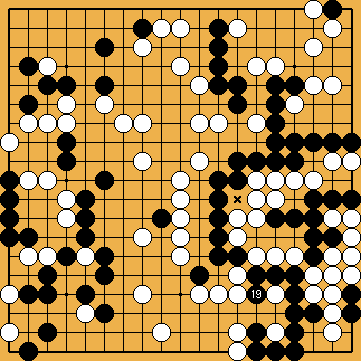
 :
: , directed towards the hanezeki.
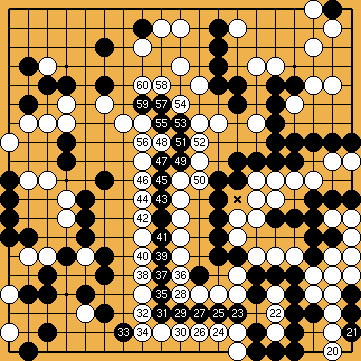
 : (60
: (60  , before continuing with the procedure explained below.
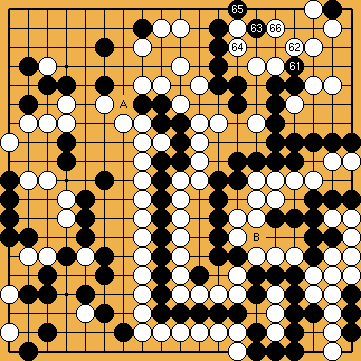
 : (A
: (A  , but without ever intending to play a throw-in at
  , will end fatal for Black.
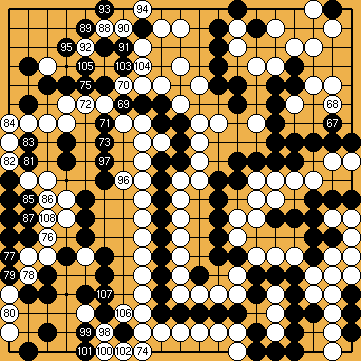
 : (69
: (69  -
-  , instead.
 , choosing Joachim's ideas of either the hiki of
  on the upper edge, or the capturing move of
  , on the left side. However, there is the other side of the coin of doing without the double throw-in, which will prevent Black from being successful.
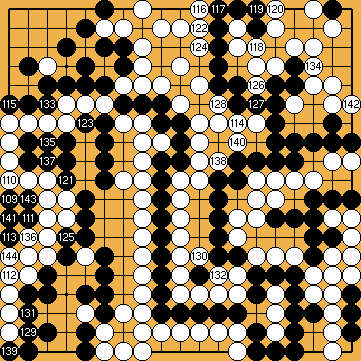
 :
: in our solution (
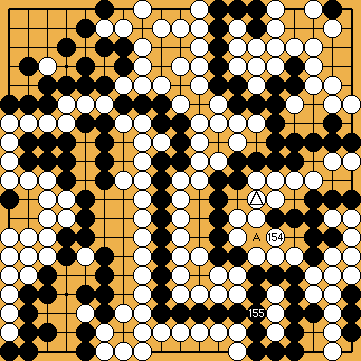
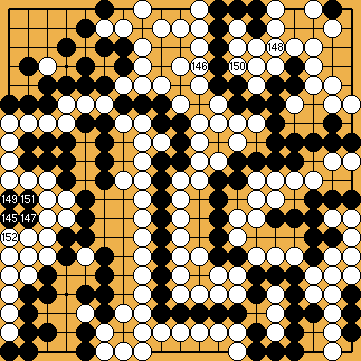
 : (155
  , both variations would end with the same result.
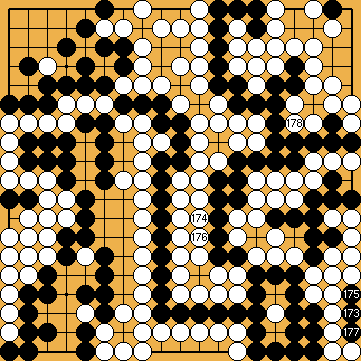
 ,
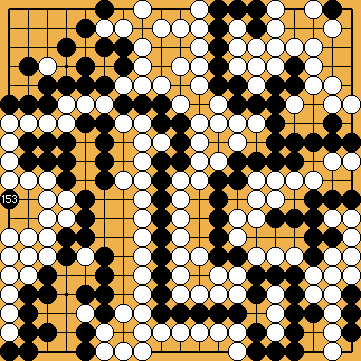
,  ), instead. So her result is one point better than in our solution, and the game ends with two points for Black.
