Various Kikashi in the Hanezeki
(2007 - 2011; 2014)
No Throw-in, but Two Forcing Moves
|
(Referenced by But, not playing the first throw-in does change the outcome! Here Black first forces twice with Please note that the above statement is true for the classical line of play only. There is no effect with the guzumi. Please also note that the lower connection of |
|
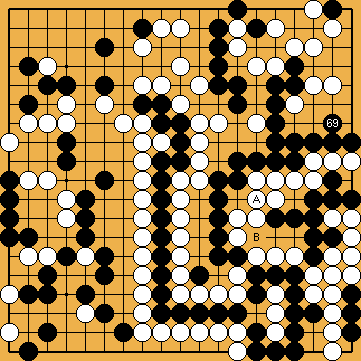
White needs one move to capture Black's upper right group. But she also takes a liberty of her own group with this move. White may be hindered to take this liberty, which turns every potential approach-move liberty of Black in the top right corner into a real one. On the other hand, White can also enforce here ( |
|
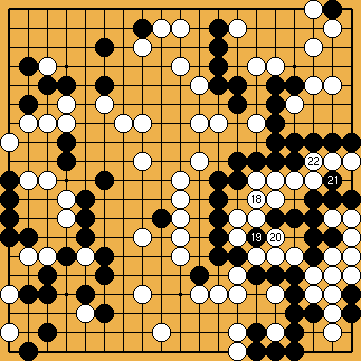
Black needs four moves to capture White's group. Playing the upper throw-in later does not profit Black. Indeed, he needed just three moves to capture White's group in the seki thereafter, but has lost an additional liberty of his group in the top right. |
|
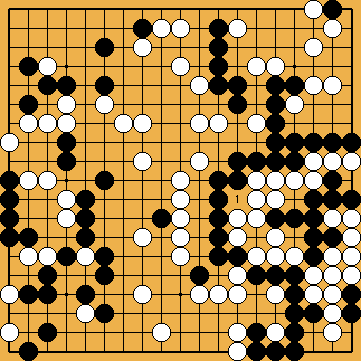
But, it is not correct with the classical variations to connect at the upper cutting point with This implies that it is mandatory for Black to return to the single throw-in. |
|
White needs one move to capture Black's group. |
|
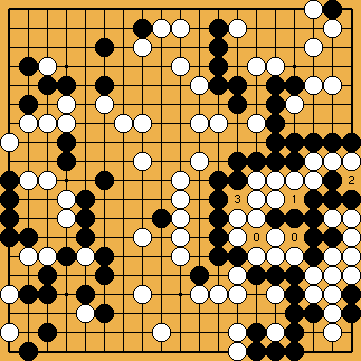
Black needs three moves to capture White's group. So the "distance", relevant for the semeai, has been reduced by one to two moves (three for Black vs. one for White). |
|
If Black plays the guzumi |
|

 80
80 , and
, and  .
. , shown here, is not possible with Joachim's Ko-Semeai.
 ,
,  ,
,  ) - at the cost of the loss of two of her liberties - that Black himself takes a liberty of his own top right group.
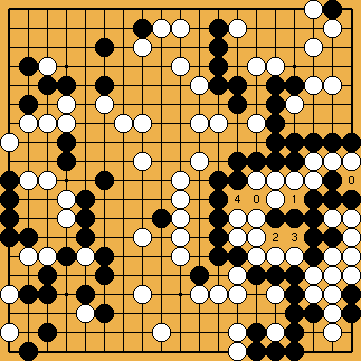
 -
- 
 (similar to our solution), the semeai in the top right remains unaffected, so White could have connected at the upper cutting point at
