Variations of Our Solution (II)
VAR  (C)
(C)  (C)
(C) 
|
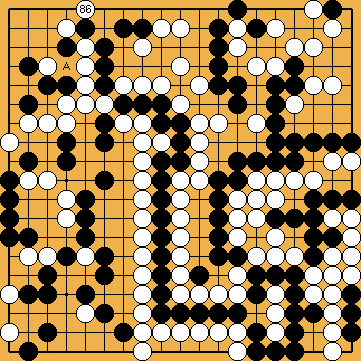
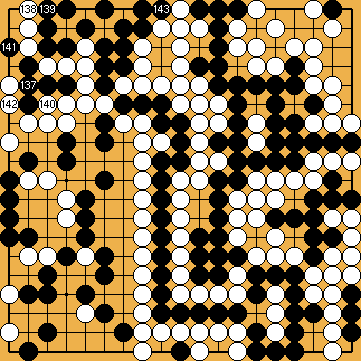
White should also refrain from connecting her single stone with a move at |
|
|
|
|
|
|
|
However, Black should not try to live in the top right corner, starting with a move at |
|
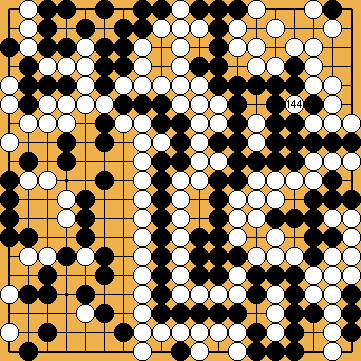
It does not help Black to give atari at |
|
|
|
|
|
|
|
|
|
|
|
|
|
|
|
|
|
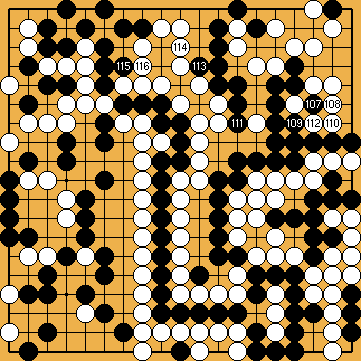
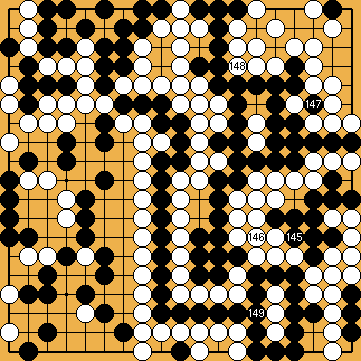
Capturing the two White stones with a move at |
|
White should have started the ko "early", to exhaust Black's ko-threats. |
|
 364
364 beforehand, because that would waste a ko-threat.
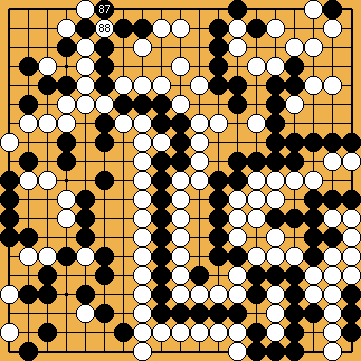
 : (88
: (88  373
373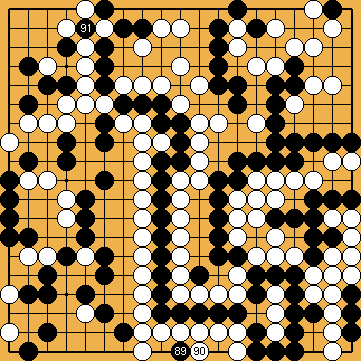
 :
:
 :
: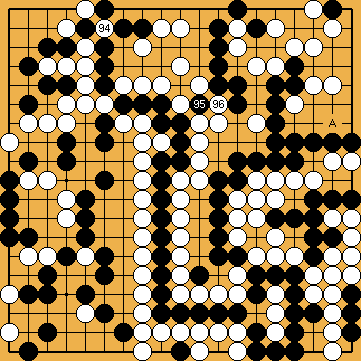
 : (A
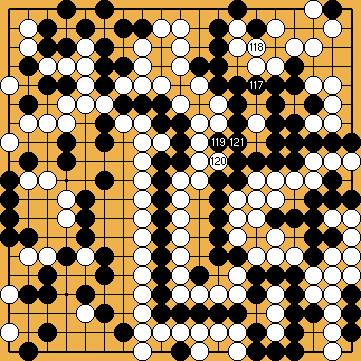
: (A  . White will finish the ko, and let Black get what he wanted, because she will be able to win the game anyway.
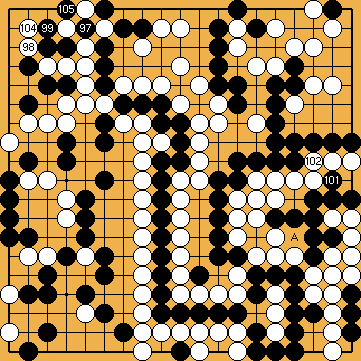
 ;
; 
 : (A
: (A  , Black's group in the top right loses a decisive liberty, in sente for White.
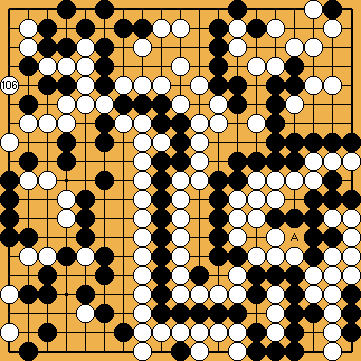
 :
:
 :
:
 : (119
 : (A
: (A  :
:
 :
:
 :
:
 :
:
 ;
; 
 :
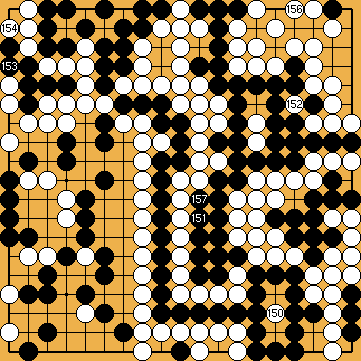
: , instead.
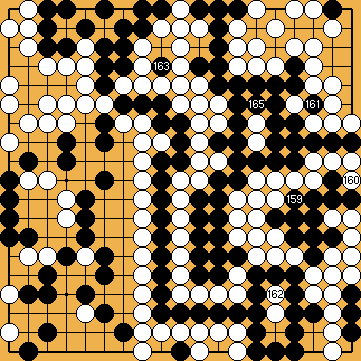

 :
: , instead, does not help now, because White's group has one liberty too many.
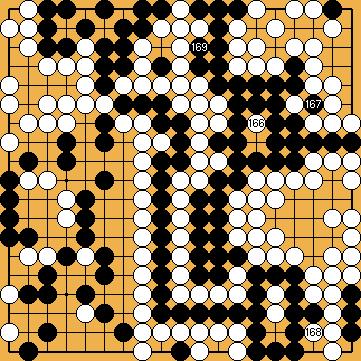
 :
:
