A Summary of Our Solution
We wrote this synopsis primarily to give an outline of our solution ( 39), but also to highlight some of the problem's main features and interdependencies, in an attempt to clarify the structure. Although the style may be unfamiliar, we hope that it will be helpful, for reference purposes. You will find a further overview that highlights technical details in more depth in the chapters "Technical Notes". We have also written a more historical outline ( 775).
| In the Very Beginning (Dia 0) | 19 |
| The Birth of the Hanezeki (Dia 1) | 20 |
| Some Unexpected Sacrifice (Dia 2) | 20 |
| The Birth of the Hanezeki's Tail (Dia 3) | 21 |
| Calm Before the Storm (Dia 4) | 21 |
| The Problem's Real Problem (Dia 5) | 22 |
| The Crosscut in the Top Left Centre (Dia 6) | 24 |
| The Birth of the Main Semeai (Dia 7) | 25 |
| Interlude - Border Fortification (Dia 8) | 25 |
| Back to the Main Semeai (Dia 9) | 26 |
The Final  Decision (Dia 10) Decision (Dia 10) | 26 |
| The Dust has Settled (Dia 11) | 27 |
| The Score (Dia 12) | 28 |
If Captures  's Centre (Dia 13) 's Centre (Dia 13) | 29 |
| The Dust has Settled Again (Dia 14) | 29 |
| Some New Gains (Dias 15 - 16) | 30 |
| Some New Gains (Dias 17 - 19) | 31 |
 /
/ /
/ /
/ /
/ /
/ /
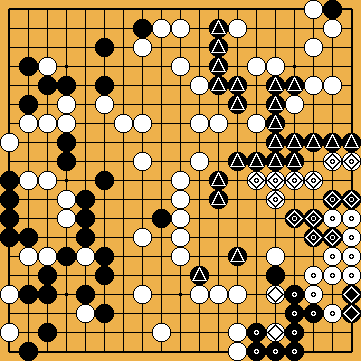
/ are all weak. The other groups can live.

 primarily threatens the life of
  . If
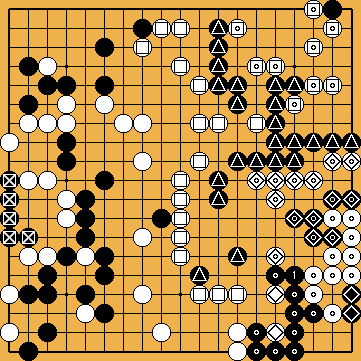
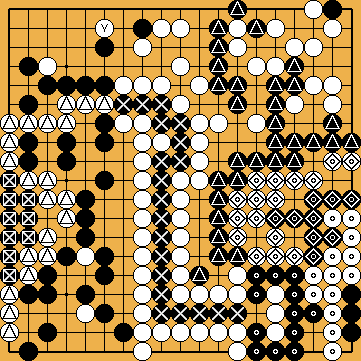
. If  , with
  , temporarily caught in between!
 is stable, and not involved in the fighting below.
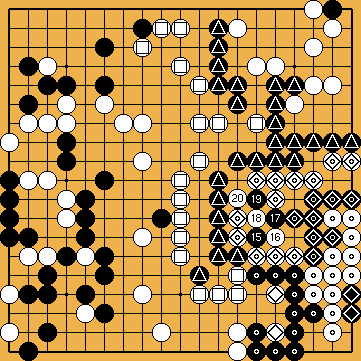
 at
at  , instead. The territorial balance is still in
  (which we call the "second throw-in";
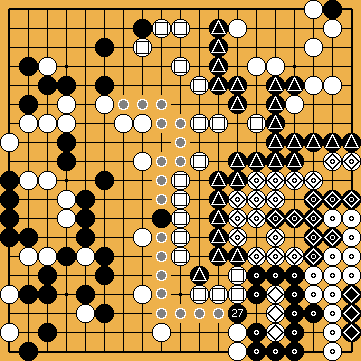
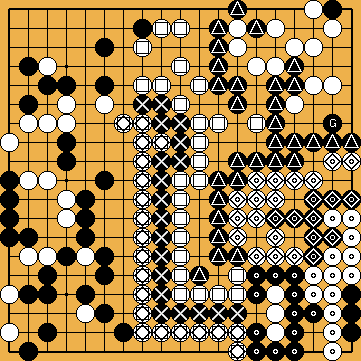
 . The dotted path through
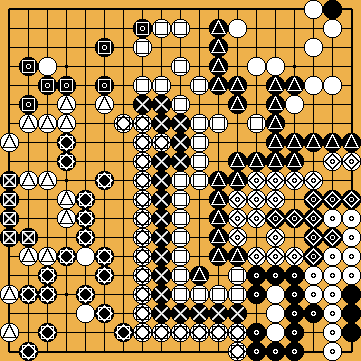
 cannot connect.
 /
/ /
/ ;
;  in the bamboo joint (
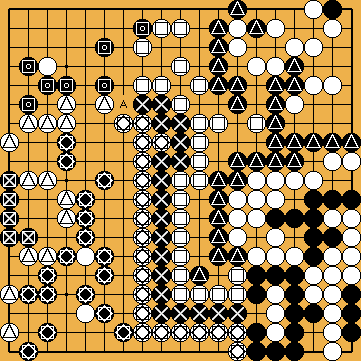
 - following the classical line of play - ...
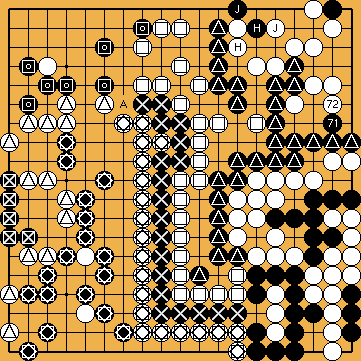
 (the guzumi;
  , and parts of
  , on the left side. However, after much analysis (
 , and so she has to play
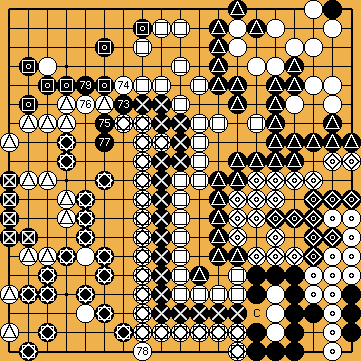
 . As usual with a hanezeki, she will lose
  -group on the bottom and
  , so
, so 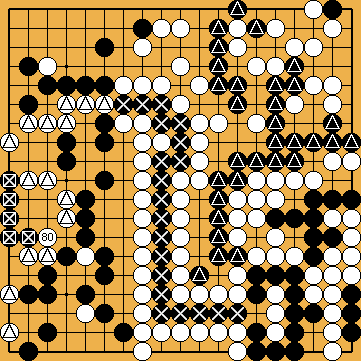
 , but will not manage to get two eyes for
 .
.  (
(
 ) is played,
  , for example), but then
  ,
,  /
/ at
at  at
at 
 kills
kills  kills
kills 
 (
(
 to capture
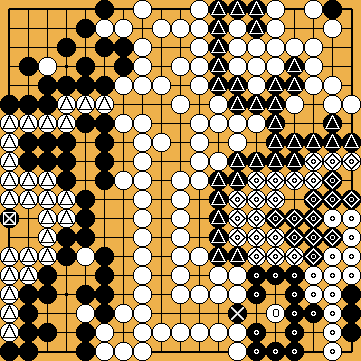
 of
of 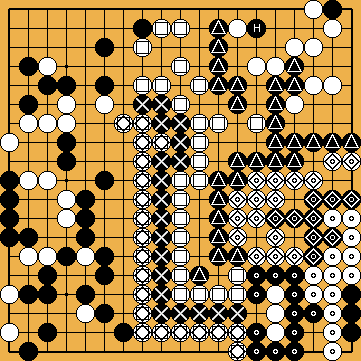
 (worth one point in the Capture Variation here) -