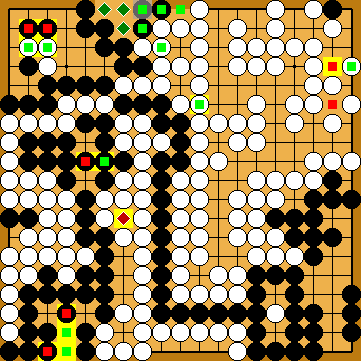
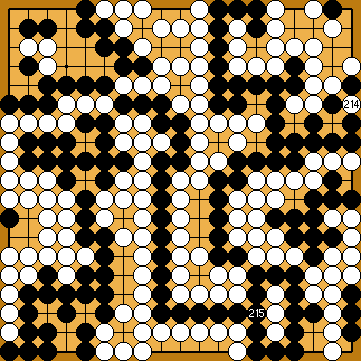
Variations of Our Solution (IIIb)
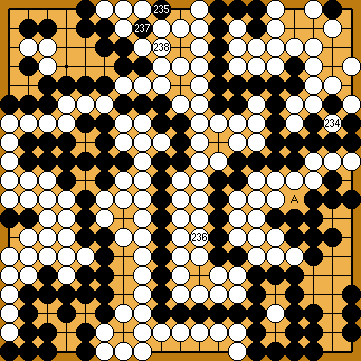
Tricking KataGo (Triple-Ko)
VAR  (C)
(C)  (A)
(A) 
 (.2)
(.2) 

 (.1)
(.1) 

 (.2)
(.2)
|
|
|
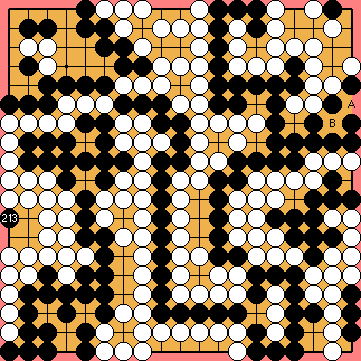
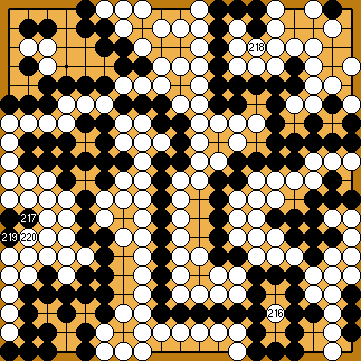
Alternatively, he might consider answering White's move in the left centre by connecting at |
|
He might consider continuing with
|
|
She might consider connecting at |
|
|
|
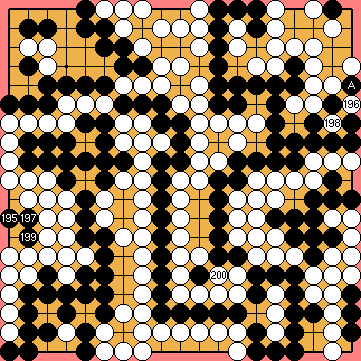
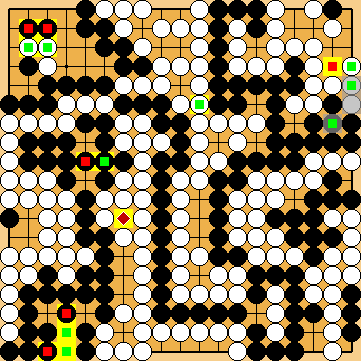
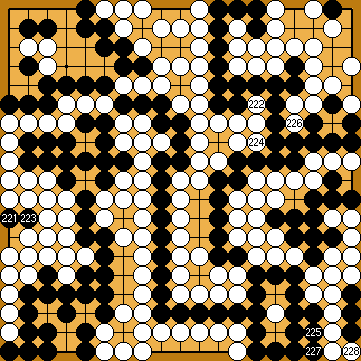
This proves that White could have done without capturing Black's stones in the upper right first, if she wanted to choose this line. |
|
In the Capture Variation, she will use her sente after the dissolving of the hanezeki to capture at |
|
Capture Variation: Compared to the superordinate variation ...
In total, White lost one point. Black + 2 => Black + 3 |
|
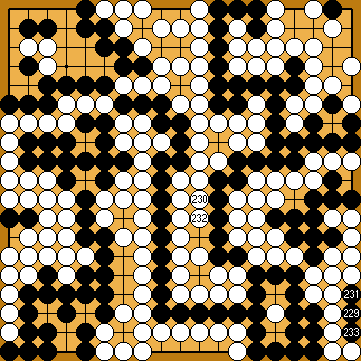
///: Semeai Variation:
|
|
|
|
... |
|
|
|
She is unable to answer Black's ko threat, e.g. by connecting at
|
|
Semeai Variation: Compared to the superordinate variation ...
In total, White lost nine points. Black + 5 => Black + 14 |
|
 222aw
222aw
 :
: . This would result in the "usual" score of Black + 5 in the Semeai Variation, as in the alternative subvariations, because White also lost one move here just before.
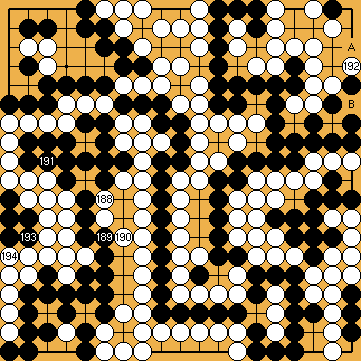
 :
: :
: , or
, or  would be possible now, but benefit White in the Semeai Variation, so losing one point overall unnecessarily.
 :
:
 :
: :
: , instead, losing another tempo in the Main Semeai.
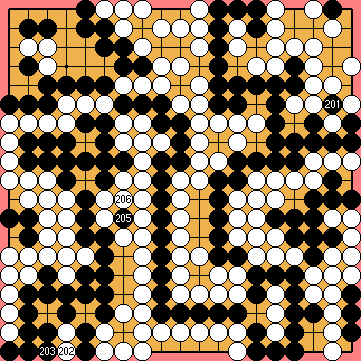
 ;
; 
 :
:
 :
:
 :
:
 :
: :
:
 :
: ;
;  :
:
 :
:
 :
: :
: :
: .
. :
: :
: