Variations of Our Solution (IIIb)
Tricking KataGo (Triple-Ko)
VAR  (C)
(C)  (A)
(A) 
 (.2)
(.2) 

 (.1)
(.1) 

|
(Referenced by
|
|
|
|
|
|
|
|
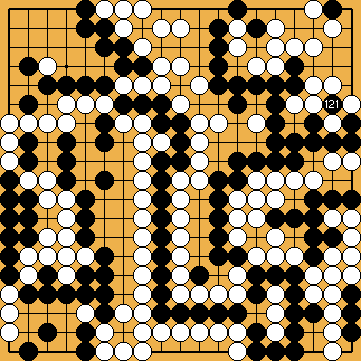
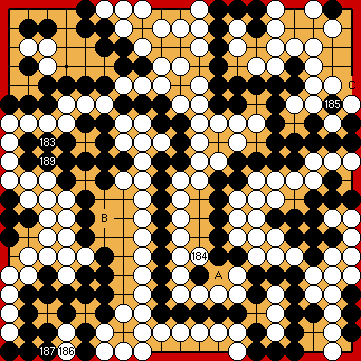
Contrary to Black, White cannot use liberty-occupying moves at the right, e.g. at Attaching at Last but not least, White does not want to connect at |
|
The net effect of all the ko threats used is zero, so the result of the game will be the same as in the superordinate variation. The final scores of the game will become Black + 2 / Black + 5. |
|
 222bk
222bk 222av
222av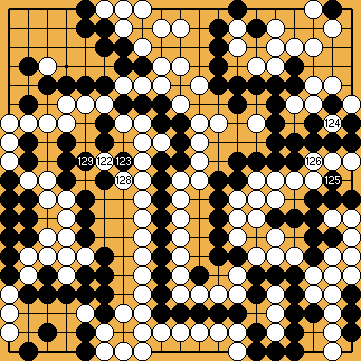
 ;
; 
 :
: :
:
 ;
;  ;
;  ;
;  ;
;  ;
; 
 :
:
 ;
;  ;
;  ;
;  ;
;  ;
;  ;
;  ;
; 
 :
: :
: :
: :
:

 : (A
: (A  222ax
222ax , as ko threats.
 in the left centre, so no valid ko threat, either.
 , but which would be mandatory if she ran out of ko threats. She would lose one point overall.
 :
:
