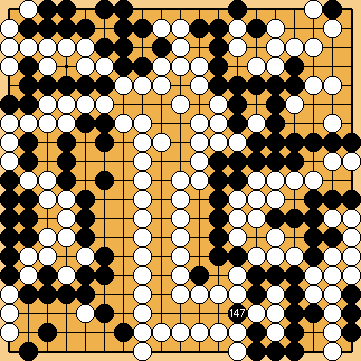
Variations of Our Solution (IIIb)
Tricking KataGo (Triple-Ko)
VAR  (C)
(C)  (A)
(A) 
 (.2)
(.2) 

 (.2)
(.2)  (.1)
(.1)
 (.1)
(.1)  (.1)
(.1)  (.1)
(.1) 
|
|
|
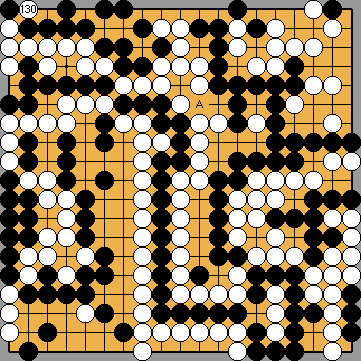
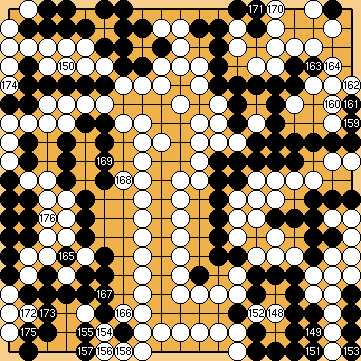
There is no need to cut through at the top, instead. KataGo does not really want to play Black's throw-in in the right centre now, but which is badly necessary to achieve the optimal result for Black.
Again, KataGo does not really want to throw-in at
However, this is the latest moment possible, when Black can play the throw-in in the right centre to his advantage.
However, this is the latest moment possible when White can play the connection in the right centre to her advantage.
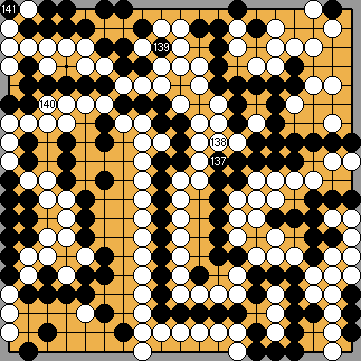
Alternatively, he might throw-in at |
|
She will not benefit from connecting at |
|
If Black misses this move now, in order to give atari at
I suppose that White could do even without, not affecting the final score. |
|
|
|
Continuing with the ko fight by capturing at |
|
|
|
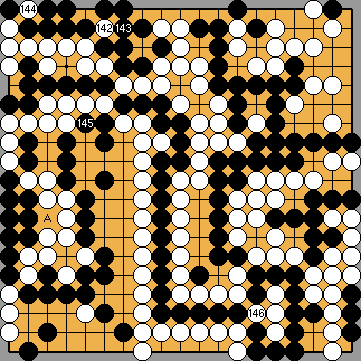
Alternatively, he might defend his territory in the lower left corner, instead, not affecting the final score of the game. Both sides will connect one of the remaining endgame ko each. |
|
Capture Variation: Compared to the superordinate variation ...
In total, White lost one point. White + 7 => White + 6 |
|

 222cg
222cg
 : (126
  222ci
222ci :
: : (A
: (A  .
. :
: : (
: ( A
A  : (
: ( :
:
 :
: in the right centre, instead.
 , making sure that his cut-off stones will survive in seki. White will still have to capture the hanezeki's tail, and so is unable to bear the loss of these stones.
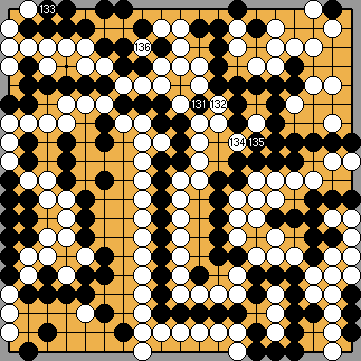
 :
: in the upper left corner immediately, White will connect at this point, and thereafter win the Central Semeai, as can be seen in the previous subvariation for
  :
:
 :
: :
:
 :
: :
: :
: :
:
 :
:
 :
: :
:

