Variations of Our Solution (IIIb)
Tricking KataGo (Triple-Ko)
VAR  (C)
(C)  (A)
(A) 
 (.2)
(.2) 

 (.2)
(.2)  (.1)
(.1)
 (.1)
(.1)  (.1)
(.1)  (.1)
(.1)
|
|
|
|
|
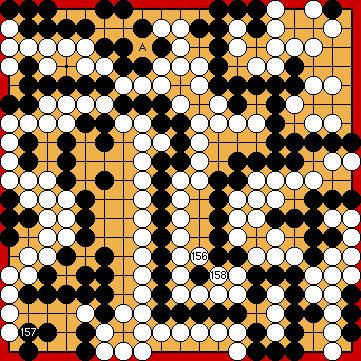
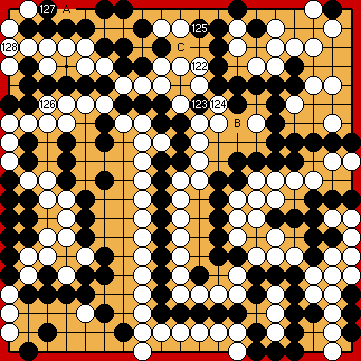
It seems that KataGo likes to insert the kikashi of
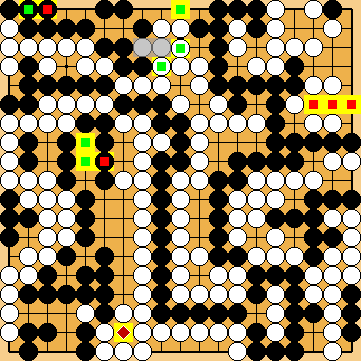
Black might want to keep this kikashi in reserve and to give the immediate bump As an alternative option, we also investigate what will happen after Black created an eye in the right centre first, with playing at
Alternatively, she might consider connecting at the left edge with Immediately connecting at the top, however, would be too early here, and so a mistake that loses some points.
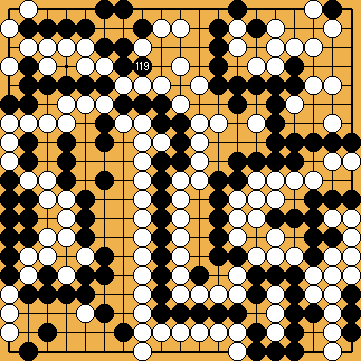
There is no need to break through at the top with
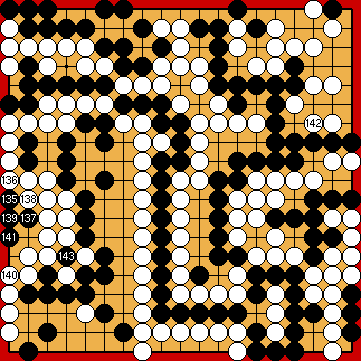
As two moves earlier, White's immediate connection at |
|
He must not cut through at the top, instead. |
|
Please note that White must not occupy Black's liberty at
However, continuing the ko fight for a few moves will benefit him by one point. I found this improvement when studying one of the subvariations above (
|
|
... |
|
Alternatively, he might consider connecting at |
|
Black must not play any reduction. White will capture at |
|
Capture Variation: Compared to the super²ordinate variation ...
In total, White gained one point. White + 6 => White + 7 |
|
 222cf
222cf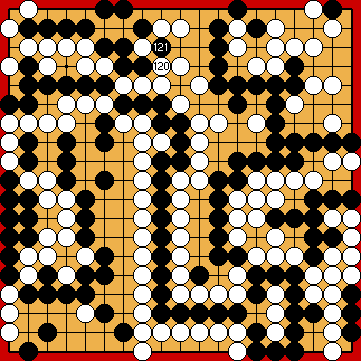
 :
: :
:
 : (
: ( 127
127  222ch
222ch ,
,  in the upper left corner just now.
 : (125
  at the top a try.
 .
. : (128
  , or extending at the upper edge with
  :
: , instead.
 will also win the game, but still lose a few points unnecessarily.
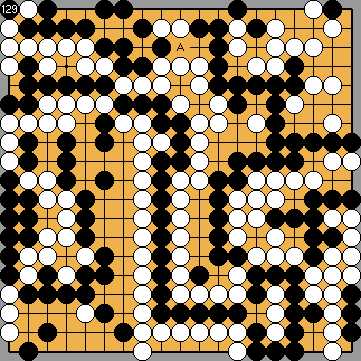
 : (A
: (A 
 :
: , instead.
 , and connect at
  again as early as possible in the course of the ensuing ko fight - if White had started any unnecessarily - ignoring most of her ko threats at the right. Thereafter, Black would win the Central Semeai.
 222cw
222cw :
:
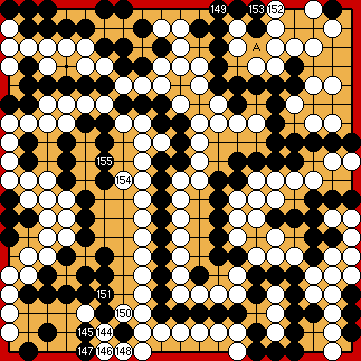
 :
: :
: at the bottom, not affecting the outcome of the game.
 (or give atari at