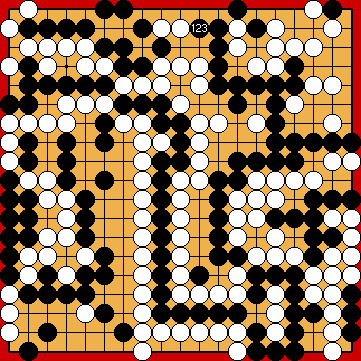
Variations of Our Solution (IIIb)
Tricking KataGo (Triple-Ko)
VAR  (C)
(C)  (A)
(A) 
 (.2)
(.2) 

 (.2)
(.2)  (.1)
(.1)
 (.1)
(.1)  (.1)
(.1)  (.1)
(.1)  (.1)
(.1)
|
|
|
She might consider inserting the exchange of
Unless the (reverse) komi isn't much larger (at least -10 points) than the draw komi for this position (-5 points), KataGo will not favour the correct throw-in at
Descending to
If she mistakenly also descended to |
|
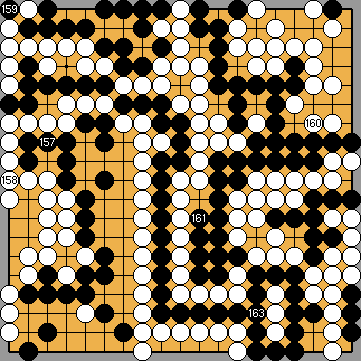
Playing at
Alternatively, he might consider connecting his hasami-tsuke stone with
If she continued with occupying Black's liberties at the right, e.g. with |
|
(Referenced by
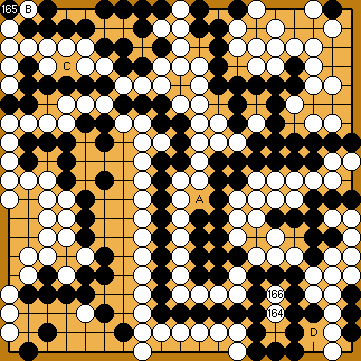
By playing the kikashi of Playing the kikashi of
|
|
|
|
|
|
Black remains helpless. White will win the game by a very large margin. |
|
 222cg
222cg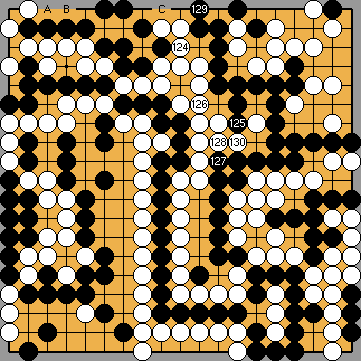
 :
: for
for  in the upper left corner before, not affecting the outcome of the game.
 : (
: ( 126
126  222cp
222cp .
. :
: : (129
  at the upper edge will result in a change in the order of moves.
 : (C
: (C  at the upper edge, she would give Black the opportunity to achieve a much better result than here.
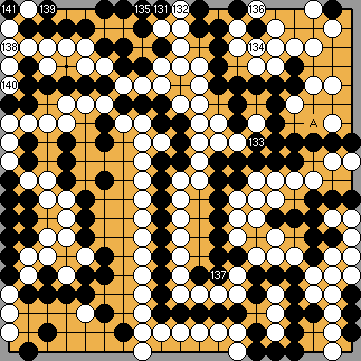
 :
: , instead, would result in a change in the order of moves.
 : (136
  .
. : (A
: (A 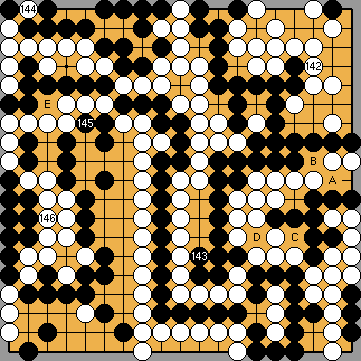

 222cn
222cn :
: in the hanezeki, instead, Black would take his right-hand group a liberty (with regard to the Central Semeai), due to White's connection at
  .
. ,
,  , instead, is useless, as this exchange would provide White with an own ko threat at
  :
: above.
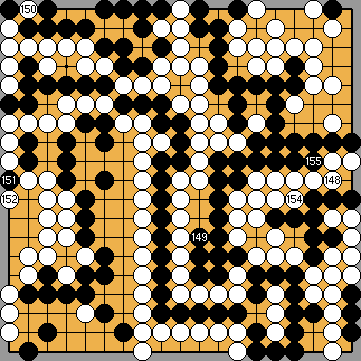
 ;
; 
 :
: :
:

 :
:
 :
:
