Variations of Our Solution (IIIb)
Tricking KataGo (Triple-Ko)
VAR  (C)
(C)  (A)
(A) 
 (.2)
(.2) 

 (.2)
(.2)  (.1)
(.1)
 (.1)
(.1)  (.1)
(.1)
|
|
|
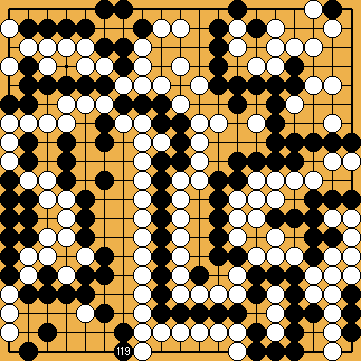
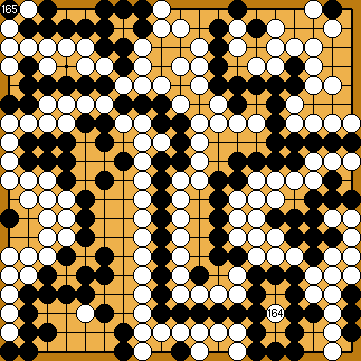
If she started the ko fight in the upper left corner "early", by connecting at
He might consider capturing the ko with |
|
Please note that this move erases Black's potential ko threats in the hanezeki.
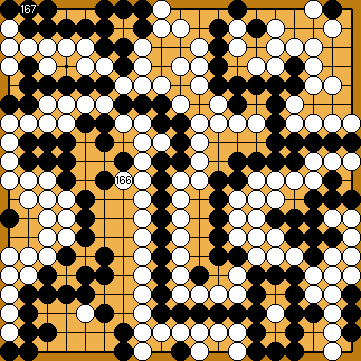
As a matter of course, Black could abandon the Main Semeai - which he will lose anyway - at any time he likes, in order to capture White's stones in the upper left corner with
However - as Joachim pointed out - it seems that I was a bit lazy with the order of moves here. |
|
Please note that a move at |
|
|
|
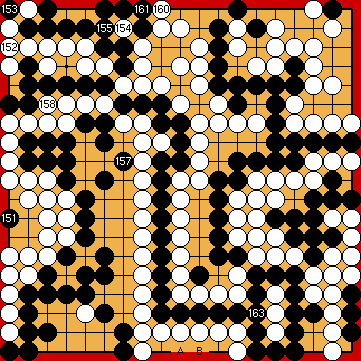
White will win the game by a very large margin. |
|
 222ce
222ce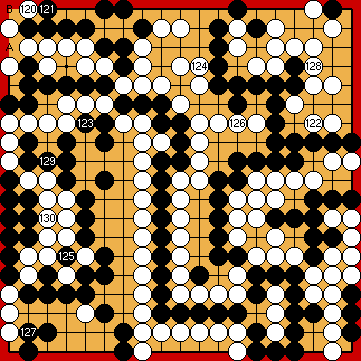
 :
: :
: :
: , she would eventually capture Black's stones there, but Black would be able to achieve independent life with his large group at the right.
 :
: , but he would be unable to continue in the upper left corner.
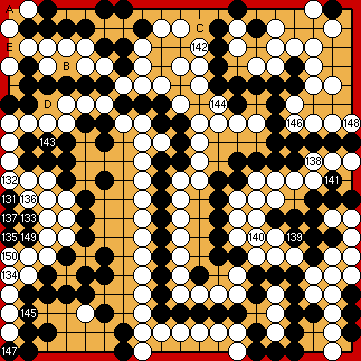
 :
: :
: and
and  :
: in the upper right. Black would have to occupy White's last outside liberty with
  , simultaneously taking his cut-off stones in the upper left a decisive liberty.
 at the left edge, White would arm the ko fight by conneting at
  .
.
 :
: :
: :
: :
: :
:
 :
: :
:
 :
: :
:
