Variations of Our Solution (IIIb)
Tricking KataGo (Triple-Ko)
VAR  (C)
(C)  (A)
(A) 
 (.2)
(.2) 

 (.2)
(.2)  (.2)
(.2) 
 (.1)
(.1) 
|
|
|
|
|
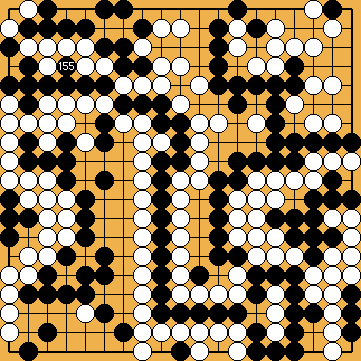
If he played at
This is the position that attracted Joachim's particular interest. This discovery implies that Black should have ignored White's initial ko threat.
|
|
He is unable to play at
White, however, will continue with White will win the game by a very large margin. |
|
 222fd
222fd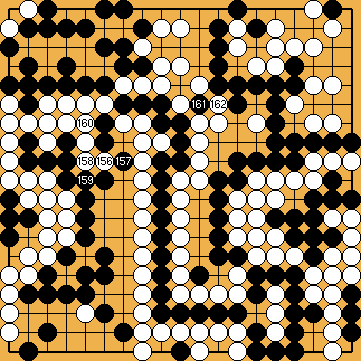
 :
: :
: :
:
 :
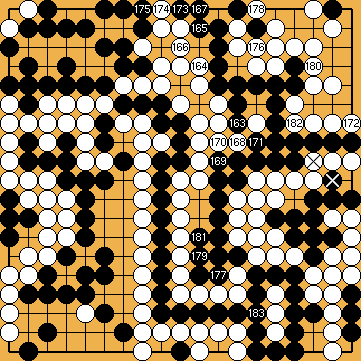
: , instead, both groups that are caught in the semeai would remain eyeless, but the final result of this fight would be unaffected.
 :
: :
: :
: :
: :
: :
:
 :
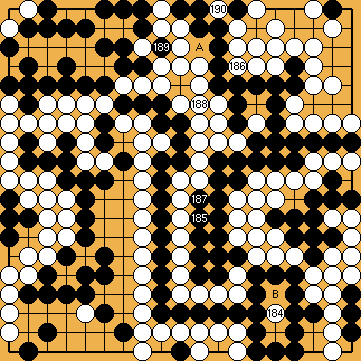
: , instead, as White will give atari with
  .
. , so the fight in the centre resulted in a local seki.
 in the lower right corner, capturing Black's stones there, which also resolves the local seki above.
