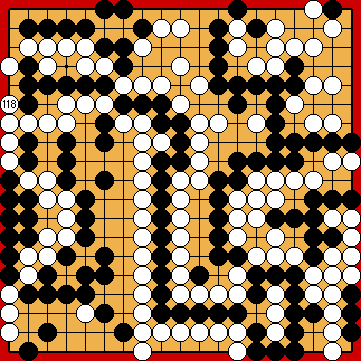
Variations of Our Solution (IIIb)
Tricking KataGo (Triple-Ko)
VAR  (C)
(C)  (A)
(A) 
 (.2)
(.2) 

 (.2)
(.2)  (.2)
(.2) 
 (.1)
(.1)
|
|
|
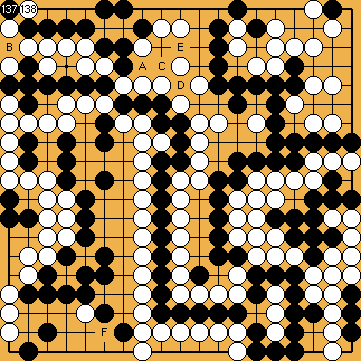
Black does not have the time to give atari with
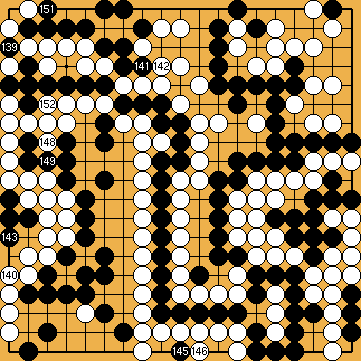
However, as Joachim discovered when analysing Black's later subvariation below, this strategy - often useful elsewhere - is not applicable here. The same applies for White's ko threats in the left centre, which threaten to capture some Black stones there, in order to secure independent life for White's left-hand group. There is only one option left for White for winning the game: She has to capture the hanezeki's tail just now, as her very first ko threat. |
|
However, as mentioned above, Black could do much better by ignoring White's very first ko threat.
|
|
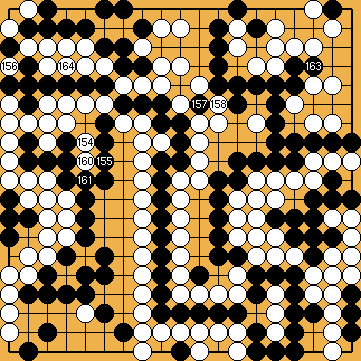
Simply descending to Black might consider pushing to |
|
|
|
Playing at However, Black must not let White live at the left, as he will be unable to win the semeai with White's centre group.
Alternatively, Black might consider playing the peep of Ending the ko fight by capturing with
Please note that this is Black's only ko threat at the right side of the board that is not related to the (surrounding positions of) the hanezeki.
|
|
We are sure that ... White will win the game by more than 15 points. |
|
 222fc
222fc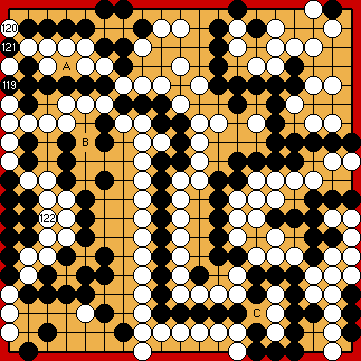
 :
: or to descend to
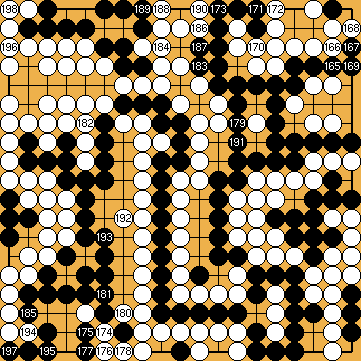
  , instead, which both would result in the capture of White's stones in the corner.
 :
: :
:
 : (B
: (B  222fe
222fe C
C 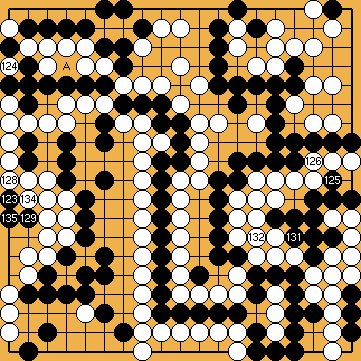
 ;
;  ;
;  ;
; 
 : (
: ( :
: :
:
 :
: , instead, would lose this additional ko threat.
 to
to  .
.
 ;
;  ;
;  ;
; 
 :
: :
:
 ;
; 
 :
: : (164
  , instead, will have a comparable effect.
 :
: , instead. White will answer locally, with
  .
. will not benefit White. She will lose a few points overall after Black's atari with
  :
:
 :
: :
:
