Variations of Our Solution (IIIa)
No Early Kikashi
VAR  (.1)
(.1)  (.5)
(.5)  (.1)
(.1)  (.1)
(.1)  (.2)
(.2)
|
|
|
She does not want to lose another move in the Main Semeai, because this would be equivalent to losing not only the Capture Variation, but also the Semeai Variation. |
|
///:
|
|
Semeai Variation:
|
|
... |
|
He must not continue with the usual course of the Semeai Variation, instead. |
|
Connecting with
She might simplify the issue by connecting with
Retreating with |
|
If he connected at
|
|
If she captured Black's group at the left with |
|
Answering at |
|
|
|
Semeai Variation: Compared to the superordinate variation ...
In total, Black gained one point. White + 3 => White + 2 |
|
///: Capture Variation:
|
|
... |
|
... |
|
|
|
Capture Variation: Compared to the superordinate variation ...
In total, gains and losses compensate for each other. Black + 3 => Black + 3 |
|

 648bb
648bb
 :
:
 :
:
 :
: :
:
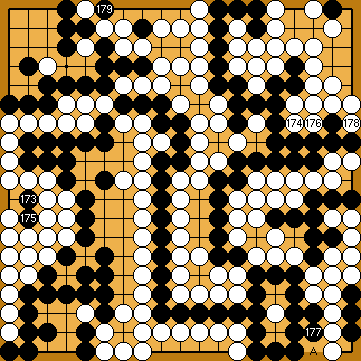
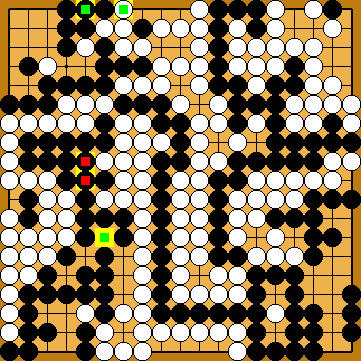
 : (A
: (A  648be
648be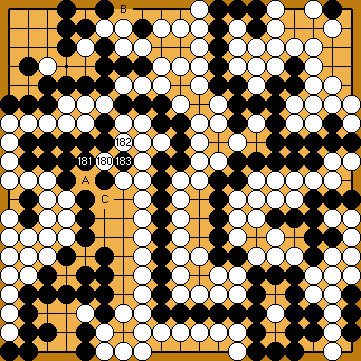
 :
: : (A
: (A  , or giving atari with
  at the upper edge, instead, will be a grave mistake.
 :
: , achieving the same final score as herein.
 , instead, will result in a change in the order of moves.
 :
:
 :
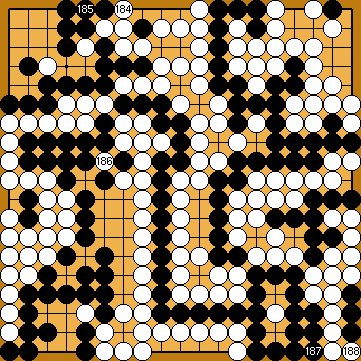
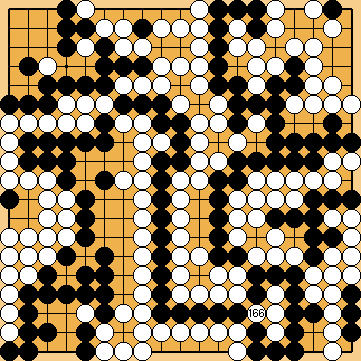
: : (186
  , instead, White would gain decisively.
 :
:
 :
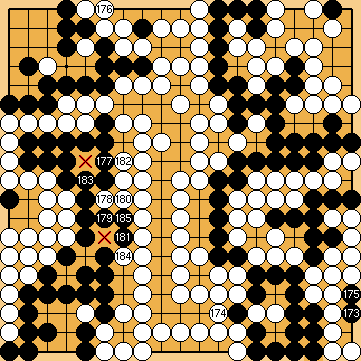
: , instead, Black's large group at the right would survive the following semeai in return. White would lose the game by about 15 points.
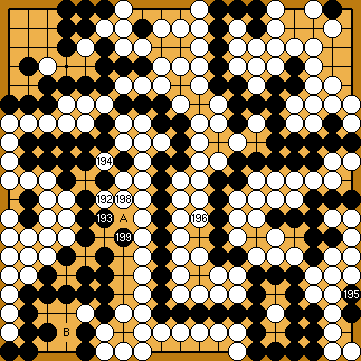
 ;
; 
 :
: , and play this sequence at the left later.
 :
: , or
, or  , instead, will not affect the outcome of the game
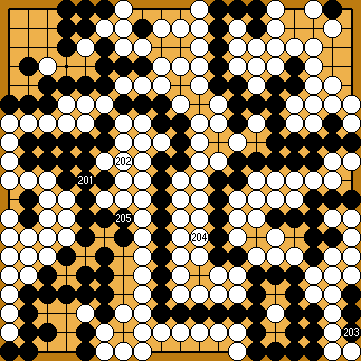
 :
:
 :
: :
: ), reaching a maximum score of Black + 1 for the Capture Variation.