Variations of Our Solution (IIIb)
Dany's Ko: Joachim's No-Ko-Threats
VAR  (.1)
(.1) 

|
|
|
Ignoring White's previous move is out of the question, as White would turn his upper left corner into a seki. For details, please refer to an older subvariation (
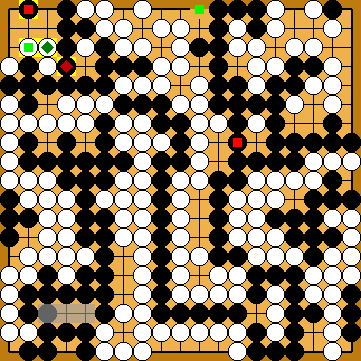
KataGo (2021i) favours the connection in the right centre just now, which implies that KataGo (2021i) wants to play this move as early as possible.
KataGo (2021i) favours a move at
Again, Black is unable to ignore White's previous move, instead. If he really did, his entire corner would be turned into a seki.
However, this is the last moment, when Black can play the connection at
Connecting at |
|
Alternatively, he might consider capturing with
Connecting her stone in the upper right with |
|
Black might want to give Joachim's idea of throwing-in at
|
|
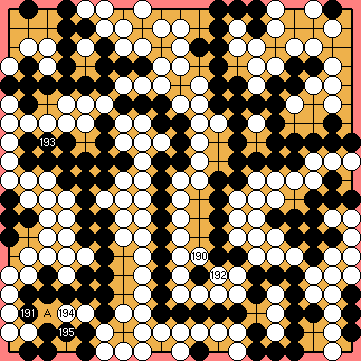
Black plays 0/2 reductions. After White's kikashi in the lower left corner, Black will have to capture at |
|
Capture Variation: Compared to the superordinate variation ...
In total, gains and losses compensate for each other. White + 2 => White + 2 |
|
Semeai Variation: Compared to the superordinate variation ...
In total, gains and losses compensate for each other. White + 2 => White + 2 |
|
 648qa
648qa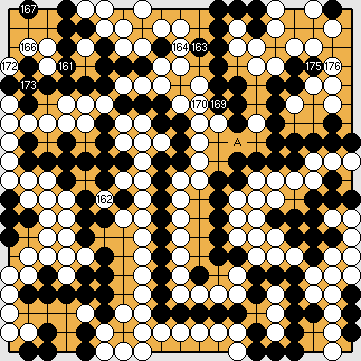
 ;
;  ;
;  ;
;  ;
; 
 :
: 648nf
648nf
 : (
: ( A
A  648qd
648qd : (167
  , instead, which will allow White to generate yet another ko threat in the upper left corner. Nevertheless, the outcome of the ko fight here will not be affected, as White is already ahead in valid ko threats.
 : (162
  : (
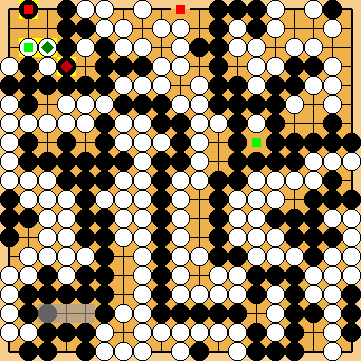
: ( in the right centre, in order to benefit in the Semeai Variation.
 :
: :
: : (A
: (A 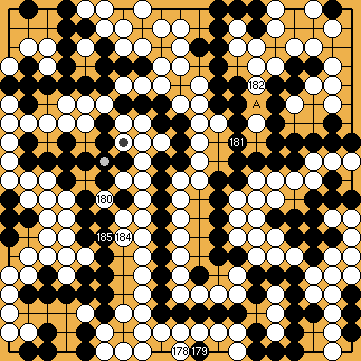
 ;
; 
 ;
;  :
: ,
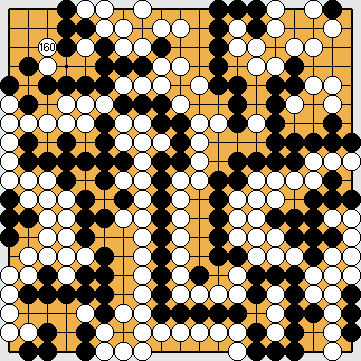
,  in the centre, which had been played too early by us.
 :
: :
: :
: , instead, will be mistaken, similar to the case when White plays
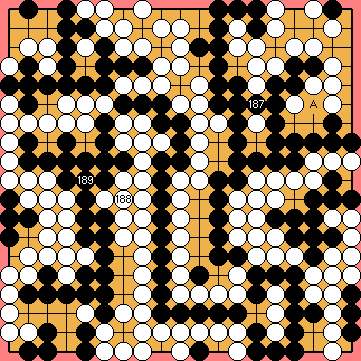
 : (A
: (A  :
: