Variations of Our Solution (IIIb)
No Early Kikashi
VAR  (.3)
(.3) 
 (.1)
(.1) 
|
Black's outside liberty |
|
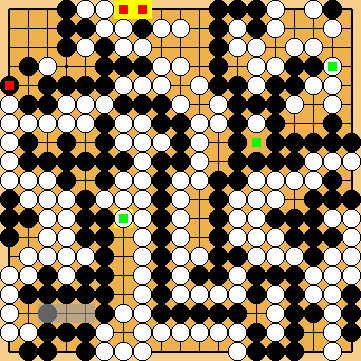
In the subvariation, we will show the result of Dany's Ko in the case of White having captured the nakade "early" - what KataGo favoured several moves before: |
|
White could also continue with
If he played the throw-in at
Black will be unable to win the ko anyway, so he could connect at
Please remember that neither
Black could simplity the issue by immediately playing at |
|
|
|
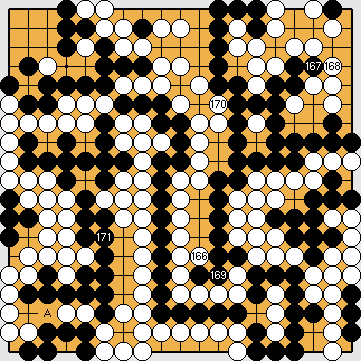
Black plays 3/4 reductions. Playing 4/4 reductions would interchange the scores of the Main Variations. Before the end of the game, Black will have to capture at |
|
Capture Variation: Compared to the superordinate variation ...
In total, gains and losses compensate for each other. White + 2 => White + 2 |
|
Semeai Variation: Compared to the superordinate variation ...
In total, White gained one point. Jigo => White + 1 |
|
 649af
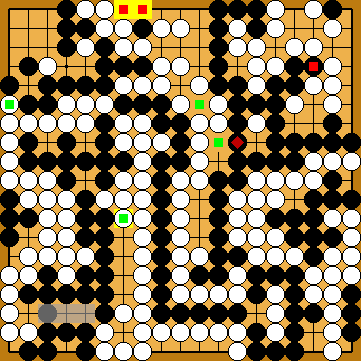
649af of his group in the upper left corner does not matter here, because the nakade at the left has not been captured yet by White.
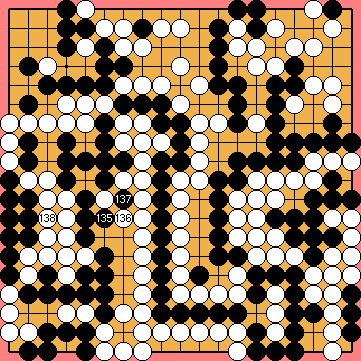
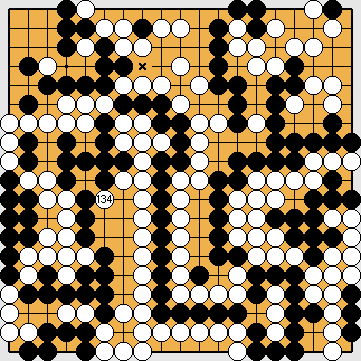
 : (138
  649ak
649ak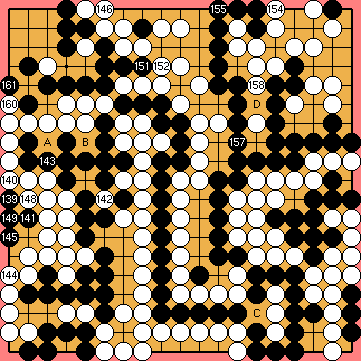
 ;
;  ;
;  ;
;  ;
;  ;
; 
 :
: just now, not affecting the outcome of the game.
 :
: , instead, White would play the forcing sequence of
  ,
,  , and Black would lose his entire group at the left, due to damezumari. Black has no chance at all to win the ko fight in the left centre, as White has several unbeatable ko threats at her hands, starting with
  .
. :
: just now, not affecting the outcome of the game.
 :
: nor
nor  are valid ko threats here, as Joachim found out earlier.
 , instead, not affecting the final scores of the game.
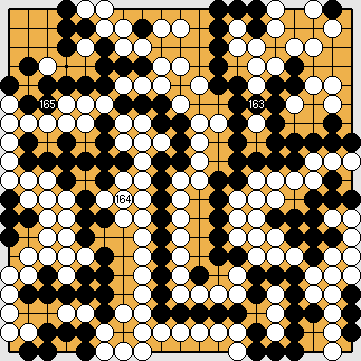
 :
: :
:
 .
.