Variations of Our Solution (IIIb)
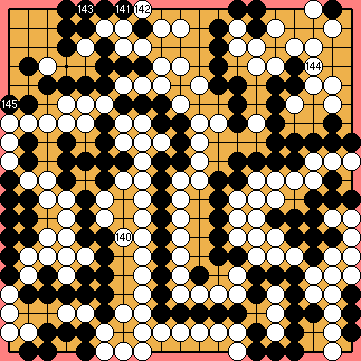
No Early Kikashi
VAR  (.3)
(.3) 
 (.1)
(.1)
|
Please be aware that KataGo's favourite line of play does not care about the final score of the alternative Main Variation, but has the overall result of the game in mind only. |
|
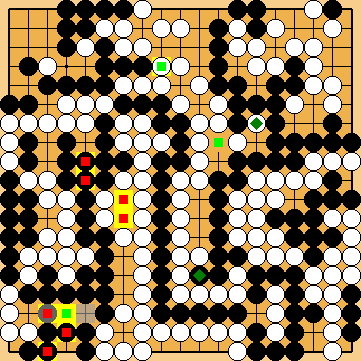
However, White would achieve a better score in the Semeai Variation, if the played the wedge in the left centre just now.
However, Black would achieve a better score in the Semeai Variation, if he played tenuki to defend his position in the left centre.
KataGo favours capturing the nakade with |
|
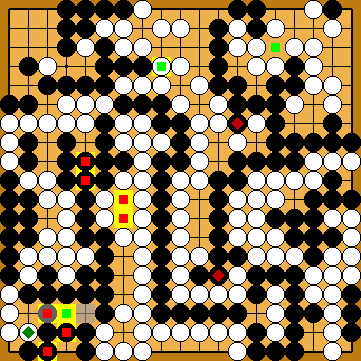
Here, after B's mistake with connecting at the lower edge, Dany's Ko will be better for White than the central attachment - in the alternative Main Variation (i.e. the Semeai Variation here) again. We can clearly see that - as usual - KataGo does not care about that secondary score. |
|
|
|
Black plays 2/2 reductions. Before the end of the game, Black will have to capture at |
|
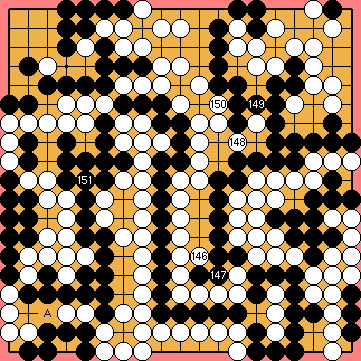
Capture Variation: Compared to the super³ordinate variation ...
In total, gains and losses compensate for each other. White + 2 => White + 2 |
|
Semeai Variation: Compared to the super³ordinate variation ...
In total, Black lost six points. Black + 6 => Jigo |
|

 649ae
649ae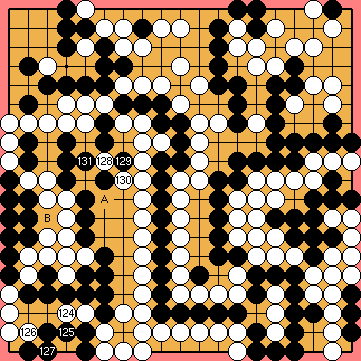
 :
: :
: : (
: ( 128
128  649ag
649ag : (
: ( :
: before, which will result in a change in the order of moves only, if White continues with the central attachment in the left centre later, but deprives White of her chances to win Dany's Ko (after Dany's attachment).
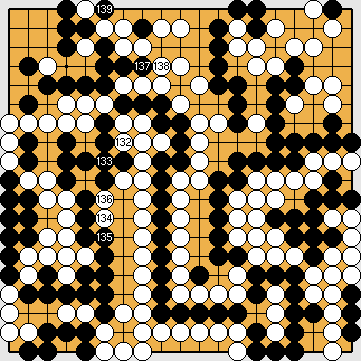
 :
: : (
: (
 :
: :
: :
:
 in the lower left corner.