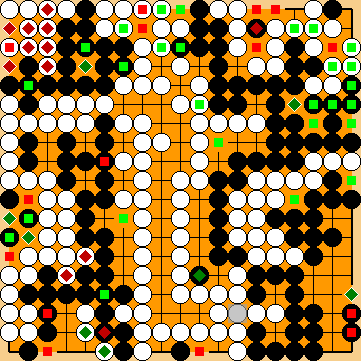
Timing of the Guzumi Without
Harry's Hasami-Tsuke Sequence (2022)
VAR 

|
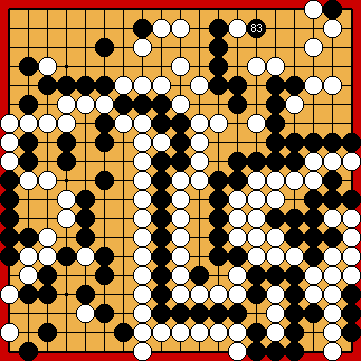
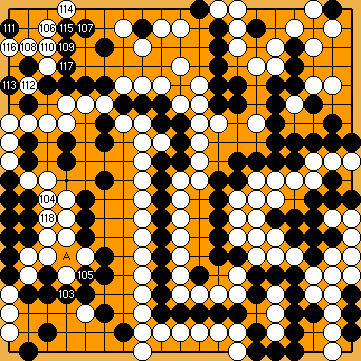
We inserted this move manually. |
|
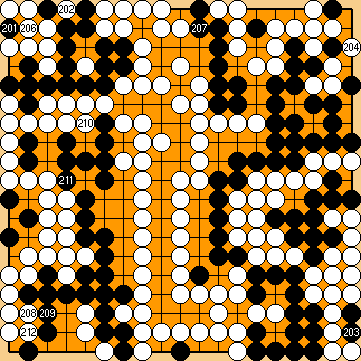
If the reverse komi is too small, KataGo does not seen to calculate the capture of the hanezeki's tail correct, and so thinks that White is behind. White's block at
If would have been better for Black (assuming correct continuation by White) to connect his pivotal hasami-tsuke stone with
|
|
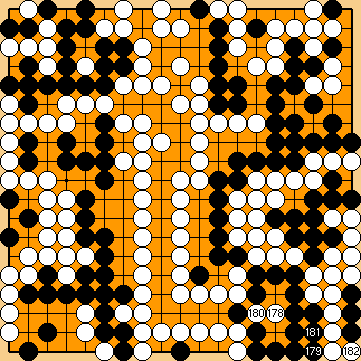
Please note that Black's move would be gote, if White had already captured the hanezeki's tail. |
|
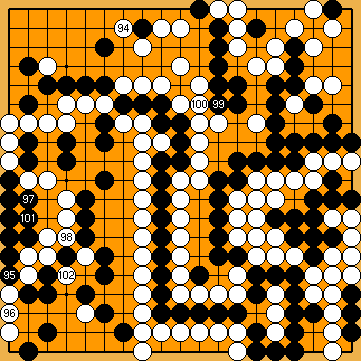
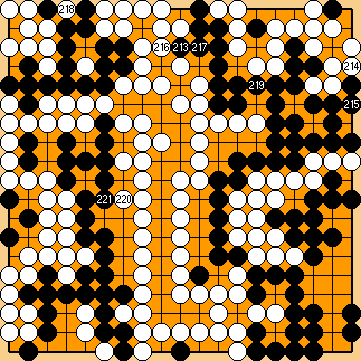
However, with a larger reverse komi, KataGo let White connect the atari in the lower left with a move at |
|
|
|
|
|
... |
|
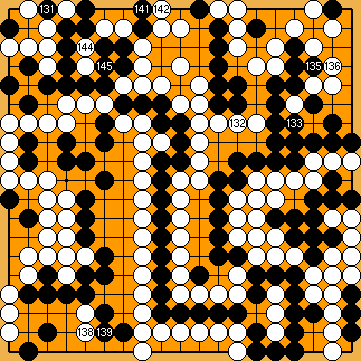
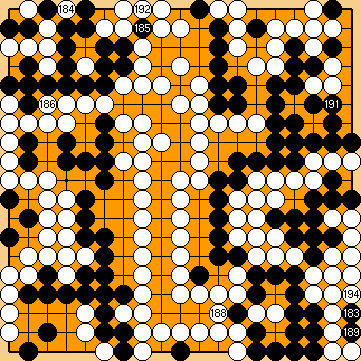
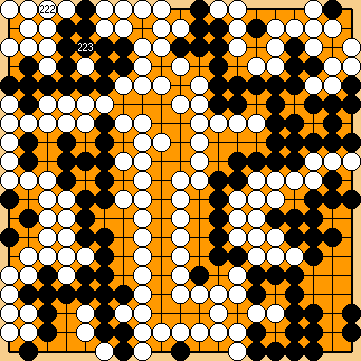
However, White is forced to capture the hanezeki's tail later in the game anyway (due to her one-eyed group at the left side alone), so she will not answer Black's fake ko-threat. He should have erased a potential White ko-threat, at least.
Even if she did, the final score would remain unaffected.
She would lose the game, if she continues with fighting the ko in the upper left corner. |
|
|
|
... |
|
|
|
... |
|
... |
|
... |
|
|
|
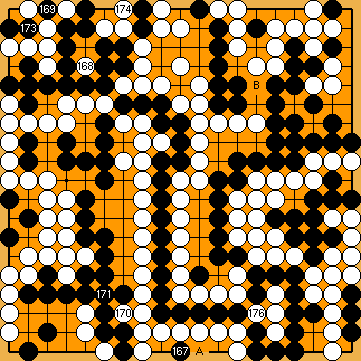
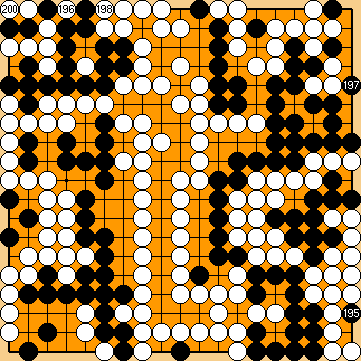
Capture Variation: Compared to the superordinate variation, ...
In total, Black gained four points. White + 5 => White + 1 |
|
 1863
1863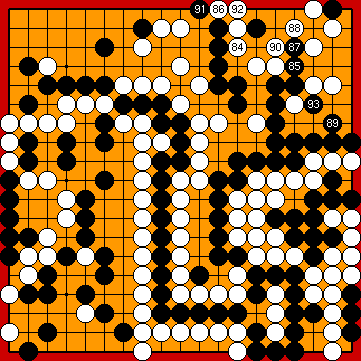
 :
: :
: : (
: ( 87
87  1869
1869 , instead, would revert to the "straightforward" sequence of the main line (that started with Black's push).
 : (
: ( , instead.
 :
:
 :
: :
: :
: .
.
 :
: : (
: ( , which led to a better score for her - but only after some manual adjustments.
 :
: :
: :
: :
:
 ;
;  ;
;  ;
;  ;
; 
 :
:
 ;
;  ;
;  ;
;  ;
; 
 ;
; 
 : (
: ( : (A
: (A  : (B
: (B 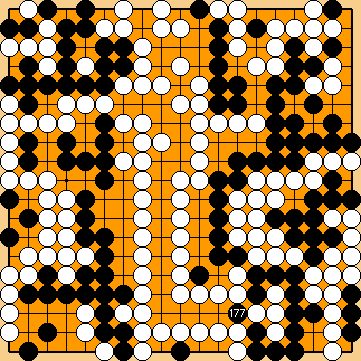
 :
:
 ;
;  ;
; 
 :
:


 :
: :
: