Variations of Our Solution (Ib)
KataGo's 2021 Solution
VAR 
|
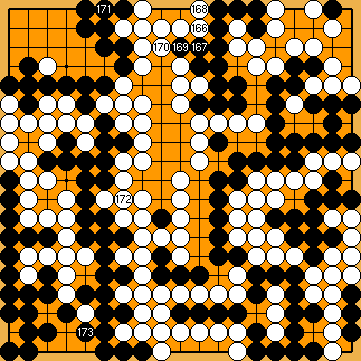
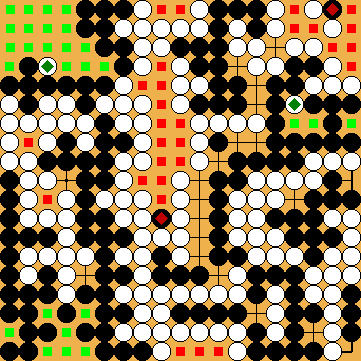
The alternative options mentioned below were identified by browsing through this selfplay game in "Analysis Mode". |
|
Alternative option is
|
|
Alternative option (CHITOOM) is |
|
Alternative options (CHITOOM) are
Alternative option is
Alternative option is |
|
Alternative option is
Alternative options are |
|
Alternative option is
Alternative options are
|
|
Alternative options are |
|
|
|
|
|
... |
|
|
|
|
|
|
|
... |
|
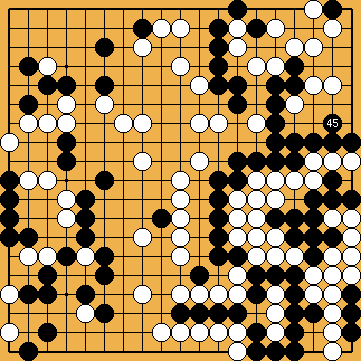
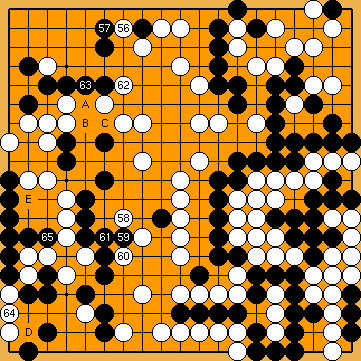
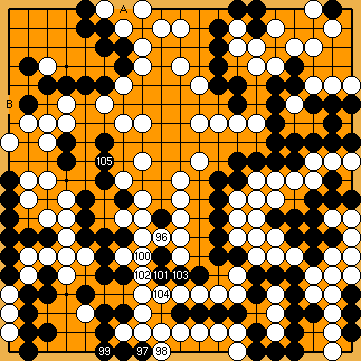
Black has 29 points of territory and 16 prisoners, adding up to a total of 45 points. White has 30 points of territory and 16 + one (the Black stone assumed to have been taken before the problem's setup) prisoners, resulting in a total of 47 points. White wins the game by two points. |
|
 58aa
58aa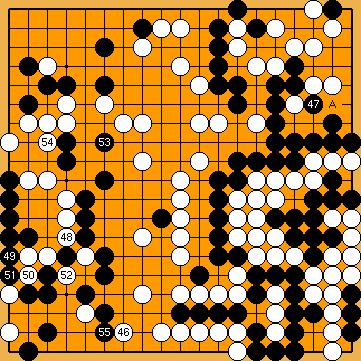
 :
: , completing the Guzumi Exchange.
 :
: :
: :
: :
: :
: :
: :
:
 :
: :
: :
: :
: :
: ,
,  ,
,  .
. :
: :
: , followed by
  ,
, 
 :
: :
: .
. :
: ,
,  :
: and
and  :
: , instead of solidly connecting with
  ,
,  :
: .
. , followed by
 :
: :
: .
. :
:
 :
: :
: :
: and
and  .
. :
: .
. :
:
 :
: .
.
 :
: and
and  .
. :
: .
. :
: .
. :
: :
: .
.
 :
: .
. :
:
 :
: :
: , with a better winrate displayed.
 :
: and
and  and
and  .
.
 :
: :
: .
.