Variations of Our Solution (Ib)
KataGo's 2021 Solution
VAR 
 (.1)
(.1)
|
We inserted this alternative move manually. The sequence below shows KataGo's continuation (in a selfplay game). |
|
If Black played the move at
It would be too early to cut with
If Black extended to
Again, cutting with
|
|
|
|
|
|
|
|
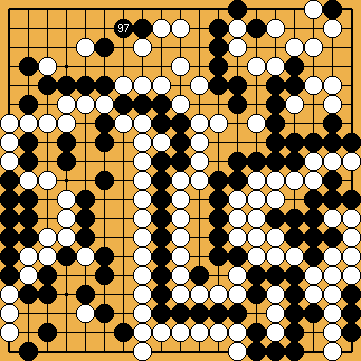
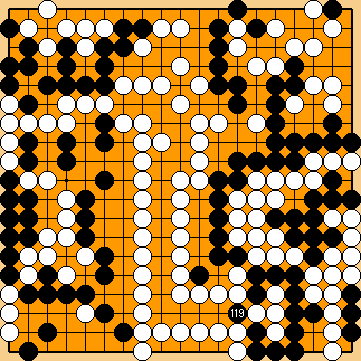
She might have played this sequence first, and captured the hanezeki's tail later.
This ko is an approach-move ko, in principle favouring Black; and a two-stage ko as well, favouring White. |
|
The ko has become a direct one now, as White would win the fight by connecting this second ko.
White would be able to win the game by terminating the ko fight just now. However, she has sufficient own ko threats available, as we will see, and therefore does not need sacrificing her stones.
|
|
|
|
|
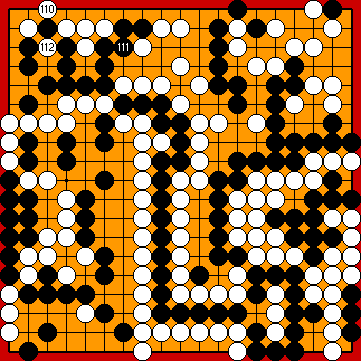
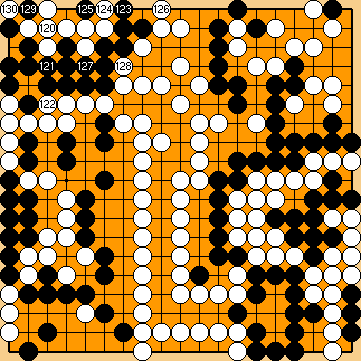
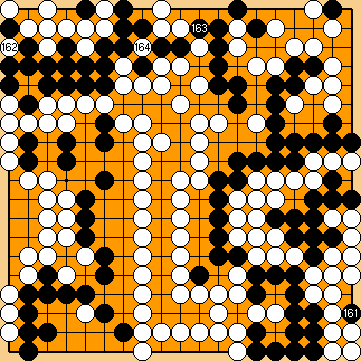
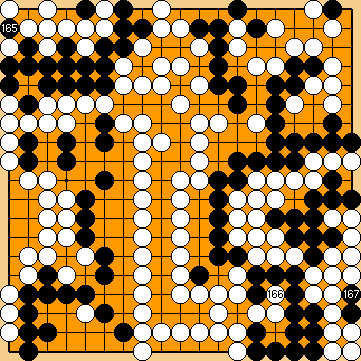
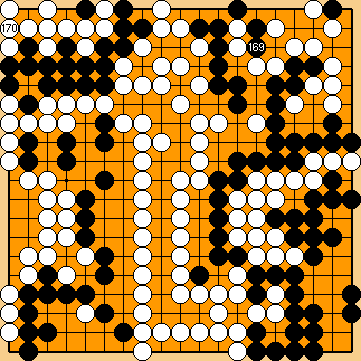
Ko: |
|
|
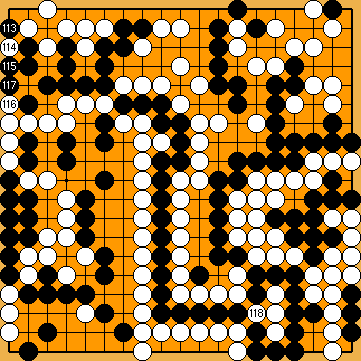
White will win the game by about 40 points. |
|
 58ai
58ai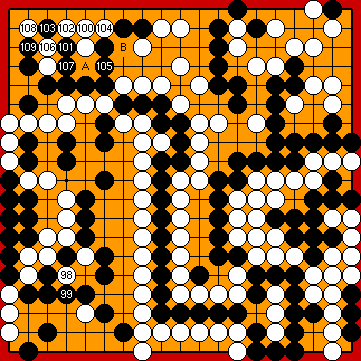
 :
: :
: :
: :
: :
: : (
: ( A
A  58ak
58ak , instead, he would not lose his entire corner as below, while still being unable to avoid a decisive defeat.
 :
: at the outside.
 : (
: ( , instead, he would not lose his entire corner as below, while still being unable to avoid a decisive defeat.
 :
: :
:
 :
: :
: :
:
 :
: :
: :
: :
: :
:
 :
:
 :
: :
: :
: :
: :
:
 ;
;  ;
;  ;
;  ;
; 
 :
: :
: :
: :
: :
: :
:
 ;
;  ;
; 
 :
: :
:
 :
:

 :
:
 :
: :
:
