Variations of Our Solution (Ib)
KataGo's 2021 Solution
VAR 
 (.3)
(.3)  (.3)
(.3) 

|
This early connection - which is not mandatory at all - is the game-deciding mistake. White must never ever connect her two stones, as long as the position in the upper left corner is still open. |
|
Here, however, White cannot gain any local advantage by this exchange, but has enhanced Black's eye shape in the corner unnecessarwedeily. In addition, after White has already connected her two stones in the left centre (
However, it can also be considered a kind of technical mistake, as it enhances Black's eye shape in the left centre unnecessarily (and is a genuine mistake, if played too early; |
|
|
|
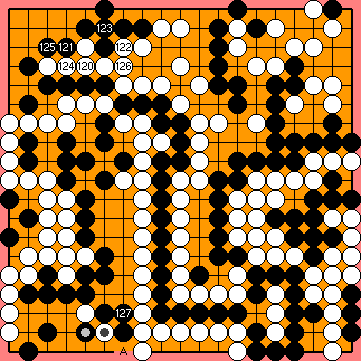
Alternatively, Black might consider descending to |
|
Alternatively, she could also push at
However, this move can be considered a technical mistake, if played so early. White should simply do without.
However, it might have been preferable to capture the other White stone with |
|
Alternatively, she might also consider connecting at
By this move, Black gains two points locally, but loses only one tempo in the Main Semeai in return (please note that
She would benefit by two points in the Semeai Variation, if she reduced Black's upper left corner before, starting with
It would have been simpler to connect at
Connecting his stone in atari, instead, would be a grave mistake.
Please note that the Central Semeai will not work for Black here, as his right-hand group has one outside liberty less than in the superordinate variation. |
|
Black must not play any reduction. After her decision point, White will capture at |
|
Capture Variation: Compared to the super²ordinate variation, ...
In total, gains and losses compensate for each other. White + 1 => White + 1 |
|
Semeai Variation: Compared to the super²ordinate variation, ...
In total, White gained two points. Black + 7 => Black + 5 |
|
 : (
: ( 58bc
58bc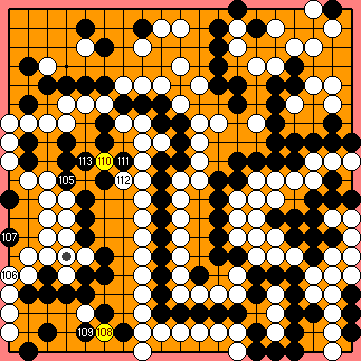
 :
: :
: ), White will never get a chance to connect her stone to the outside.
 :
: 58dr
58dr
 :
: :
:
 :
: :
: , as in the superordinate variation. The final scores of the game would not be affected.
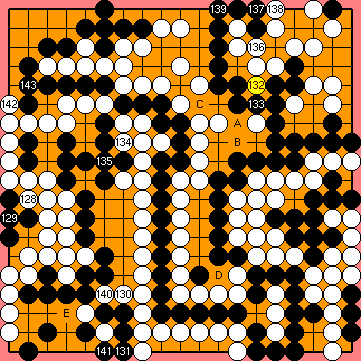
 :
: .
. :
: into an approach-move liberty of his right-hand group. This will happen if he has sufficient Main Semeai Liberties to spend for connecting at
  and
and  .
. :
: :
: , instead, leaving absolutely no aji to the left.
 :
: , instead. Both points are miai.
 :
: has become an approach-move liberty of his group). Therefore, the net effect of this capture is a gain of one point overall.
 : (
: ( B
B  58bj
58bj .
. :
: immediately.
 : (C
: (C  :
: