Variations of Our Solution (II)
VAR  (C)
(C)  (B)
(B)  (B)
(B)
|
|
|
|
|
|
|
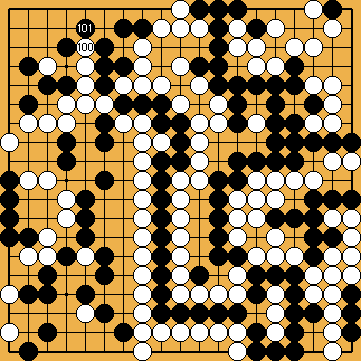
Black follows the usual sequence. He cannot escape his fate, even if he exchanges |
|
|
|
|
|
|
|
|
|
|
|
|
|
|
|
|
|
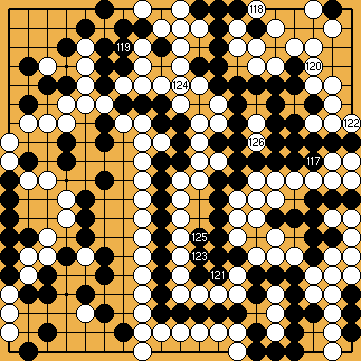
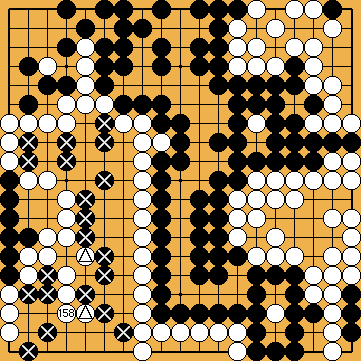
Now we can see that White's two |
|
 231
231 1055
1055
 :
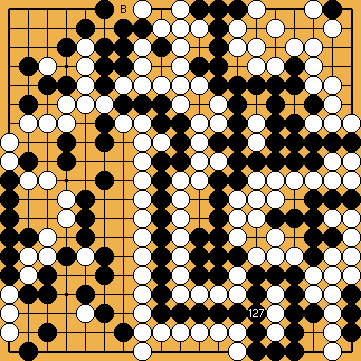
: , also taking a liberty of White's group in the top left. But White would have lost her ko-threats in the top left corner.
 :
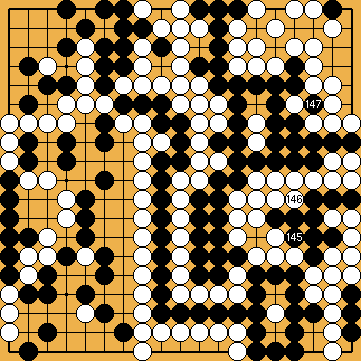
: , that he can use effectively. Black will insert this sequence latest, when White's centre group has six effective liberties left.
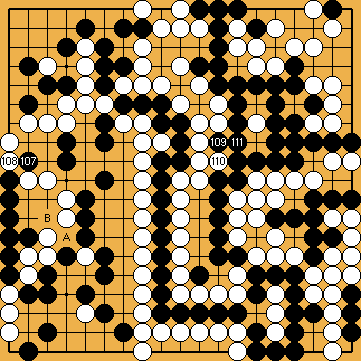
 :
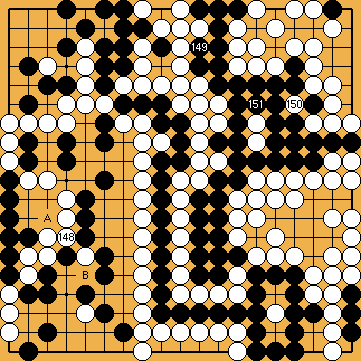
: for
for  on the left side; please refer to the additional explanation in the theory chapter (
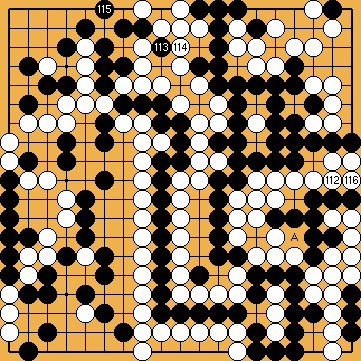
 :
:
 :
:
 :
: , instead, would not make a difference.
 ;
;  ;
; 
 : (134
  355
355 , instead.
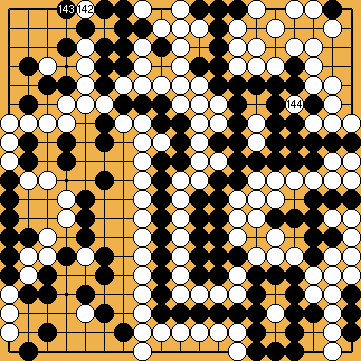
 :
:
 :
:
 :
: for
for  before, White would play this move at
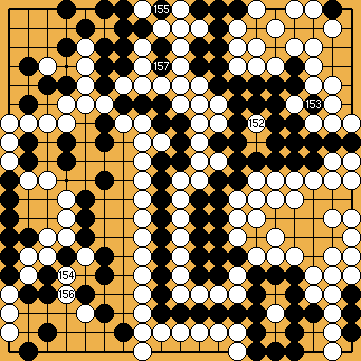
 ,
,  :
:
 :
: -stones are not only on the board for serving endgame purposes.
