Variations of Our Solution (II)
VAR  (L)
(L)  (A)
(A)
|
|
|
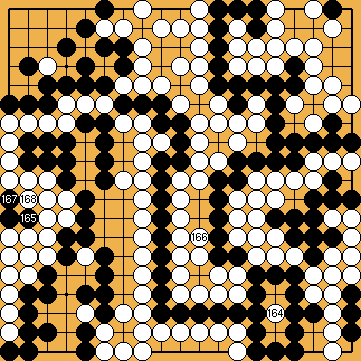
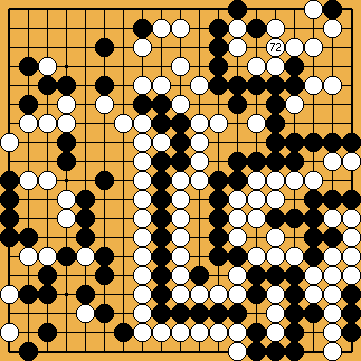
Due to White's solid connection, Black has got the opportunity to do without the guzumi, and to choose a more aggressive option, instead.
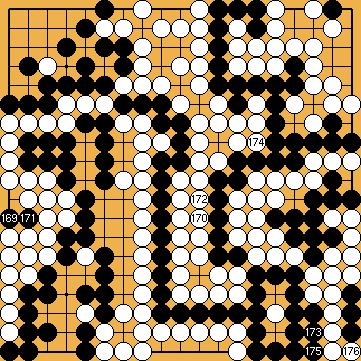
The Hanezeki Exchange (
Here, White will gain one point by playing an unbelievable tenuki in the hanezeki in order to attack Black's upper left corner with a hane at
Please refer to |
|
|
|
|
|
|
|
|
|
|
|
|
|
|
|
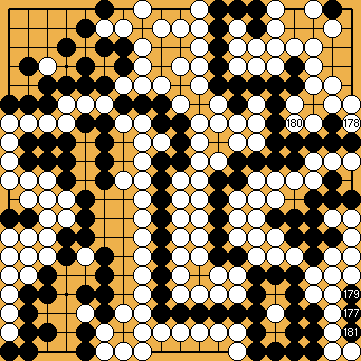
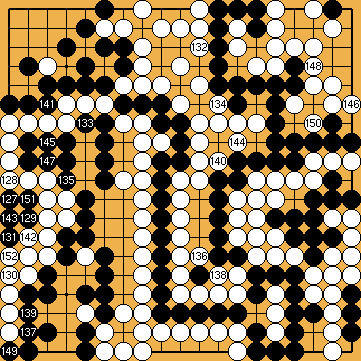
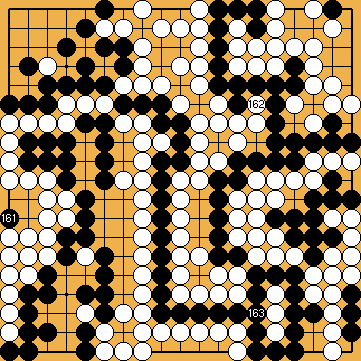
Black wins by three points. This is the same result as with our solution. |
|
 390
390 257
257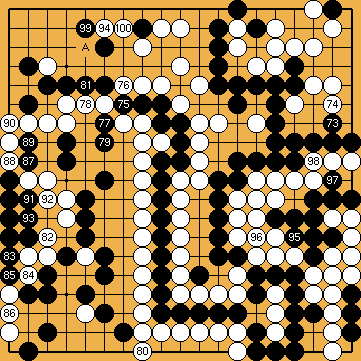
 : (75
: (75  396
396
 -
-  ) must be played earlier.
 .
.
 :
: with a move at
  , which is possible due to the additional liberty for his top right group, he would gain one point in the Capture Variation (Black + 6 then), but loose one point in the Semeai Variation (Black + 2 then).
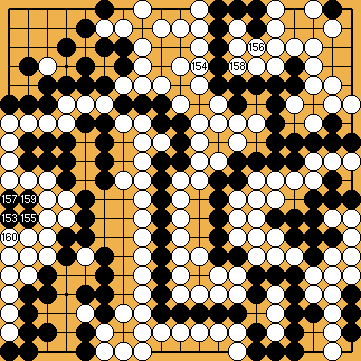
 : (
: (