Variations of Our Solution (II)
VAR  (L)
(L)
|
|
|
|
|
|
|
|
|
The Hanezeki Exchange (
Here, White will gain one point by playing an unbelievable tenuki in the hanezeki in order to attack Black's upper left corner with a hane at
Please refer to |
|
Neither will it help Black to concentrate on occupying liberties of White's group on the left side, starting with a move at |
|
|
|
However, if Black's top right group eventually lives, White gained four points ( Black will win by one point. |
|
///:
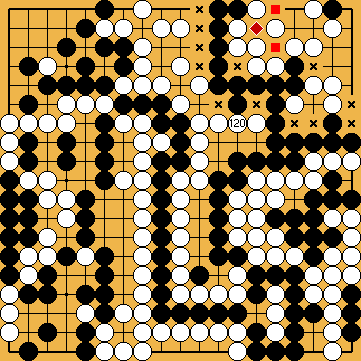
For the sake of reference we display the position after move Please note that - in principle - Black played at |
|

 193
193 197
197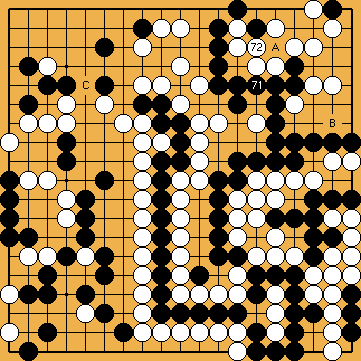
 : (A
: (A  392
392 , instead, she will gain the same result as with our solution - but only in the case Black will follow White so indulgent. Black's kikashi of
  , instead, depriving Black of the guzumi. However, she will gain a result that is slightly worse than with our solution.
 , instead, will also not benefit White. This is similar to the guzumi.
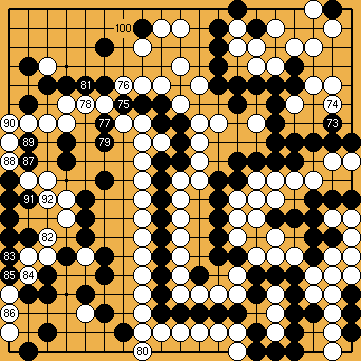
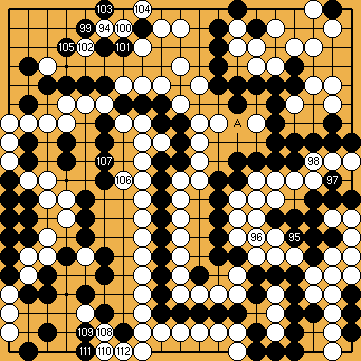
 : (75
: (75  , instead, and play the hiki of
  later, due to his just won liberty. In principle, this will result in a change in the order of moves with variations of Joachim's Ko-Semeai (
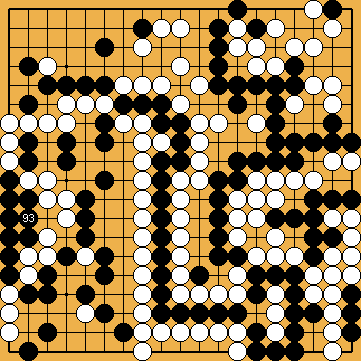
 :
:
 : (A
: (A 
 -
-  ) must be played earlier.
 .
.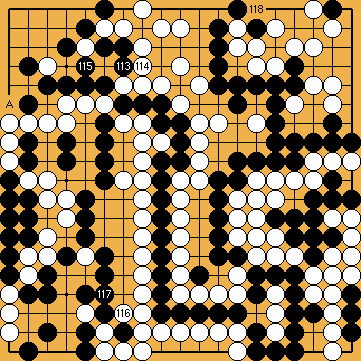
 : (118
  , instead.
 , and let White have what she wants elsewhere.
 :
:
 :
: ) now, as many as in our solution at a matchable moment.
 ,
,  ). Thus Black will win the Capture Variation by only one point.
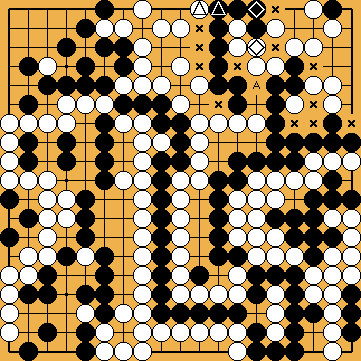
 in our solution. It does not matter that the first part of the Nakade Sequence on the left side has been played already. We have added the (there later played) moves, which result in the connection of Black's hasami-tsuke stones (
 /
/ ,
,  /
/ ). Black's top right group has 12 liberties (
