Variations of Our Solution (II)
VAR  (F)
(F) 
|
|
|
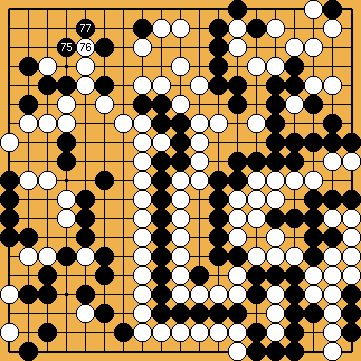
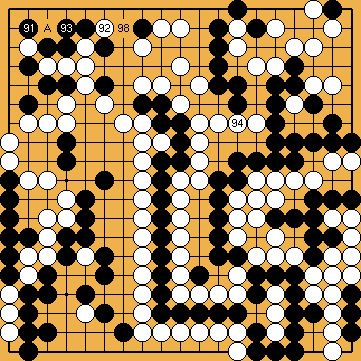
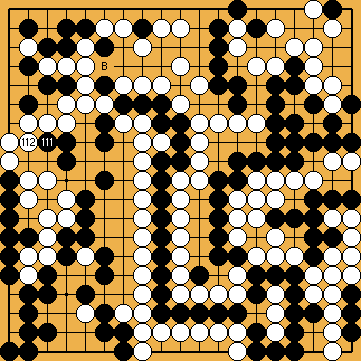
Michael Redmond was so kind to show us another decisive tesuji in conjunction with White connecting her stone that gains two points for White, making the game even closer. |
|
|
|
|
|
|
|
|
|
|
|
|
|
|
|
|
|
|
|
|
|
|
|
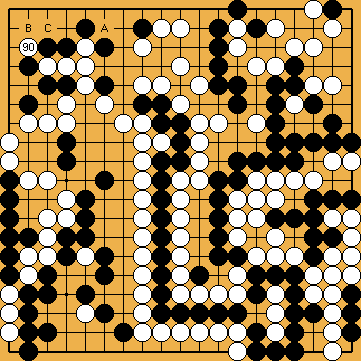
Black wins by one point. |
|
 434
434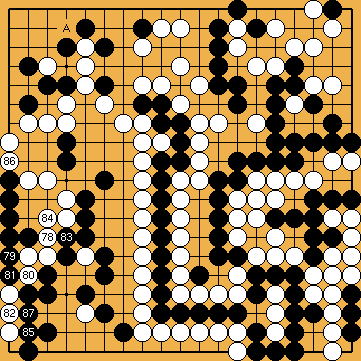
 : (A
: (A  440
440
 :
:
 :
: , and forces Black to choose between
  , and
, and  .
.
 : (A
: (A  .
.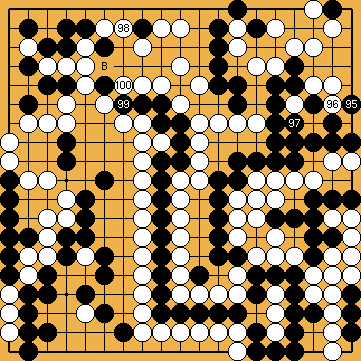
 : (B
: (B  , Black's position will collapse immediately.
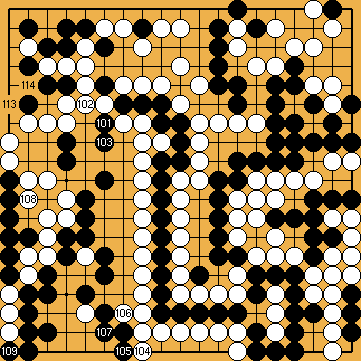
 :
: , instead, she will not have enough ko-threats to start the ko with
  next.
next.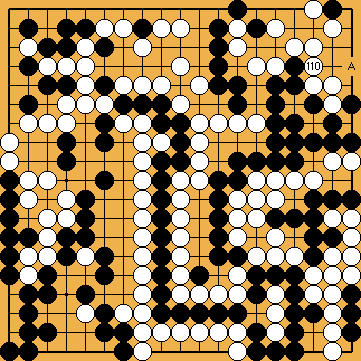
 :
:
 :
: .
.
 :
: is a slight gain for Black, compared to allowing
  .
.
 :
: is theoretically larger than a move at
  , but the final result is the same.
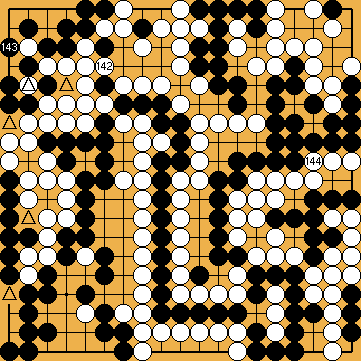
 :
: would be an atari that White could not connect.