Variations of Our Solution (IIIa)
No Early Kikashi
VAR  (.1)
(.1)  (.2)
(.2)  (.3)
(.3) 

|
In this subvariation, we (once) assumed that White does not want to play at |
|
She will increase her result in the Semeai Variation - despite still losing the ko fight - if she splits the Nakade Sequence, and recaptures the ko in the left centre, instead.
Please note that we will not split the following diagrams for adjusting the board's border colour after a ko threat is played that loses at least one Main Semeai Liberty. |
|
If she mistakenly played the atari of |
|
If White chose Dany's Sacrifice just now, and connected the ko in the left centre, Black would capture with
We now know that this kikashi cannot be counted as an additional ko threat - in the case that we had played Black's atari at |
|
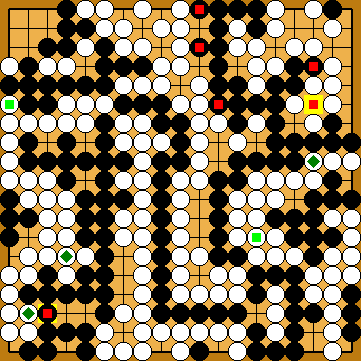
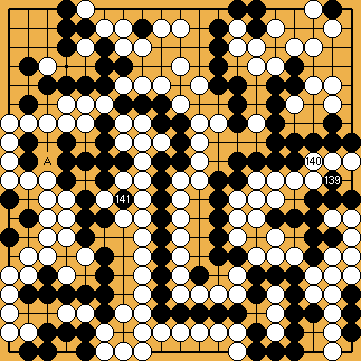
Black's ko threat in the upper right corner - found by Joachim - costs Black one move overall (i.e. an additional prisoner for White) and one tempo in the Main Semeai. |
|
|
|
Black plays 1/1 reduction. |
|
Capture Variation: Compared to the superordinate variation ...
In total, White gained four points. Black + 3 => White + 1 |
|
Semeai Variation: Compared to the superordinate variation ...
In total, White lost two points. White + 1 => Black + 1 |
|
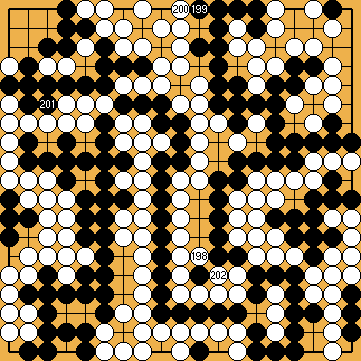
 648fg
648fg in the hanezeki.
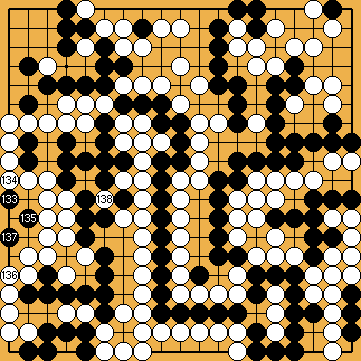
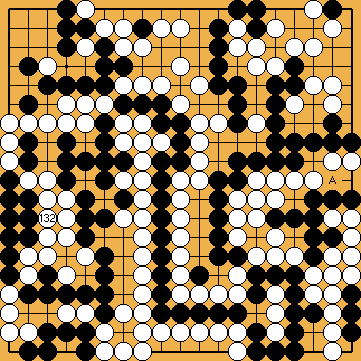
 : (
: ( 138
138  648fi
648fi
 :
:
 :
: :
: , killing all White groups in the hanezeki. White would be forced to capture the hanezeki's tail (otherwise Black could safely connect it), losing the game by about 5 points.
 ;
;  ;
;  ;
;  ;
;  ;
;  ;
;  ;
;  ;
;  ;
;  ;
;  ;
;  ;
;  ;
;  ;
; 
 :
: :
: and White would achieve only a drawn game in the Capture Variation. Black's large group in the upper right would survive the Semeai Variation (due to White's loss of two Main Semeai Liberties by her sacrifice).
 ;
;  :
: ,
,  in the centre, which had been played too early by us.

 :
: :
:
 :
: :
: