Variations of Our Solution (IIIa)
No Early Kikashi
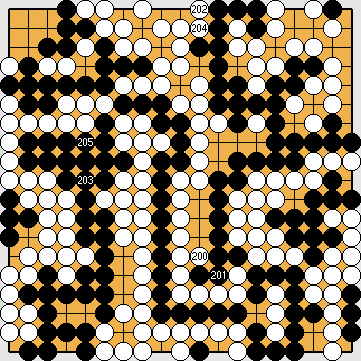
VAR  (.1)
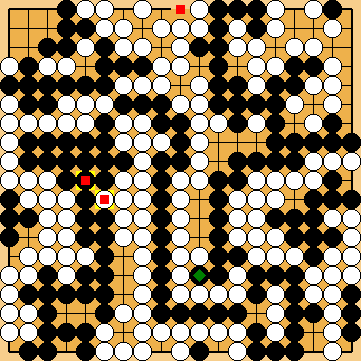
(.1)  (.2)
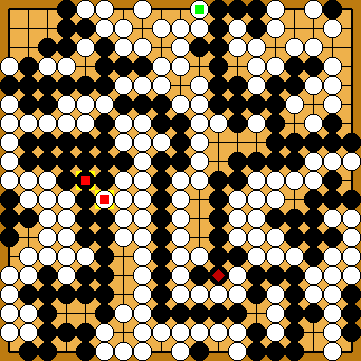
(.2)  (.3)
(.3) 


|
|
|
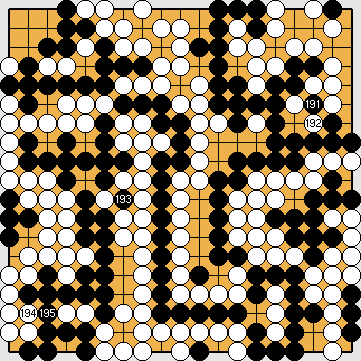
Hereafter, both sides follow the course of the super²ordinate variation, but with the parity of their ko threats changed. |
|
///:
He might even do without, achieving the same final scores as here.
|
|
|
|
Black plays 2/3 reductions. |
|
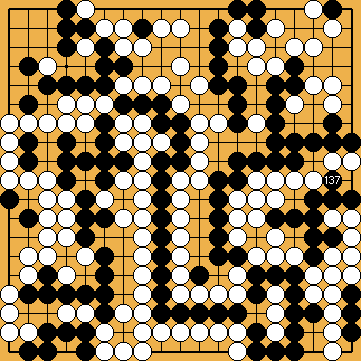
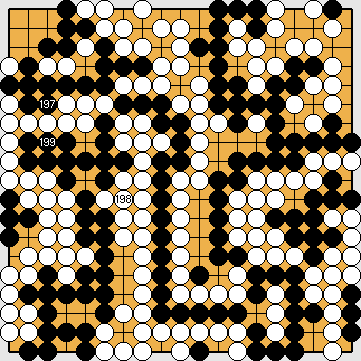
Capture Variation: Compared to the super²ordinate variation ...
In total, Black lost one point. White + 1 => White + 2 |
|
Semeai Variation: Compared to the super²ordinate variation ...
In total, Black lost three points. Black + 1 => White + 2 |
|
 648fi
648fi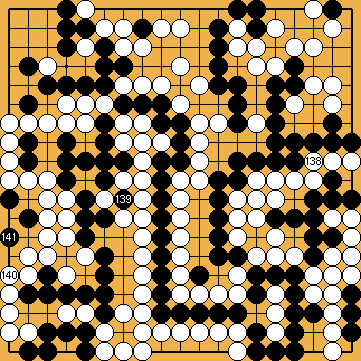

 :
: :
: :
:

 :
: :
:
 :
: :
: