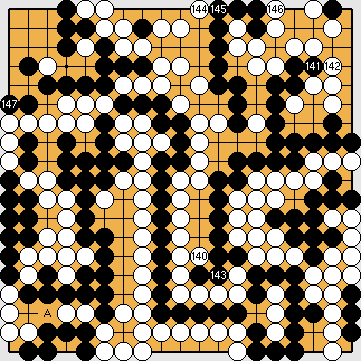
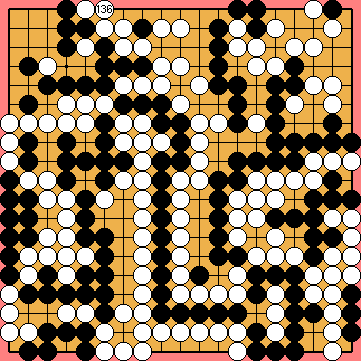
Variations of Our Solution (IIIa)
No Early Kikashi
VAR  (.1)
(.1) 
|
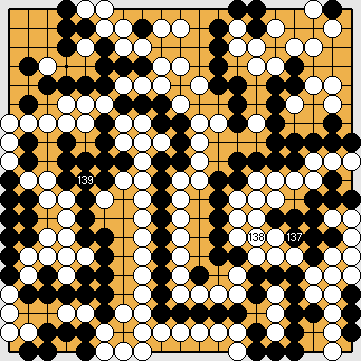
In principle, Black loses two Main Semeai Liberties by this move. But |
|
|
|
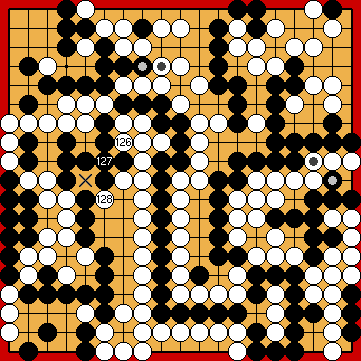
Here in this line, however, Black already lost two of his potential ko threats by playing some of his own kikashi (
Please note that this move is played outside the Main Semeai, but does not lose a tempo therein, because Black is still par with the Punishment Semeai Liberty Level. |
|
Black is unable to continue with Black is strictly bound to continue with the Main Semeai. Therefore, giving atari at White will connect at |
|
Black lost his third potential ko threat by his just played kikashi |
|
|
|
|
|
|
|
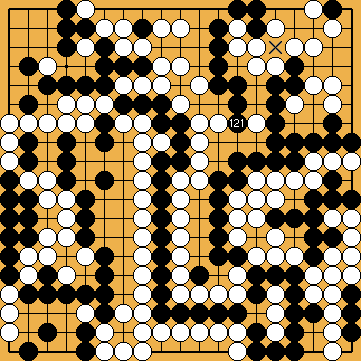
Black plays 3/3 reductions. |
|
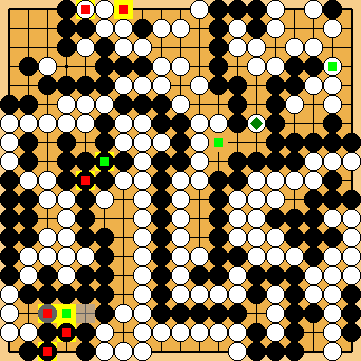
Capture Variation: Compared to the superordinate variation ...
In total, gains and losses compensate for each other. White + 2 => White + 2 |
|
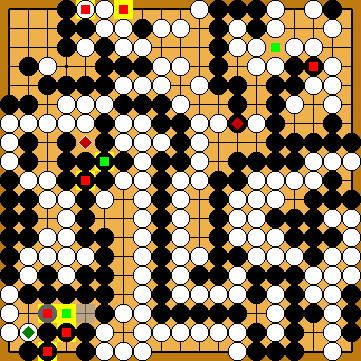
Semeai Variation: Compared to the superordinate variation ...
In total, Black lost six points. Black + 4 => White + 2 |
|
 648gm
648gm becomes an approach-move liberty of his group, so the net effect of this move is a loss of one Main Semeai Liberty.
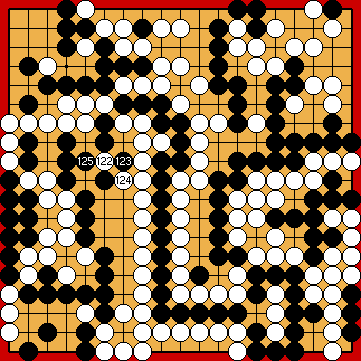
 :
:

 :
: ,
,  ) "early", compensating for our technical mistake mentioned above.
 :
:

 , or
, or  , in the left centre, because any of these moves would push him below the Punishment Semeai Liberty Level.
 , which would win her the game.
 is his only choice, because this move is the only one that also defends against White's cut at
  648of
648of , providing Black with two Main Semeai Liberties. Now, Black is able to defend against White's cut at
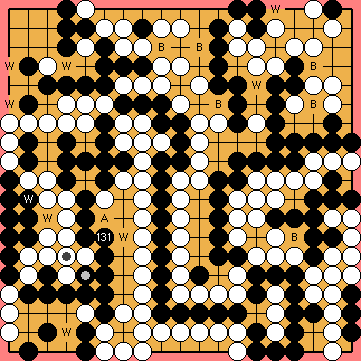
 :
: vs. 6 x slB).
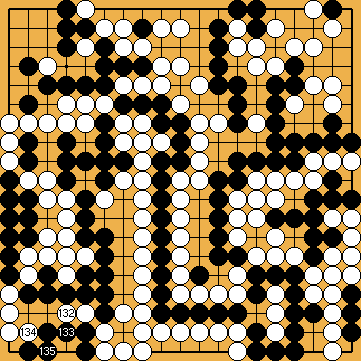
 ;
;  :
:
 :
:
 :
: