Variations of Our Solution (IIIa)
No Early Kikashi
VAR  (.4)
(.4)  (.1)
(.1) 
|
|
|
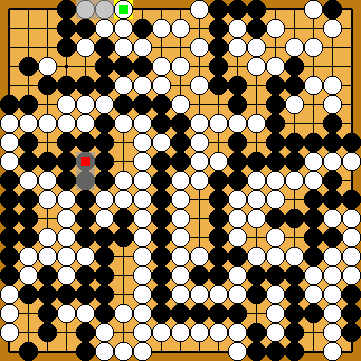
She might consider playing Dany's Attachment at |
|
Giving atari with
|
|
Black plays 3/3 reductions. Please assume the rejection of Dany's Sacrifice ( In the Capture Variation, White will capture at In the Semeai Variation, White will start with the throw-in at In the Semeai Variation, she will be unable to capture at |
|
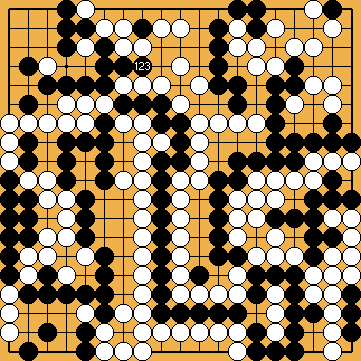
Capture Variation: Compared to the superordinate variation ...
In total, gains and losses compensate for each other. White + 2 => White + 2 |
|
Semeai Variation: Compared to the superordinate variation ...
In total, gains and losses compensate for each other. Black + 1 => Black + 1 |
|
 648ht
648ht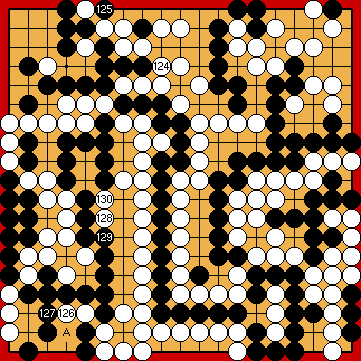
 :
: :
: .
. :
: , instead, intending to fight Dany's Ko, but we think that she will be unable to get a better result than herein.
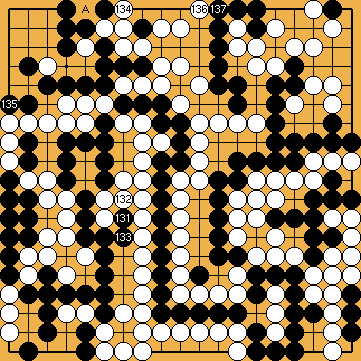
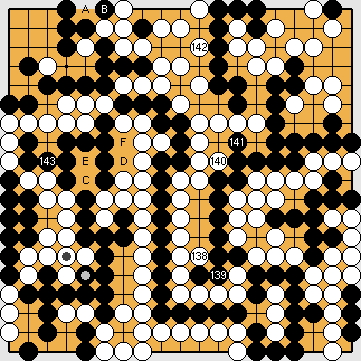
 : (134
  648hv
648hv at the upper edge, instead, will be mistaken.
 ;
;  :
:
 ,
,  ) played before.
 , and connect with
  thereafter.
 .
. . A few moves later, she will play the forcing sequence
  ,
,  ,
,  ,
,