Variations of Our Solution (IIIa)
No Early Kikashi
VAR  (.3)
(.3)  (.1)
(.1)  (.1)
(.1) 

|
|
|
|
|
White will not choose Dany's Sacrifice here, as Black will win the game. |
|
Black plays 4/7 reductions. With 7/7 reductions, the final scores would be Black + 2 / White + 6. After Black occupied White's liberty at |
|
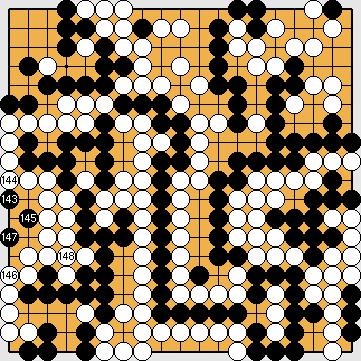
Capture Variation: Compared to the superordinate variation ...
In total, gains and losses compensate for each other. White + 1 => White + 1 |
|
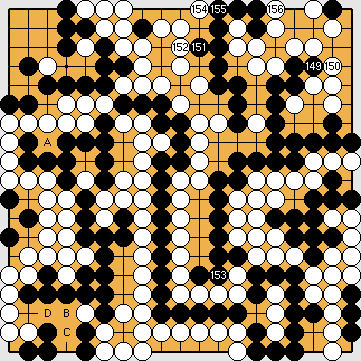
Semeai Variation: At White's decision point, Black's large group in the upper right will have ten liberties, nine direct liberties ( Black will win the game by a large margin. |
|

 648jx
648jx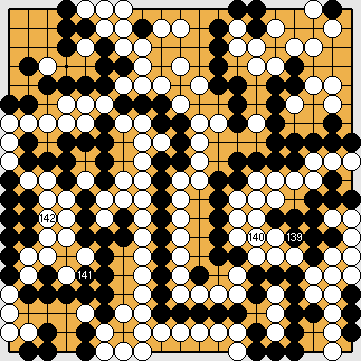
 ;
;  :
: :
:
 :
:
 , White will force him to capture her single stone in the left centre "early". Thereafter, she will play her kikashi
  ,
,  in the lower left corner, so that Black has to capture at
  before the end of the game.
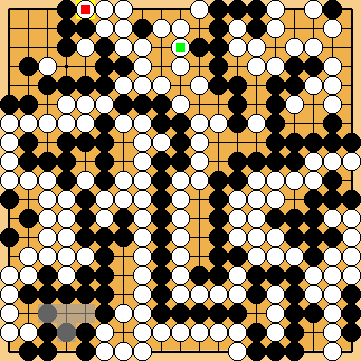

 ), and one approach-move liberty (
 ), so White will be unable to capture it.
